


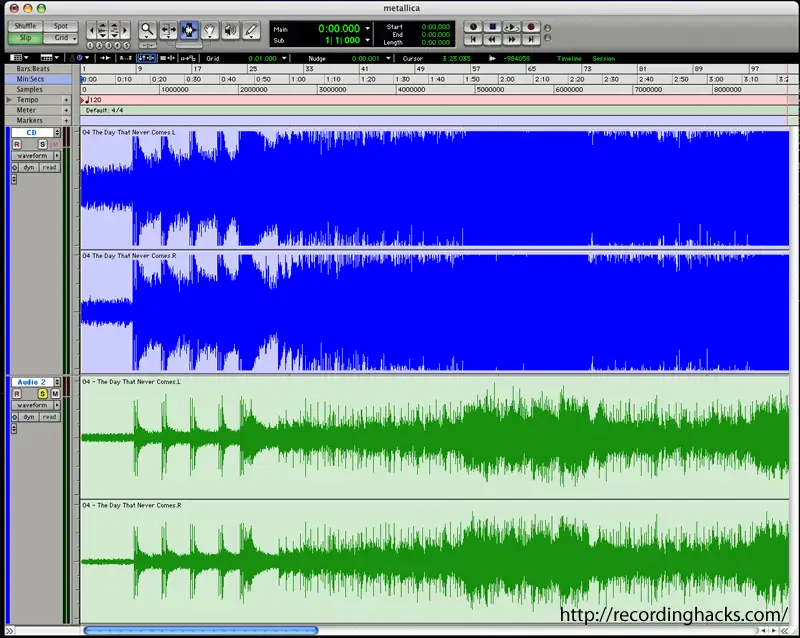
The loudness war ended when streaming services became the go-to way of listening to music for most people. After almost two decades of heavily compressed recordings, clipping albums (Metallica's Death Magnetic , anyone?), and music that was as ear-piercing as it was soulless, Spotify & co. did one right thing: normalize audio automatically before it goes live on their platform.
Still, the music you release should be loud, or at least loud enough for people to fully appreciate every aspect of your composition. So how do you get your recordings to sound rich, full, and as loud as the songs released by professional artists?
The answer is that it can be done in more than one way, and we’ll go over multiple options in this article. However, first we’ll start with an analysis of what loudness actually is, and each step in the production process that can make your song louder.
What Does Loudness Mean?
The first wrong assumption is to believe that loudness is all about that volume slider on your stereo or smartphone. In fact, when mixed and mastered with care, a song doesn’t need to be loud to have a rich, full, and immersive sound.
Here’s the thing: loudness is, first and foremost, a perception. It’s defined by how our ears react to sound pressure levels, dynamic range and frequency balance. All three elements work in unison to create an immersive soundstage.
Because of the way it’s produced, one track can sound louder than another even if their audio volume meters peak at the same level. So, if you're asking yourself how to make my music louder, what you're really asking is how to control loudness across all stages of production.
There are three main areas of music production that affect loudness: the recording , mixing , and mastering phases. They're executed in that order, and the quality of each process depends on the one that came before it: even the best master can't fix a badly mixed or recorded track.
Let’s break down the production process into these three categories, and see what you can do at each stage to increase loudness.
Three Stages to Increase Loudness
During Production
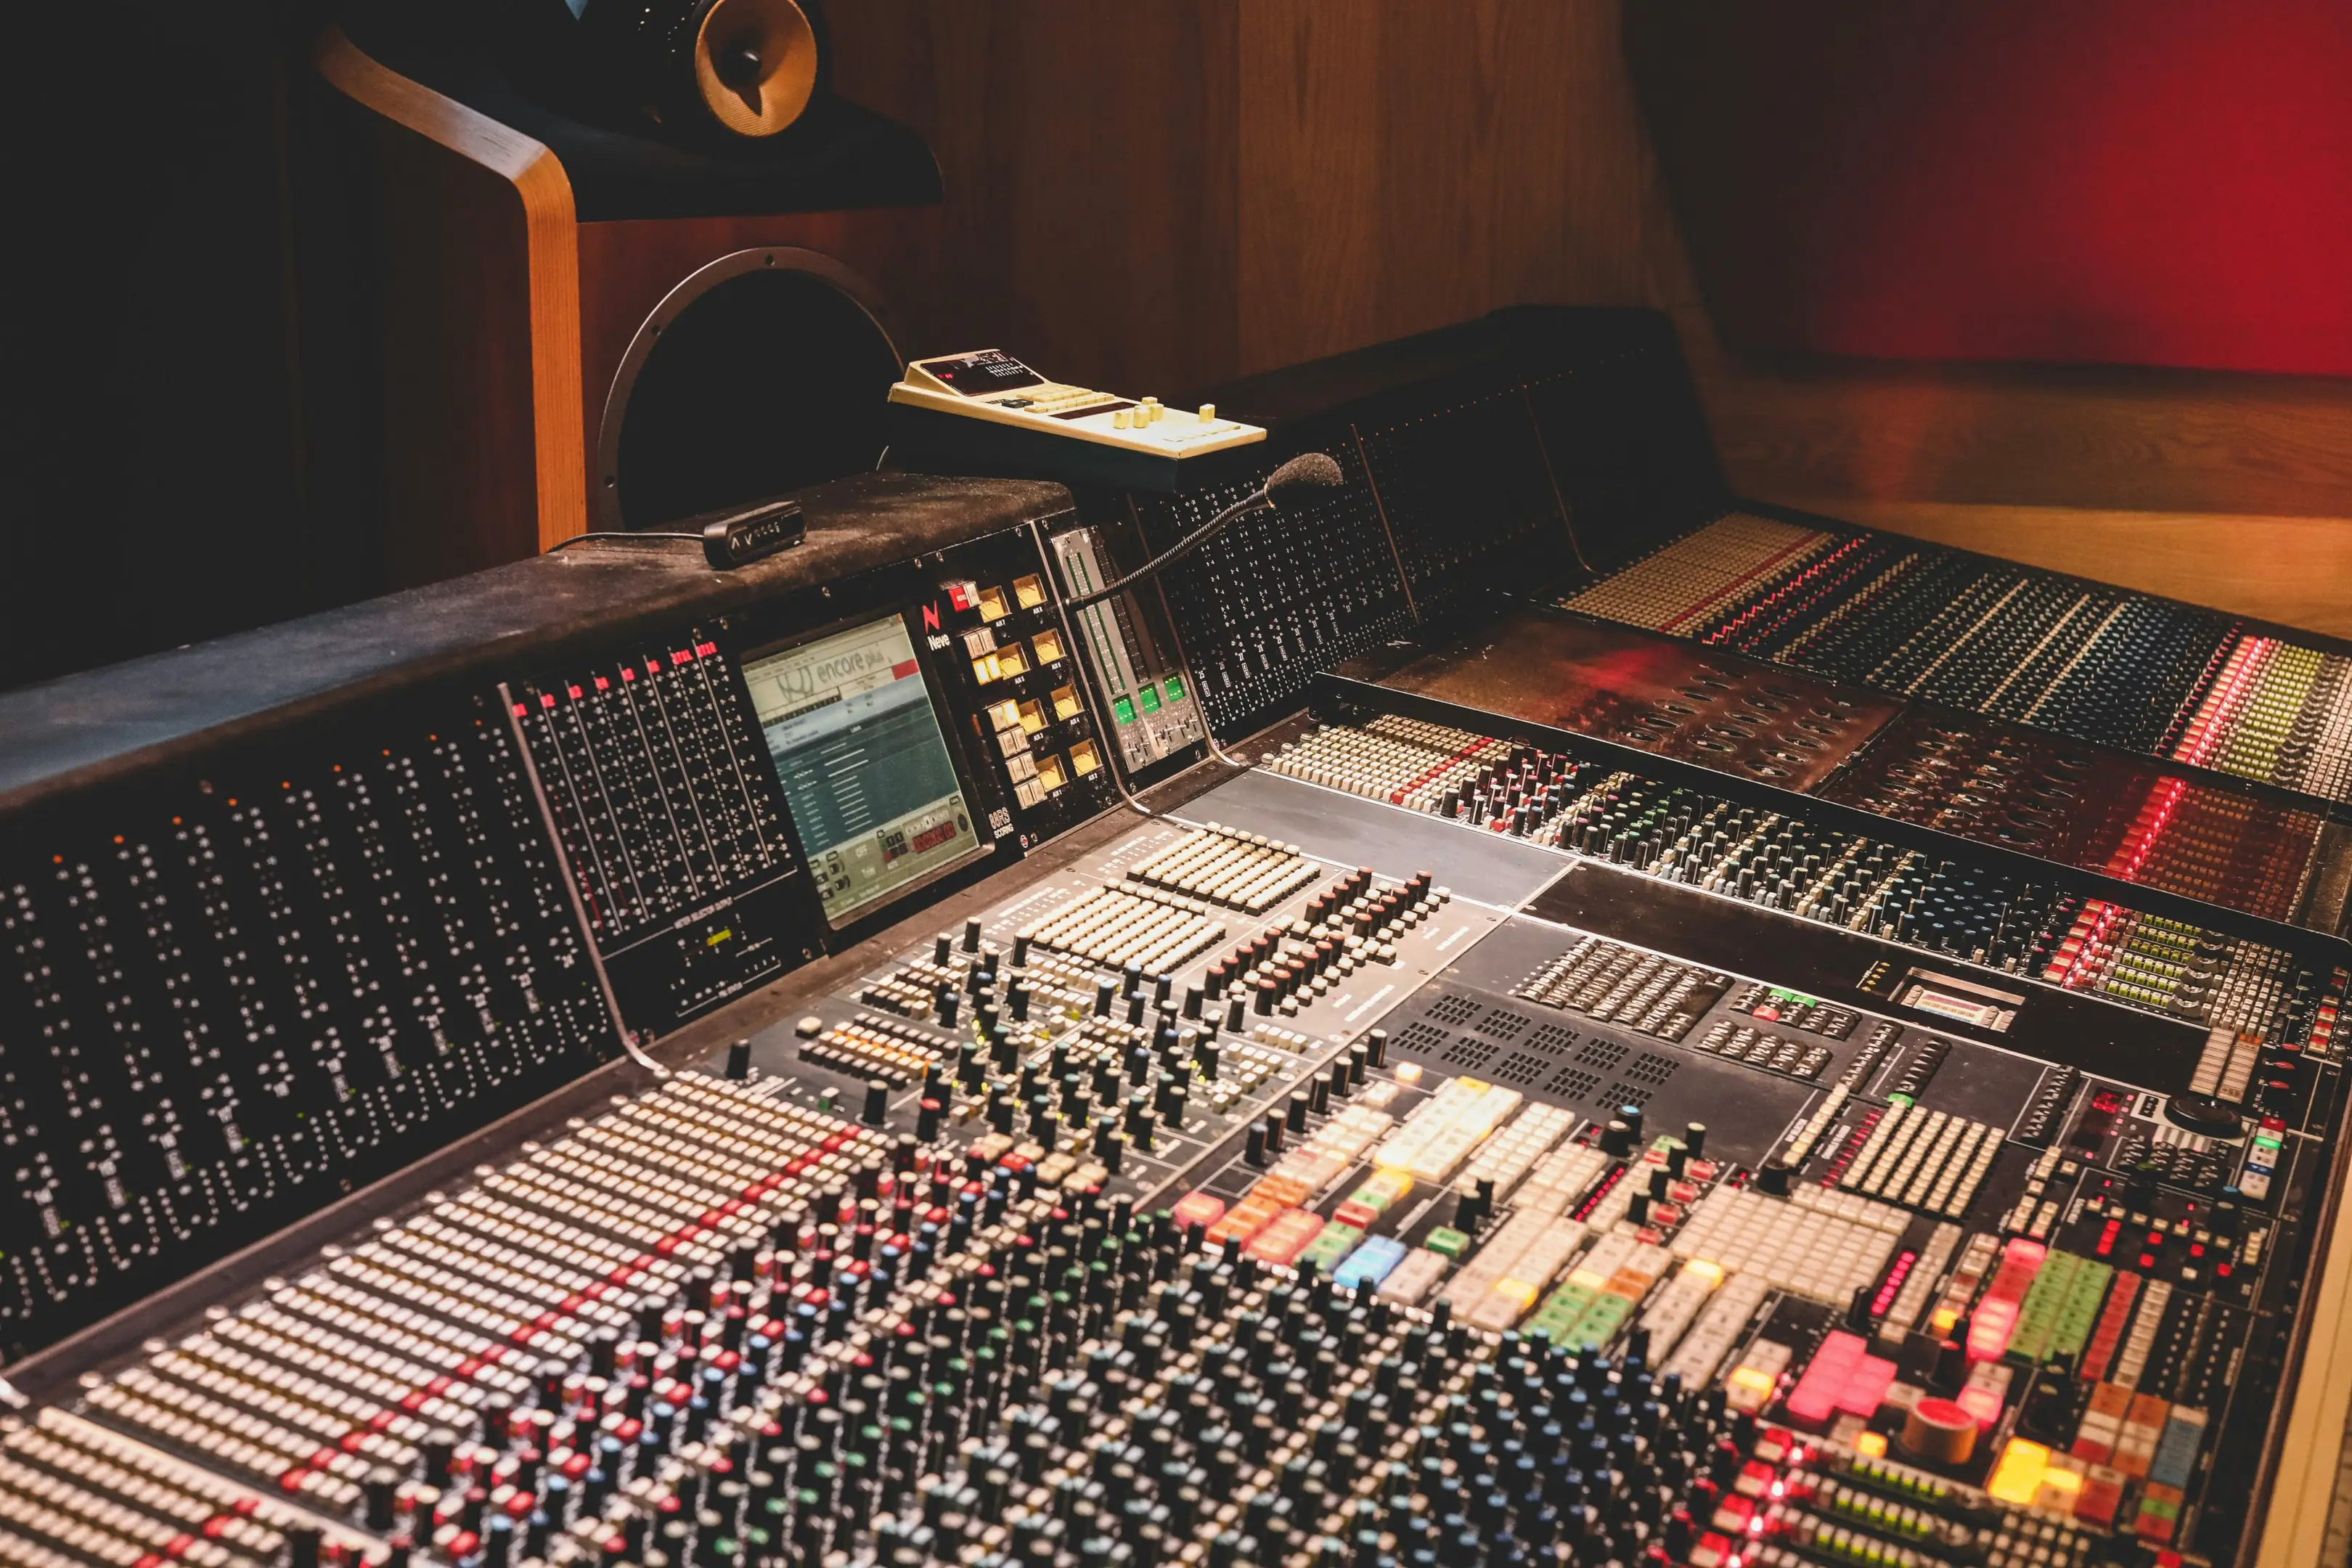
The first step in getting a louder sound is at the source. Whenever I go to a recording studio for a recording session, the first day is only about getting the right sounds and volume levels, and not actually recording music.
Depending on whether you record with analog or digital instruments, the process of getting your sound loud enough is different, but to keep things simple, just get it as loud as you can without clipping.
Clipping happens when you reach a volume level so high that you introduce distortion to your track. While some kind of distortion can improve your sound signature, that is not the kind of distortion you want to have in your song.
Gain staging is important in this phase. This is the process of making sure your sound is at the best possible level throughout the signal chain, so that none of the effects add unwanted noise or distortion.
Finally, use effects wisely. Saturation can add harmonic content that makes a track feel fuller and gives you a richer sound without actually increasing volume levels. The same goes for reverb, which can make your piece more immersive and organic.
Depending on your workflow, you might record your track using analog effects, or "dry", and later apply the effects digitally. Whichever approach you take, make sure the effects recorded and the ones applied later don't clash.
During Mixing
The mix is where most of the heavy lifting happens. That’s because it’s that phase of the production process where you make room for each instrument, and create a cohesive soundstage by adjusting volume levels and frequencies.
Remember what we said earlier: loudness is more about perception than actual volume. My recommendation is to focus on creating an immersive experience rather than a loud one.
Start by adjusting the volume of each track. Listen carefully to your piece through studio headphones and monitors and check that all elements of your mix are audible and present the way you want them to be.
Panning is often overlooked, but it’s a great way to add a sense of space and immersiveness to your mix. Plus, it’ll avoid having too many sounds in the center, which can make your track muddy.
If you’re having issues with distortion, don’t forget to keep an eye on your volume settings in your DAW or audio settings panel. You don't want to spend hours trying to figure out what's wrong with your mix, only to find out you had the wrong settings in your DAW!
Let’s discuss the effects that help you create a cohesive mix.
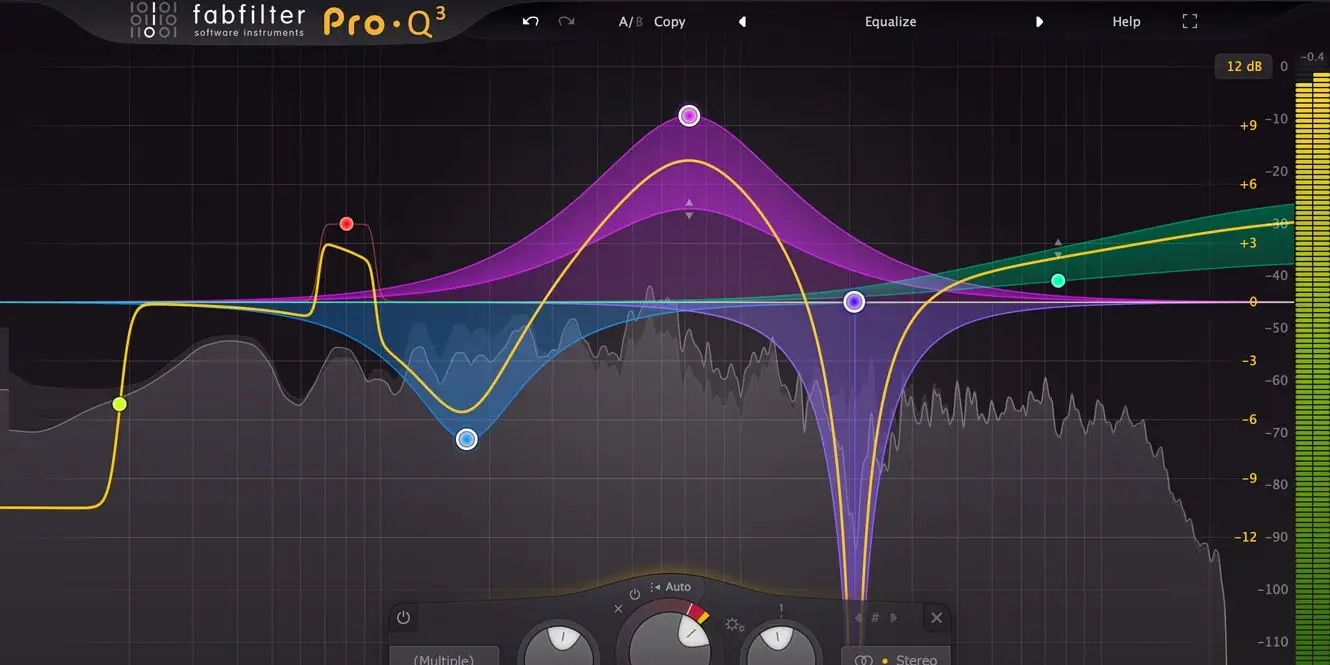
EQ Use EQing to carve space for each instrument. Removing unnecessary frequencies from all instruments frees up space in your soundstage, and allows you to make your song louder and cleaner.
There are many types of EQ plugins out there (parametric, semi-parametric, graphic, dynamic, and shelving), but what’s important is that you use one that allows you to enhance and mitigate frequencies the way you want. You can start with whichever plugin your DAW provides, and upgrade once you feel you need more from your carving tool.
Compression . Compression helps reduce dynamic peaks and make quieter elements louder. Use it not just to make everything more cohesive in terms of volume, but also to preserve the balance and control in your mix. Multiband compression is the best way to preserve the dynamics of your track while making it more cohesive; it’s not the easiest tool to master, but when used right, it can take your music to the next level.
It’s easy to overdo things at this stage, especially with compression, but remember that a sound squashed track with no dynamics will sound even worse when played on the Spotify app or Apple Music. Focus on clarity and energy.
During Mastering
Mastering is all about the final polish, and making sure your track sounds great across all possible playback systems.
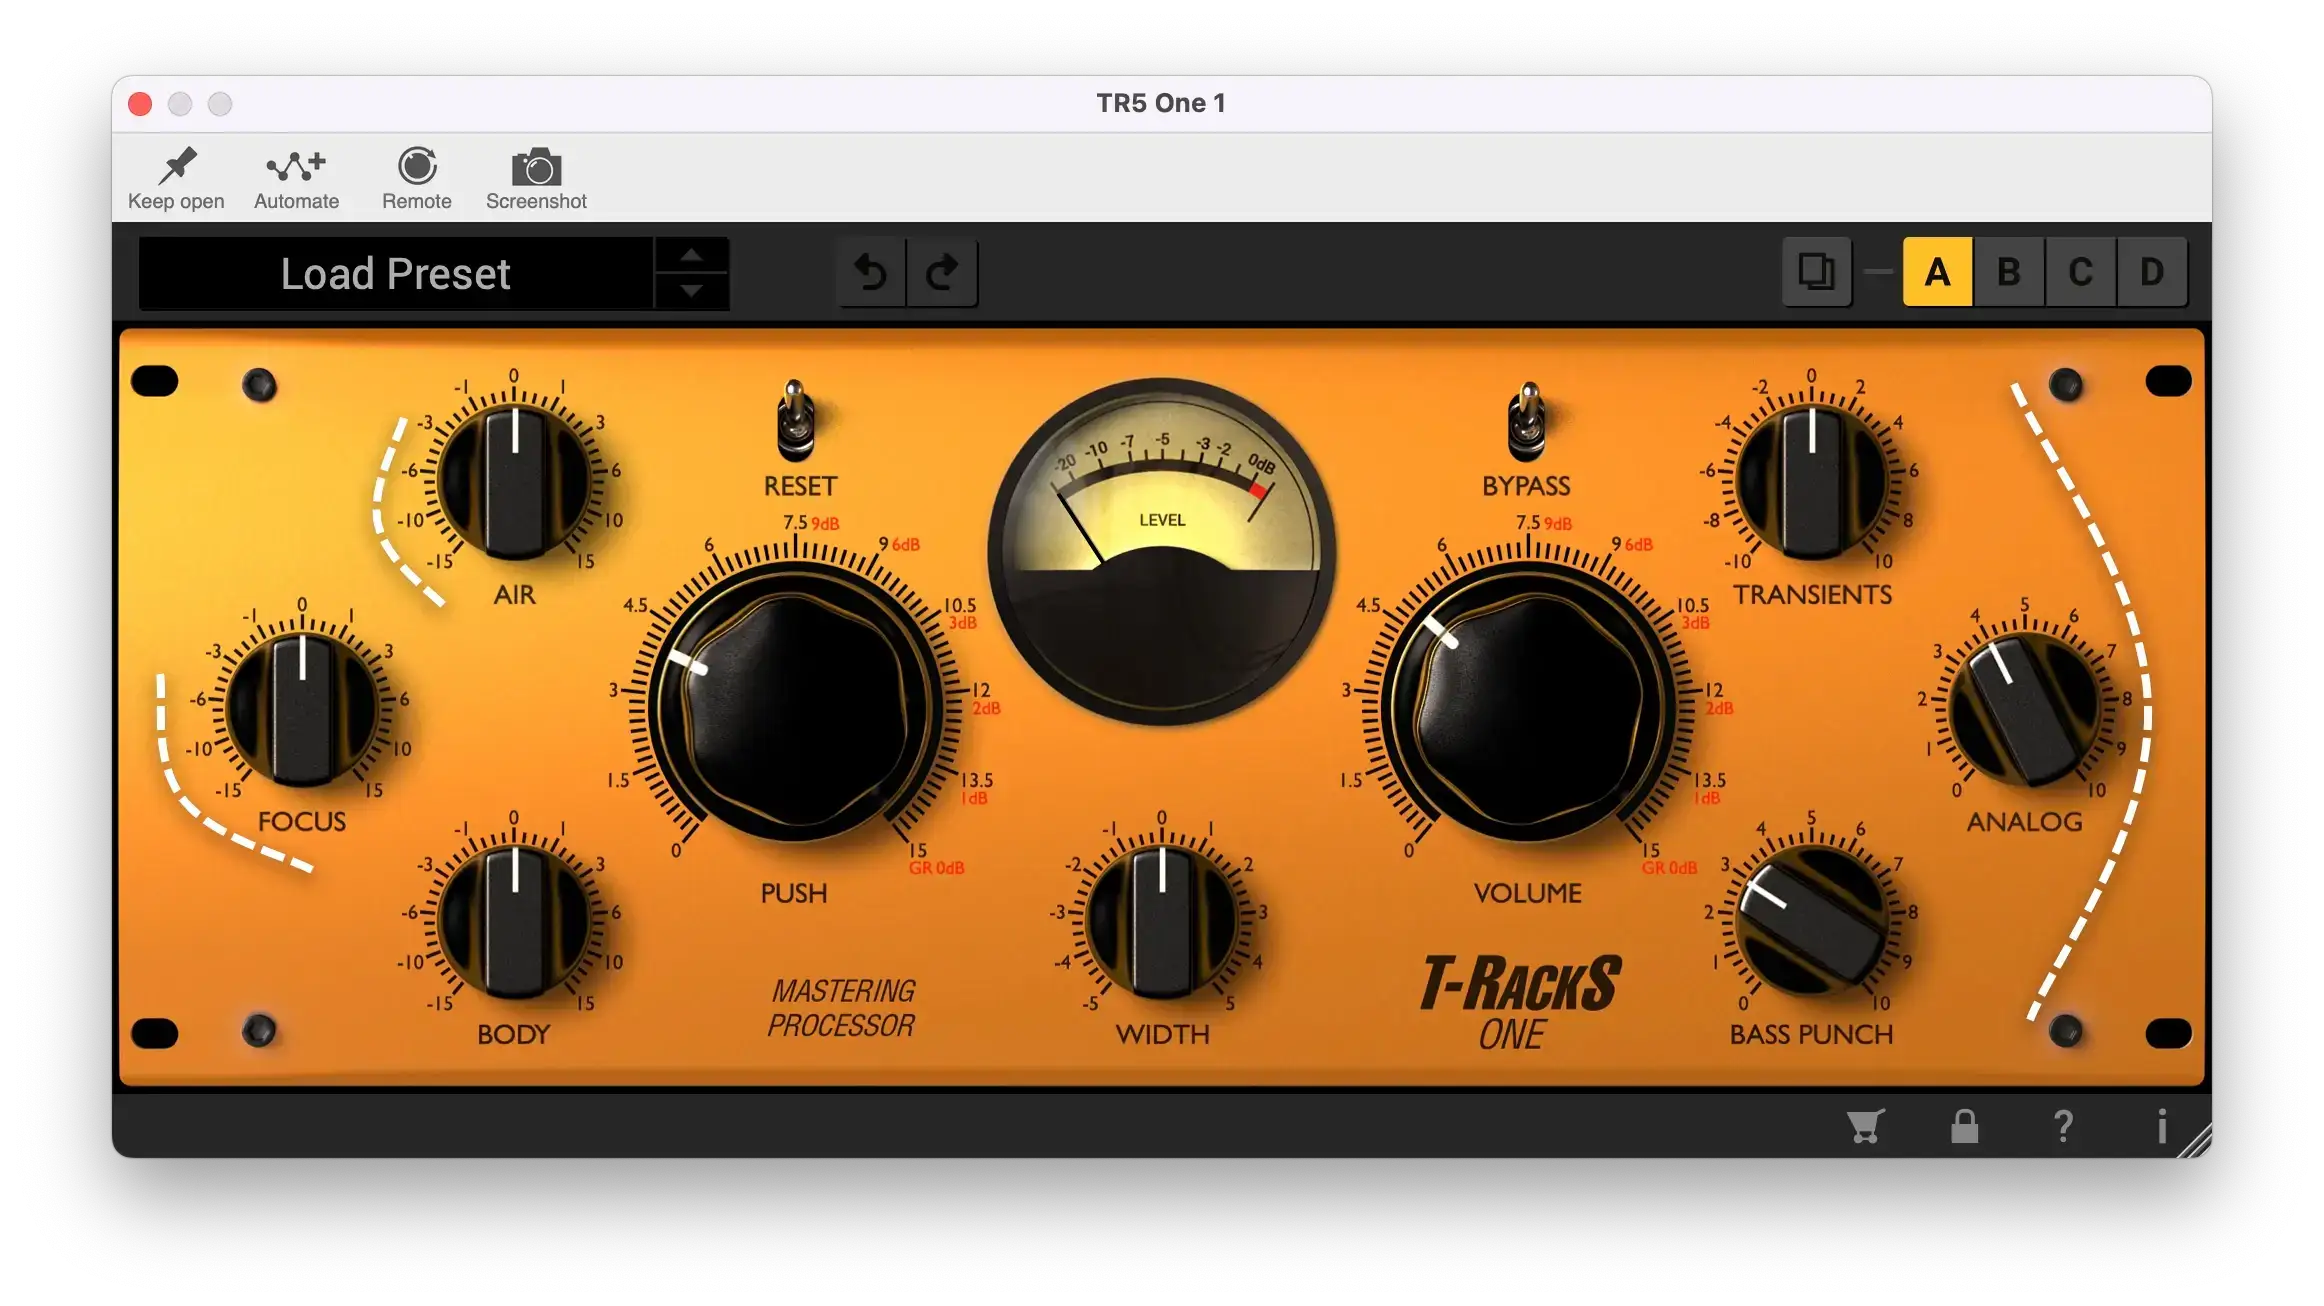
If the recording and mixing processes were handled correctly, mastering is mostly about making your piece more cohesive and ready for distribution. The way you do this is by using mastering chains that include compression, limiters, clippers, and EQs to maximize perceived loudness.
In particular, a good limiter can be a game-changer for your track as it’ll bring up the volume level of your track without causing distortion. Next, use a clipper (like KClip, but there are many good ones out there) to shape transient detail and create a louder but more musical result.
Just like recording and mixing (perhaps even more so), mastering seems like magic at times: you don’t know exactly what else your track needs, except that it should be louder.
My suggestion is not to overthink it. Yes, use limiters to make the track louder, but also remember that each streaming platform will apply its own normalization, so focus on your song's clarity and cohesiveness first.
Speaking of which, it’s always good practice to check how your track behaves on the Spotify application when normalized.
Spotify sets the audio level around -14 LUFS. This means that if you overly compress your music and master it at -6 or -8 LUFS, your track on Spotify will sound more squashed and have its dynamics completely altered.
The aforementioned Metallica album, Death Magnetic, is a perfect example of what happens when you push things too far: music lovers and fans will be disappointed because your songs (even if they're good songs) sound bad. And while Spotify has some equalizer settings that can help listeners improve the sound, a bad master is virtually unfixable.
Also, keep an eye on your true peaks. Spotify suggests setting your track's peak level to -1 dBTP to avoid any distortion. Therefore, adjust your limiter's output ceiling to -1.0 dBTP, enable oversampling if you can, and set a lookahead time of 1 to 5 milliseconds.
Before you release your music, export it at -14 LUFS and -1 dBTP and upload it as a private track if possible. Listen to how it compares with songs in your genre and compare punch, tonal balance, clarity, and of course volume.
It's not uncommon for mastering engineers to create different versions for streaming and physical/digital downloads, adjusting the loudness and limiting to fit each platform. You can do the same, if you want to make sure to have the best version of your song on every platform.
Bear in mind that once you upload your track to your distribution service, you won't be able to hear how it sounds on Spotify before it's released on streaming services. That means that every adjustment you make during the mastering phase should be designed to align with the streaming quality that Spotify and the other platforms aim for.
Understanding Spotify Volume
There are things outside of your control, like the way your audience listens to your music, and how streaming platforms normalize audio. All you can do is prepare your music so that it’ll sound as good as possible in all circumstances.
As I mentioned earlier, the Spotify application applies loudness normalization by default. This is a positive thing as it applies balanced sound levels across different tracks, albums, and artists. But it also means that Spotify may turn them down and affect your soundstage.
One thing many people don’t know is that Spotify’s volume level is user-selectable between -19, -14, and -11 LUFS. To make your Spotify louder, go to the upper right corner of the desktop app (or open the Settings app on your smartphone), click your profile, then select Settings . Scroll down to the Audio Quality section and adjust Volume Level to "Loud".
There’s also an alternative that I wouldn’t personally recommend but it’s worth mentioning. On Android devices, you can bypass system limitations using third-party Android apps or root access. As far as I know, this has an impact on the audio quality of your app, so I wouldn’t recommend it unless you know what you’re doing.
Final Thoughts
Making your music louder shouldn't be your main goal as an artist. Sometimes, trying to make your music volume as loud as possible comes at a price: your songs will lose the organic feel and vibe that make them unique, which is a big price to pay, if you ask me.
Loud for the sake of loud doesn’t mean better. You want your track to sound good on all systems: from external speakers to headphones, from low-bitrate streams to high-end studio monitors. A well-balanced mix with good dynamic range will always sound loud enough.
The same goes if you're a music enthusiast. If you have a good sound system or pre amp, there are many ways to adjust media volume until you reach the right level, but your listening experience should be more about sound quality than extreme loudness!
To sum it up: when recording your song, focus on the sound quality and dynamics, and not much on the loudness. The mixing phase is probably the most delicate part, so make sure you adjust volumes and panning carefully until all your instruments have their place in the soundstage.
Finally, the mastering process. Here’s where you should try to get your music sound louder without creating unwanted distortion, always bearing in mind that songs will be normalized by the streaming platforms your song will end up in. From the list above, find a set of mastering tools you can use to make your song sounds perfectly across all playback systems, without compromising the nature of your sound signature.
Good luck!


