

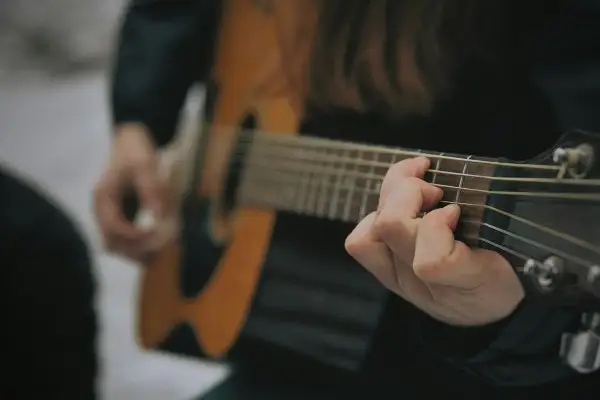
Acoustic guitar is one of the most popular and recognizable instruments in Western music. You can hear it everywhere, from folk to pop to rock. Yet, even with all its ubiquity, the quest for the perfect acoustic guitar sound has been an ongoing challenge for generations of engineers.
For anyone working from home, the process can feel especially overwhelming. You’re sitting in your bedroom or makeshift studio, mic in hand, hoping to get that perfect recording, but it can feel impossible when you don’t have access to the high-end gear or million-dollar studio spaces that industry pros use.
Of course, not every engineer or musician has the same idea of what a great acoustic guitar sound is. What sounds “right” can vary widely depending on the track and the artist. There’s no one-size-fits-all solution. That’s why, instead of trying to define what the perfect sound is and chase after that, let’s walk through a series of techniques that will give you the tools to find the sound you’re looking for, no matter your setup.
1. Find the Perfect Space
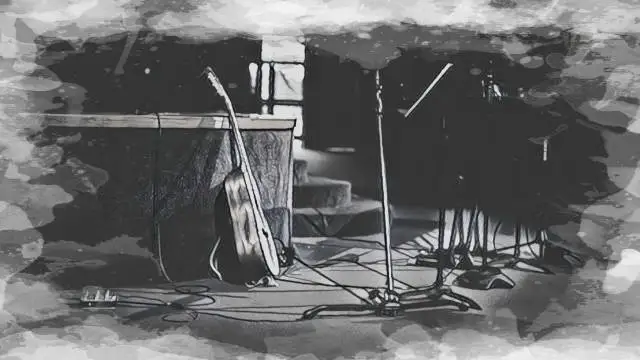
When searching for the ideal space to record acoustic guitar, there’s a balance between room size, acoustics, and isolation.
The first thing to consider is room size and shape . A space that's too small can cause exaggerated reflections, making the recording sound boxy, while overly large rooms might make your guitar sound too distant or hollow.
Ideally, aim for a room with an irregular shape. A rectangular or square room can cause standing waves, which can create unwanted resonances. Irregularly shaped rooms or those with vaulted ceilings help prevent this and create a more natural sound.
Surface materials play a huge role. Hard surfaces like tile or bare walls reflect sound waves sharply, which can make your acoustic sound harsh or muddy. Instead, look for rooms with a mix of materials, such as soft surfaces (curtains, carpets, upholstered furniture), which absorb high frequencies, and harder surfaces (wood or brick), which help with low-frequency reflections and add warmth and clarity.
It's also important to avoid parallel walls, so you can control standing waves and flutter echo.
Ambient noise is equally crucial. Even in quiet environments, the subtle hum of HVAC systems, street noise, or electrical equipment can interfere with your recording. To minimize this, either choose a room away from sources of noise or employ soundproofing techniques, like heavy curtains, weather stripping, or isolation panels.
Lastly, consider monitoring and room treatment . Even though you're recording, you'll want to listen to the guitar with accurate representation. Invest in good monitors or headphones, and treat the room with bass traps and diffusers, so you can get a clear representation of how it will sound in the recording.
2. Get the Right Microphone
When it comes to picking the right microphones for recording acoustic guitar, the choice largely depends on factors like the sound you're aiming for, the environment in which you're recording, and your budget.
There are hundreds of unique microphones out there, each with its own strengths and weaknesses. It's important to have a general understanding of what they're capable of to find the right one for your project.
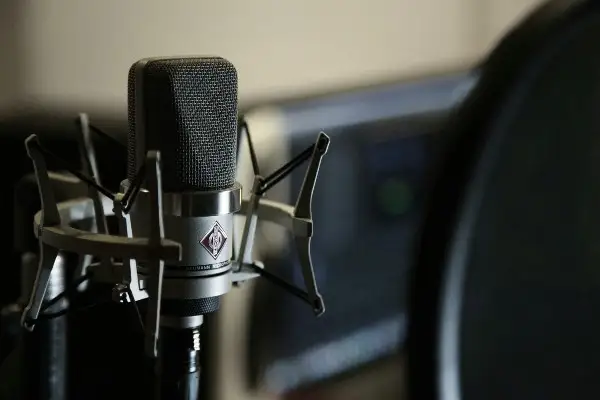
Large-Diaphragm Condenser Microphones
Condenser microphones are highly sensitive and capture a wide range of frequencies. I like them for recording organic instruments like acoustic guitars because they provide a clear, detailed, and natural representation of sound.
- Pros:
- Warm Sound: LDCs often capture a full, warm sound with a rich low end, making them great for adding depth to an acoustic guitar's tone.
- Versatile: Great for a variety of sounds, including vocals and instruments.
- High Sensitivity: They pick up intricate details and subtle nuances, which is perfect for capturing the full range of an acoustic guitar’s tones.
- Cons:
- Prone to Overloading: Their high sensitivity can be a disadvantage in untreated rooms, as they pick up a lot of room noise.
- Expensive: These are often the priciest microphones of the bunch, especially with high-end manufacturers like Neumann and Telefunken.
I'm personally a big fan of a Nuemann U87 for the classic LDC sound!
Small-Diaphragm Condenser Microphones
- Pros:
- Accurate and Detailed: SDCs offer a much flatter frequency response and a more accurate representation of an acoustic guitar’s sound. They tend to capture the natural brightness better than their LDC counterparts.
- Better for Stringed Instruments: SDCs are often used for instruments like acoustic guitars because they pick up a lot of detail in the highs and mids.
- Cons:
- Less Warmth: They are less likely to give you a warm sound than LDCs. The sound might be perceived as too bright or harsh, depending on the guitar.
- Sensitive to Room Acoustics: Similar to LDCs, they can also pick up room noise if not placed carefully.
I've always been a major fan of the Shure SM81. It's got a nice, bright sound that's perfect for pop music and a beautifully directional design.
Dynamic Microphones
Dynamic mics are less sensitive than condensers, which means they capture less detail.
However, they are known for their durability and ability to handle high sound pressure levels without distorting.
Pros:
- Durability: Dynamic mics are robust and can withstand high volumes, which makes them great for louder playing styles.
- Less Room Noise: Since they have a narrower pickup pattern (typically cardioid), dynamic microphones tend to reject more ambient sound and are less sensitive to room reflections.
- Affordable: Generally more budget-friendly than condenser microphones.
Cons:
- Less Detail: They don’t capture the same level of detail as condenser mics, making them less suitable for capturing the subtleties and natural resonance of an acoustic guitar.
- Limited Frequency Response: They typically don’t capture the full frequency range of an acoustic guitar as well as condensers do.
While it's often a standard choice for electric guitar amps, a Shure SM57 can also be a decent option for an acoustic guitar if you don't need a super detailed sound.
In fact, Bon Iver's most popular album to date, which went platinum, was recorded using only one mic, a Shure SM57, showing just how versatile this mic can be.
Ribbon Microphones
Ribbon microphones are known for their 'vintage' sound and are typically more fragile than dynamic or condenser mics.
Pros:
- Smooth and Natural Sound: Ribbon mics have a warm, vintage sound with a natural roll-off in the high frequencies, which can be very flattering for acoustic guitars.
- Excellent for Specific Styles: If you're recording acoustic guitar in a more vintage or mellow context, ribbon microphones are great!
Cons:
- Delicate: Ribbon mics are more fragile than condensers or dynamics. They can be damaged by high sound pressure levels, such as close mic'ing loud acoustic guitars or certain performance settings.
- Less Detail in Highs: While they provide a smooth, vintage tone, they tend to lack the detail and high-end sparkle.
I'm a huge fan of the Royer R-121, especially for that recognizable ribbon sound.
3. Determine Your Mic'ing Style
Once you have your mics, you can determine whether you want to go with a single microphone or a stereo setup.
Both options have their advantages, and the choice really depends on the sound you want.
Recording with a single mic is the easiest method, especially if you're after a clear, focused sound. You also don't have to worry about phase issues or fitting your recording into a busier mix.
On the other hand, using two microphones in a stereo configuration adds a whole new level of depth to your recording. It captures the natural width of the acoustic guitar, making it feel more immersive. This can be especially helpful when you have a stripped-back arrangement and you want the acoustic guitar to take up more space.
The challenge here is that it requires a bit more finesse in terms of mic placement. You’ll need to account for phase issues and ensure your mics are properly aligned to get the sound you're looking for.
4. Microphone Placement
Before diving into the common mic placement techniques, let’s talk about some common mistakes that can trip you up when recording acoustic guitar.
One of the most frequent errors is placing the mic directly in front of the sound hole . While it might seem like a logical choice, this tends to exaggerate the bass and often results in a muffled, boomy sound.
Another mistake is placing the mic too close to the guitar . This can cause what's known as the proximity effect, where the low-end frequencies get boosted too much, making the sound overly muddy and unbalanced. So, avoid getting too close and always experiment with mic distance to find that sweet spot.
Mono Mic Setup
Now, if you’re working with a mono mic setup, a good starting point is to place the mic around 6 to 12 inches away from the 12th to 14th fret. This area captures a nice balance of the body of the guitar and the strings, giving you a clean, full tone.
From here, you can get creative. Point the mic more towards the neck for a thinner, airier sound, or angle it towards the sound hole for a more focused attack, where you’ll pick up the nuances of the pick or fingers.
If you’re after something a little richer and more robust, you can use a single mic to capture the body of the guitar . By positioning the mic slightly lower, near the lower bout of the guitar (the body), you’ll pick up more midrange and bass, giving it a warmer, fuller tone.
On the other hand, if you want a thinner, more percussive sound for background parts or texture, pointing a small diaphragm condenser at the neck is a fantastic choice . This technique is great for high-end shimmer and capturing the percussive qualities of the strings.
If you're going for a stereo setup, there are a few go-to mic placement techniques that can help you get that wider sound.
Spaced Pair (A/B)
This stereo setup involves placing two microphones a few feet apart, pointing them towards the guitar at different angles. The distance between the mics gives you a natural stereo effect, which captures the guitar in its full width.
The key here is to place the mics in a way that both capture the guitar equally, while still allowing for some space for the room’s natural acoustics. It’s an easy setup that works particularly well in larger spaces, where you want to capture the room’s character alongside the guitar.
Coincident Pair (X/Y)
The X/Y method involves placing two mics at a 90-degree angle to each other, with the capsules as close together as possible, typically at the same point (or "coincident"). This technique is great for getting the stereo sound while avoiding phase issues.
I particularly it in smaller spaces or when you need a focused stereo image without capturing too much of the room’s acoustics.
5. Record a D.I.
While I always recommend recording acoustic guitar with a mic, don’t ever underestimate the power of recording a direct input (D.I.) alongside or as an alternative to your mic’d sound. A D.I. signal is taken directly from the guitar’s output, giving you a clean, uncolored version of the sound without any room influence or mic colorations.
Recording a D.I. can be particularly useful when you want a more percussive, transient-rich sound. The direct signal captures the attack of the strings, the snap of the pick, and all the fine details of how the player is interacting with the instrument. It’s a great way to get a tight, focused energy that a mic’d setup might not fully convey, especially if the mic is further back or angled more towards the body of the guitar.
The beauty of recording a D.I. is that it provides you with complete flexibility in post-production. For example, if you’ve already got a mic’d recording, adding a D.I. track can give you extra control over the sound. You can mix in just a touch of the D.I. to enhance the percussive elements or add some extra definition to the attack of the strings without losing the warmth and natural character of the mic’d recording.
If you’re opting for a pure D.I. recording, the lack of room tone can make it sound a little dry.
However, you can use a convolution reverb to simulate the sound of the room around the guitar. This allows you to add back some of the space and air you might lose without a mic.
6. Get in the "Recording" Mindset
If you've ever recorded in a studio or even your home setup, you probably know the feeling of "red light fever." It's that surge of pressure that hits when you know you're being recorded. Suddenly, everything feels more intense, and the smallest mistakes seem magnified. It’s easy to get caught up in the performance and forget to focus on the bigger picture.
The best way to handle this? Experience. The more you record, the easier it becomes to shake off the nerves and play at your best. Over time, you’ll get used to the fact that you can always fix small errors in the editing phase. If you miss a note or slightly hit the wrong chord, remember, you have the freedom to re-record as many takes as you need.
That said, when you're recording, it can often feel like you're under a microscope.
Every subtle nuance, the sound of your pick hitting the strings, a slight buzz on a note, the squeak of your fingers moving on the fretboard, becomes more obvious. These little imperfections that might be fine in a live performance can be distracting when you’re listening back to your recording.
One thing that often helps is adjusting your playing style a bit when recording. Playing live and recording aren’t always the same thing, and sometimes a little shift in how you approach the instrument can make all the difference.
For example, you might find that when you're recording, a slightly lighter touch or more controlled attack helps produce a cleaner sound. You’ll want to be mindful of how your dynamics and phrasing come through, since the mic will capture even the slightest fluctuations.
One other tip is to record with a small amount of reverb in your headphones. It can help recreate that "live" feel and give you the space you need to relax into the performance.
7. Consider Your Strings
One of the most overlooked factors is actually something you have control over every day: your strings.
The condition of your strings can have a huge impact on your tone, and if they’re old or worn, they can make a good performance sound dull and lifeless in the recording. Even though they may still "sound fine" to you while playing, microphones have a funny way of revealing every little imperfection.
Fresh strings are the only way to get a truly bright, full sound.
8. Use Compression Going In
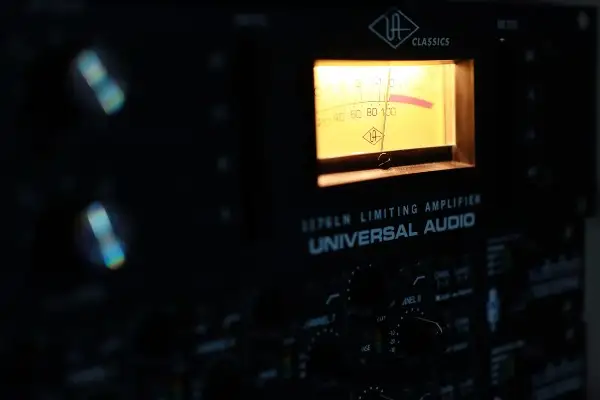
Using a bit of light compression on the way in, either with a piece of hardware or with a plugin, can help you control your dynamics during the recording process.
A light compression setting with a ratio of about 2:1 or 3:1 and only a few dB of gain reduction can do wonders for your recording.
The benefit of applying this light compression during the recording process is that it gives you a solid starting point in terms of level, and it helps to keep everything in check. You won’t have to work as hard to manage the dynamics during the mixing process either, which can save you time and energy.
9. Test Out Different Picks
Like strings, your pick can also have a big impact on the recording process. Different picks will produce different tonal qualities, so experimenting with a few options can help you get the sound you're looking for.
For example, if you're trying to get a lighter strumming sound that's perfect for filling out the background, you might choose to go with a thinner pick.
On the other hand, if you want a more percussive sound with fast, single note patterns, a thicker pick is the way to go.
The material can have a big impact as well. Picks made of harder materials, such as Delrin (used on Tortex picks), stainless steel, or acetal, will produce a snappier sound, while picks made of softer materials, such as nylon, rubber, or tortoiseshell, are great when you want more warmth.
10. Understand the Sound You're After
The recording process is inherently context-dependent. In fact, you have the freedom to approach it however you want - there’s no “right” or “wrong” way, just different tools and techniques that work for different goals.
The most important thing to keep in mind as you get ready to record is to ask yourself one simple question: How do you want it to sound?
A Natural, "In the Room" Sound
The classic, "in the room" folk sound is warm and simple. A single condenser mic placed around the 12th fret (about 6-12 inches away) will give you a well-rounded capture of the guitar's body and strings.
I recommend using a mic that doesn’t overly emphasize the high end, like a large-diaphragm condenser (e.g., Neumann U87).
The "Pop" Acoustic Sound
Pop acoustic tracks often require a cleaner, more polished tone. The focus here should be on clarity, definition, and sparkle.
For a more defined sound, a stereo pair of small diaphragm condenser is an excellent choice. Try the spaced pair (A/B) technique to capture the width of the guitar and its full tonal range. Position the mics about 3-4 feet apart at the 12th fret to make sure each mic captures a different aspect of the guitar.
The "Bluesy" Acoustic Sound
Blues acoustic is great when you need character, grit, and a little bit of growl. The guitar should feel raw, yet articulate, with a lot of emphasis on the percussive elements and string tension.
For this kind of sound, I love a dynamic mic like a Shure SM57 or Sennheiser 421 placed closer to the sound hole. You might also experiment with adding a D.I. track to capture the direct, clean signal of the guitar and blend it with the mic’d recording for extra definition.
The "Rock" Sound
In rock, an acoustic guitar often needs energy, punch, and presence to punch through the mix.
A dynamic mic is good for this kind of sound, especially one with a slightly more aggressive, mid-forward tone like an SM57. You'll want some bite in the sound, especially if the guitar is featured in a full-band mix.
Final Thoughts - Nailing Your Acoustic Recording
Achieving a good acoustic guitar sound doesn't have to be a challenge.
It's all about understanding the right recording techniques and how to capture the natural sound source of your instrument. Whether you're in a recording studio or working from home with decent mic setups, the goal is almost always to create a balanced sound that represents the true character of the guitar.
Of course, as with anything in music, experimentation can sometimes yield the best results. So have fun and try different things!


