

Ever thought about making your own drum kit?
Even as someone who's been drumming for over a decade, the first time I sat down and actually told myself this was something I was going to do, I was still overwhelmed. Though the process was filled with trial and error, in the end, it was more rewarding than anything.
Not only can you save some money (not counting the many, many hours of effort you'll put into this project), but you also get to customize your kit exactly the way you want it. Plus, you'll learn a ton about drums and how they work in the process. In this guide, we'll dissect everything you need to know about drum-making so you can get started making a drum kit that's uniquely yours!
Materials You'll Need
Before we get into the nuts and bolts, let's make sure we have everything we need.
Drum Shells (or Alternatives)
The drum shells are the core of your kit. You can use traditional wooden shells or get creative with alternatives like plastic or metal containers if you want to go super DIY.
The choice is yours, depending on the sound and look you're going for.
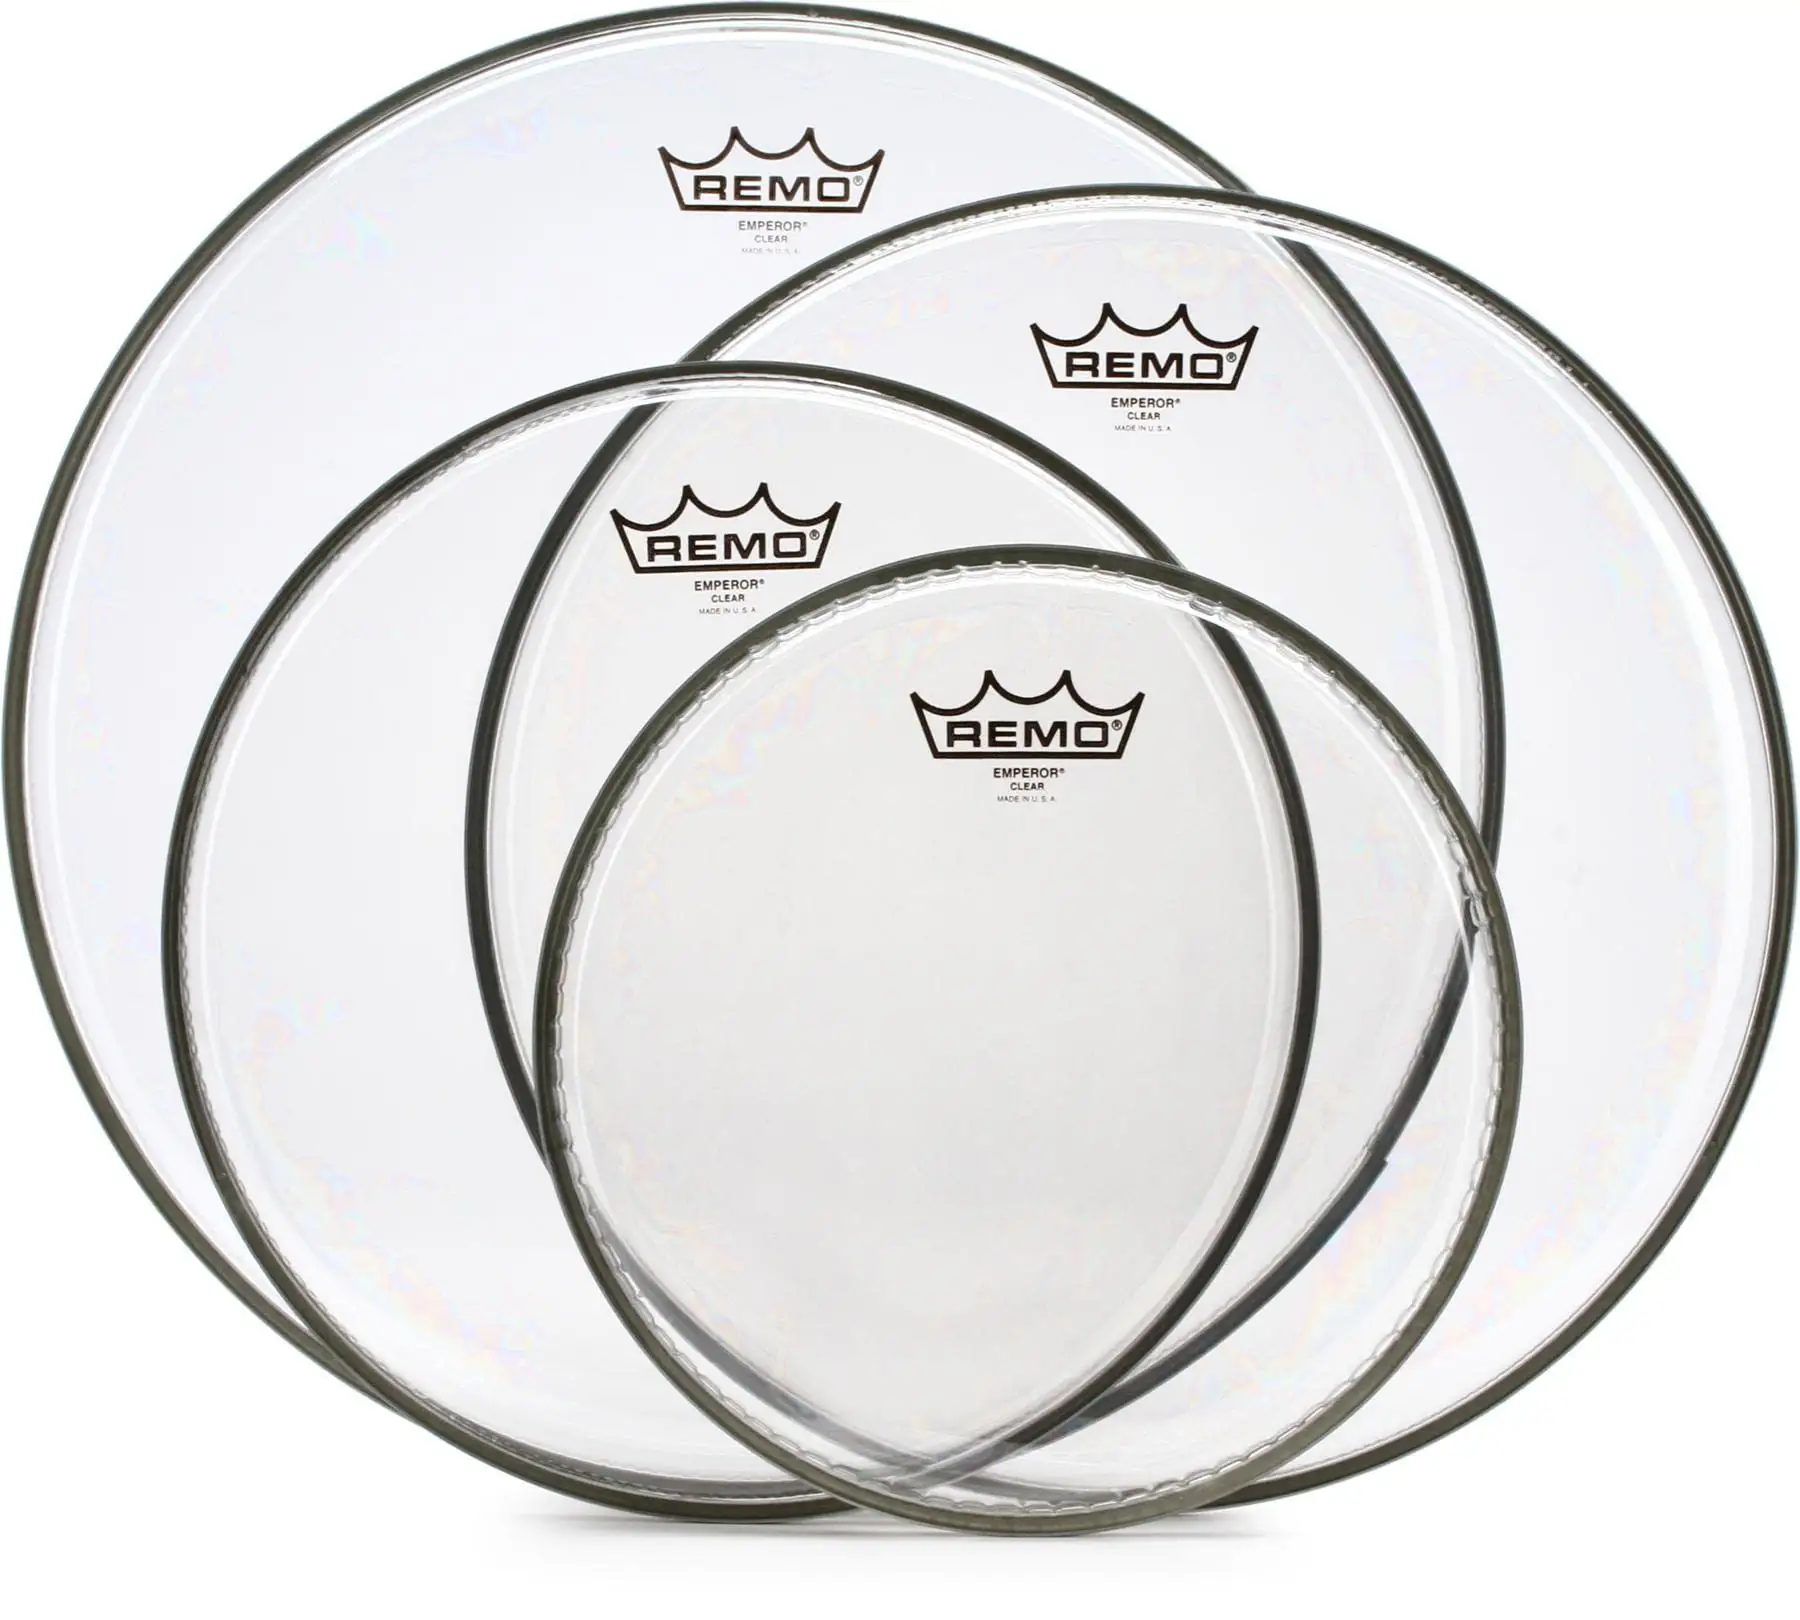
Drumheads
These are the surfaces you'll be hitting, so quality matters . You can buy drumheads or even make your own if you're feeling adventurous. Just make sure they fit your shells properly. Evans and Remo coated heads are some of the most popular.
Essential Drum Hardware
Hardware can be endless when you really get into it, but when I talk about essentials, I mean lugs, tension rods, and hoops. These are the pieces that will hold your drumheads in place and allow you to keep your drums in tune. If you don't want to spend a ton of money, you can always salvage these from old drums.
Tools (screwdrivers, drill, tape measure, etc.)
Having the right tools makes the job a lot easier. Make sure you have:
- Screwdrivers (both flathead and Phillips)
- A drill with various bits
- A tape measure
- Sandpaper
- A wrench
Additional Materials
For customization and decoration, you might want some paint, stickers, or other materials to make your drum kit look as cool as it sounds. This is where you can really let your creativity shine. I'll go more in-depth with the options as we get deeper into the article.
Step-by-Step Guide
Alright, now that we've got all our materials ready, let's dive into the fun part: building your drum kit!
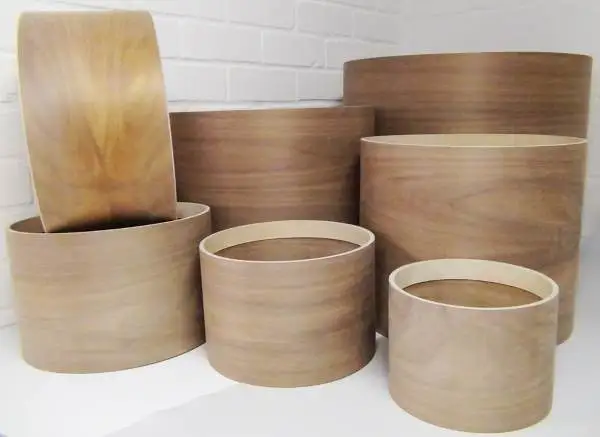
Step 1: Choosing the Drum Shells
First things first, let's talk about drum shells. The process of building shells is quite complex and really deserves its own article. For now, however, check out the video below if you want to start from the ground up.
If you're just selecting shells to build out your kit, here are a few things to consider material-wise:
- Wood : This is the most traditional choice. Wood shells, like maple or birch, which are some of my favorites, are great for that warm, rich sound, especially if you want a classic and versatile tone. You truly can't go wrong with maple wood snare drums.
- Plastic : If you're looking for something lightweight and durable, plastic shells can be a good option. They tend to have a brighter, punchier sound. The Ludwig Vistalite set is one of the best examples.
- Metal : For a sharper sound with maximum projection, metal shells (like aluminum or steel) are the way to go. While they aren't as "complex" as wood shells, they're great if you're often performing at large venues or in outdoor spaces.
When selecting the right size and type of shells, consider what kind of music you'll be playing and what sound you prefer.
Larger drums (like a 26-inch Bonham-style bass drum) offer deeper, fuller tones, while smaller drums (like 18-inch jazz kicks) provide higher-pitched, tighter sounds. Think about the space you have, too – you’ll need enough room to comfortably set up and play your kit.
I recommend taking your time with this step, as the shells you choose will shape the overall character of your drum kit. Once you’ve picked out the perfect shells, we can move on to preparing them for assembly.
Step 2: Preparing the Drum Shells
With your drum shells chosen, it's time to get them ready for assembly. This step involves a bit of sanding and drilling, but don’t worry – it's not too difficult, and it’s worth it for a great-sounding drum kit.
Sanding and Smoothing the Edges
First, you'll want to smooth out the edges of your drum shells. This is crucial for getting a good fit with the drumheads and ensuring a clean, resonant sound. Use sandpaper to gently sand down the edges until they’re smooth and even.
Make sure to take your time here, as uneven edges can affect the sound quality.
Drilling Holes for Hardware
Next, you'll need to drill holes in your shells for the lugs and other hardware. Start by marking where each lug will go – typically, lugs are evenly spaced around the drum. Use a tape measure to ensure accuracy. Once you’ve marked the spots, drill holes at each mark, making sure they’re the right size for your lugs and tension rods. You can use a router table for more accuracy.
PRO TIP: After drilling, it's a good idea to do a quick sand around the holes to remove any rough edges.
Step 3: Attaching the Hardware
Now that your shells are prepped, it’s time to attach the hardware. This is where you'll see your drum set really begin to take shape.
Installing Lugs, Tension Rods, and Hoops
First, let's install the lugs. These are the small metal pieces that hold the tension rods and help tune your drums. Place each lug over the drilled holes and use screws to secure them in place. Make sure they're tightly fastened but be careful not to over-tighten and damage the shell.
Next, attach the hoops, which are the rings that hold the drumheads in place. Position a hoop over each drumhead and align it with the lugs. Then, insert the tension rods through the hoop and into the lugs. Screw them in loosely at first, just enough to hold everything together.
Step 4: Creating the Drumheads
Now let's focus on the drumheads.
You have a few options here. You can either purchase them or make your own. There are pros and cons for each.
- Purchased Drumheads : These are readily available at music stores or online. They come in various sizes and types, such as coated or clear, each offering different tones. For optimal sound quality and durability, you can't go wrong with a manufacturer that's been making solid drumheads for years.
- DIY Drumheads : If you're on a budget or feeling creative, you can make your own drumheads. Some people use materials like plastic sheeting or old X-ray films. While DIY drumheads can work, they might not offer the same sound quality as purchased ones, so it's up to you whether you want to save money or not!
No matter which route you go, however, once you've got your drumheads, you have to fit and tune them.
Start by tightening the tension rods in a star pattern – this means tightening the rod on one side, then the rod directly opposite, and so on. This helps ensure even tension across the drumhead, which is crucial for good sound and easy tuning.
Go around the drum a few times, gradually tightening each rod a little more each time until the drumhead is snug. You want it tight enough to produce a good tone but not so tight that it damages the head or shell.
Give the drum a few hits in the center and adjust the tension as needed until you achieve the sound you want. Remember, tighter heads produce higher pitches, while looser heads offer deeper tones.
At this point, your drums should really start to look (and sound) like a real kit.
Next up, we’ll create a stand to hold everything in place.
Step 5: Building the Drum Stand
With your drums ready, it's time to build a stand to hold everything together. A good drum stand will keep your kit stable and comfortable to play.
If you just want to purchase pre-made stands for your drum set, feel free to skip this step!
Materials Needed for a Drum Stand
You'll need some sturdy materials to construct a reliable drum stand. Here are a few options you can get from your local hardware store:
- Wood : Super easy to work with and readily available. You can use wooden planks or beams.
- Metal Pipes : Durable and strong, ideal for a more industrial look. PVC pipes can also work if you're looking for something lighter!
Make sure you have the following tools and materials:
- Saw
- Screws and bolts
- Screwdriver and wrench
- Measuring tape
- Drill
- Sandpaper
Construction Process for a Stable Drum Stand
- Planning Your Stand : First, decide on the layout of your kit. Plan the height and spacing for each drum so that they'll be comfortable when playing. Unless you're really crafty, you probably won't be able to make these stands adjustable like your standard stainless steel or aluminum stand, so getting the right height is key.
- Cutting the Materials : Measure and cut your wood or pipes to the required lengths. For a basic stand, you'll need legs for each shell and crossbars to connect them.
- Assembling the Base : Start by constructing the base. If you're using wood, screw the legs to the crossbars to form a stable frame. For metal pipes, use pipe fittings to connect the pieces securely.
- Adding Drum Mounts : Once the base is ready, add mounts for your drums. You can use brackets or clamps to attach the drums to the stand, making sure each is securely fastened and positioned at the right height and angle.
- Stabilizing the Stand : Make sure the stand is stable by adding additional crossbars or supports if needed. Check to see if your drums are wobbling, and if so, tighten any loose screw or bolt.
- Sanding and Finishing : Sand any rough edges or surfaces to avoid getting splinters or scratches. You can also paint or finish the stand to match your kit's aesthetic.
- Setting Up Your Drums : Place your drums on the stand and make final adjustments to the height and angle, ensuring everything is secure and comfortable to play.
With your stands built, your DIY kit is nearly complete. Next, we'll put the entire kit together and get ready to rock!
Step 6: Assembling the Drum Kit

The final step is bringing everything together and assembling your kit!
Arranging the Different Elements
- Bass Drum : Start with the kick. Place it in the center and slightly tilted away from you, making sure it’s stable on the ground and locked in place. The last thing you want is to have it sliding around when you start playing!
- Snare Drum : Position the snare drum to the left side of the kick (for right-handed players) or to the right (for left-handed players). It should be at a comfortable height for your hands to hit it easily without straining.
- Toms : Place the toms around the kick. If you have more than one, arrange them from smallest to largest from left to right (for right-handed players). Your rack tom can go above and to the left, while your floor tom should sit next to your kick. Angle any rack toms slightly towards you for easy reach.
- Cymbals : Set up your cymbals next. The hi-hat goes to the left of the snare drum, and the ride cymbal is usually placed to the right. Crash cymbals can be placed above the toms or to the right of the ride cymbal. Use cymbal stands to adjust the height and angle to your preference.
Final Adjustments
Once your kit is looking good, adjust your drum throne to a comfortable height. I like to set mine so my thighs are parallel to the ground, and my feet should rest flat on the floor or pedals.
From there, attach the kick pedal and make sure it’s comfortably positioned for your foot. Adjust the tension of the pedal spring if necessary.
Sit at your kit and groove around a little bit, making any necessary adjustments to the height and angles of your drums and cymbals until everything feels right.
Customization and Decoration
Now that your drum kit is assembled and ready to play, it's time to make it uniquely yours. Customizing and decorating your drum kit not only adds a personal touch but also makes it look as good as it sounds.
Painting and Decorating Your Drums
If you really want to customize your kit and make it truly yours, one of the best ways to do so is by painting it!
- Choose Your Paint : Select a paint that’s suitable for wood or metal, depending on your shells. Acrylic paint works well for most surfaces.
- Prepare the Surface : Lightly sand the shells to create a smooth surface for the paint to adhere to, wiping away any dust with a damp cloth.
- Prime the Shells : Apply a coat of primer to make sure the paint adheres well and lasts longer. Let it dry completely before moving on to the next step.
- Paint the Shells : Use a brush or spray paint to apply your chosen color. You might need several coats to get an even finish. Let each coat dry before applying the next.
- Seal the Paint : Once the paint is dry, apply a clear sealant to protect your design and give it a glossy finish.
Of course, beyond paint, there are plenty of ways to add custom elements to your kit to make it unique!
For the shells, for example, you might consider using materials like glitter, metallic foils, or fabric wraps to give your drums a unique texture and look. Another popular customization is adding your name or band logo to the front head.
Get creative with some stencils and paint, or have custom decals made!
Conclusion
There you have it, a guide on how to create your own drum kit!
As I said before, building your own kit can be a super rewarding project that not only teaches you more about drums but also helps you get the custom look and style to fit you!
Don't be afraid to experiment and personalize your kit either.
From here, I'd highly recommend connecting with other drummers online or in your local area. Sharing tips, techniques, and experiences can be incredibly valuable. Have fun on this building journey, and we can't wait to see what you create!


