

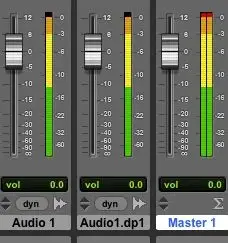
You'll find a master bus in every DAW that you use. The master bus is there to sum all of your sources into a final mix that comes out of your speakers. You can think of it as the final stage in your session before the audio is sent to your interface.
While the definition may sound pretty straightforward, it's important to know how to manage your master bus and master bus processing so that you can make your mix sound great overall.
Making bad choices on your master bus is a surefire way to negatively impact your entire mix.
The question you might be asking is,
How do I use my master bus, and what kinds of master bus processing should I use with caution?
To answer your questions, keep reading as we take you through all you need to know about using the master bus to craft the perfect mix.
What Is A Master Bus?
Before we dive in, it's important to understand what a master bus is.
In just about every DAW's mixer, you'll find a master bus that acts as the final stereo bus where all the tracks go before they are sent out to your interface and speakers.
All of your mix buses, such as your drum bus or vocal bus, as well as all of your aux channels, are routed here eventually. Some people refer to the master bus as the stereo bus, the mix bus, or the 2-bus. However, because it's possible to create a mix bus that is not the final stereo channel before the output, we like to keep them separate.
It's also crucial to note that while the master bus sums up all of the tracks in your session, it is also a track of its own, meaning you have room for plug-ins on the inserts and a master fader to adjust the level.
There are many engineers that use additional master bus processing to impact the entire mix.
Why Should I Pay Attention To My Master Bus?
Your master bus is essentially what your stereo file will sound like when you bounce the mix out of your session. Because it is representative of your final product, any issues with levels or dynamics will end up being heard.
It's often the case that issues you can hear on the master bus are issues within the mix that you should go back and address individually. Some of the most basic forms of mixing, including gain staging and headroom, often go overlooked until people see their meters flashing red on the master.
While all of that is extremely important to keep an eye on when creating a pro mix, there are also many other things you can do to shape the tone of your entire mix.
People often refer to this as mix bus processing or master bus processing. Because you impact every single track at one time with mix bus processing, you can make gargantuan changes with the smallest adjustment.
Let's go through a few ways you should approach mix bus processing for a healthy, exciting mix.
Keeping An Eye On Your Levels
As we said earlier, so many engineers end up overlooking their levels, especially beginner and intermediate mixers who find themselves too deep in the plug-in world to care about something that seems so mundane.
Even after adding a few tracks together in your mix, your levels can substantially change. Audio production noobs often don't realize this is a problem until much later down the line.
If your levels are too hot on the master bus, you'll get a harsh clipping sound, which will stick onto your mix when you bounce it out. And no, this is not the good kind of clipping you often hear about in music production.
One thing you can certainly do is pull your master fader down until you get your levels to a healthy place. However, while this quick solution may work if you're short on time, it is not the best way to manage your levels.
The best way to manage levels on your mix bus or master bus is with gain staging.
In short, you should make sure you're keeping an eye on your levels at each stage of the mixing process.
If you can get a good volume balance on your mix with plenty of headroom on the mix bus, you'll have much more room to work with down the line. Plus, when it comes to sending it to a mastering engineer or getting your track mastered with eMastered, your track will be at the correct level to push it with other types of processing.
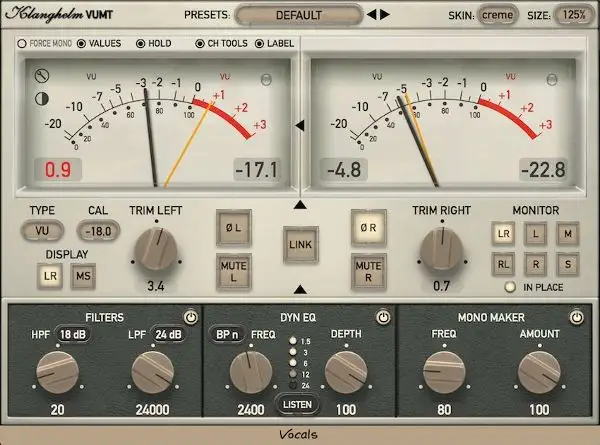
As a rule of thumb, we recommend not letting the peaks in your track go higher than -9 dBFS, averaging around -18 dBFS. It's easy to read this with some good meters. You'll also likely find that your mix will sound clearer and fuller if you follow this rule of thumb.
Master Bus Processing
With master bus processing, you can affect all of the instruments, vocals, and effects in your mix, using plug-ins like EQ, compression, saturation, and stereo field enhancement.
The thing is that master bus processing can be a very controversial subject, as this kind of mix processing can easily destroy an entire mix. So many producers and mix engineers (even experienced ones) can easily suck the life out of a great mix by utilizing mix bus processing in an aggressive manner.
If you really believe you know what you're doing and you have a reason to process your master, go for it. It can be great if you want to get your sound closer to a finished mix.
However, if you're just doing it because someone on the Internet told you to, we recommend leaving it for the actual mastering process.
With that said, there's no reason you shouldn't start experimenting with different plug-in chains on your master. See how different tools react to your mix in different ways.
Here are a few things you can try:
Parametric EQ
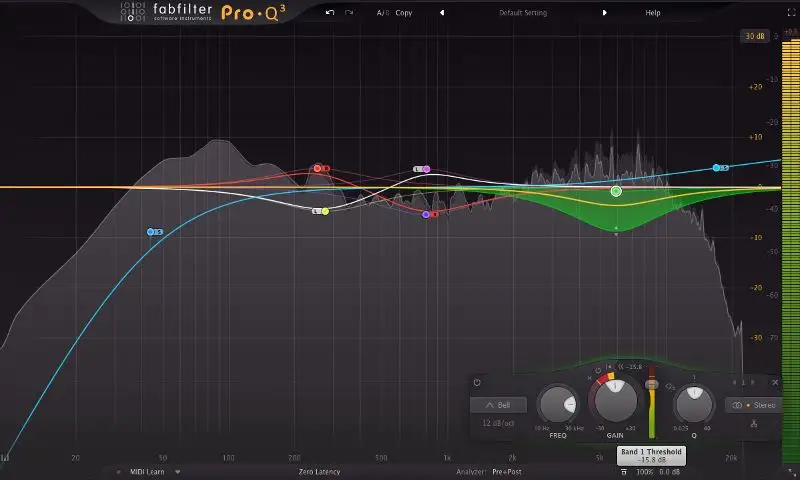
EQ is one of the best things to start with when processing your master, as you can determine what your mix needs in terms of frequency content as a whole to get it closer to a polished and professional sound.
We recommend using a reference track when making EQ adjustments to your mix. Without any direction, it's easy to trick ourselves into thinking our low-mids are muddy or that we need to boost the highs and lows to get those exciting extremes.
When you compare your mix with a reference track, you can ask yourself what's different about your mix compared to the reference.
Maybe you can add a bit of high-end because your mix is sounding dull compared to the reference.
Maybe your mix sound cluttered in the mids and needs a bit taken out around 500Hz to give it clarity.
Whatever the case may be, it's important that you are gentle when using EQ on your master, as you're impacting the full mix. Use wide Q settings and try not to boost or cut more than 1 to 1.5dB.
Compression
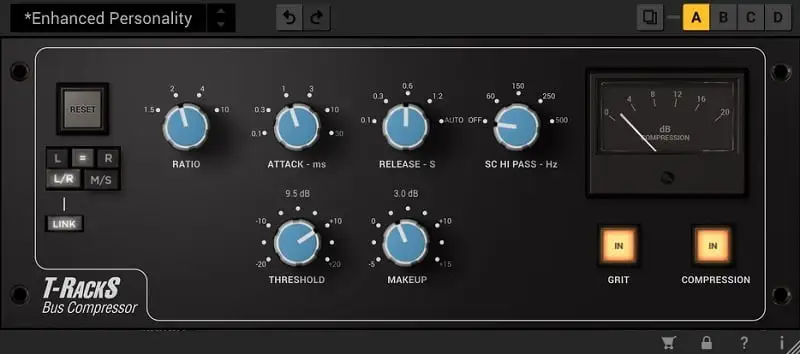
The last compressor that goes onto your full mix before you bounce it out is part of your mix bus compression process. The goal of applying compression on the master is to glue all of your tracks together.
VCA compressors are great for this, as they are very clean and transparent yet can pull tracks together to make them sound like a single, cohesive unit. Of course, you could also go with a Vari-Mu compressor, such as a Fairchild emulation, though it might introduce some harmonic distortion.
That's not necessarily a bad thing, though it is worth noting if you're after transparency.
The truly important thing here is not what kind of compressor plug-in or outboard gear you have but the settings you use. Start with a slow attack and an auto release if your compressor has that. The last thing you want is a fast release, as it could introduce pumping into your mix.
Keep your ratio fairly low at around 1.5 to 2, and use about 1-2 dB of compression.
Any more than that, and you can crush the much-needed transients in your mix.
If you use heavier settings, we recommend doing it in parallel. Parallel compression gives you the best of both worlds by retaining dynamics and giving you the punch, power, and sustain of an over-compressed sound.
Saturation
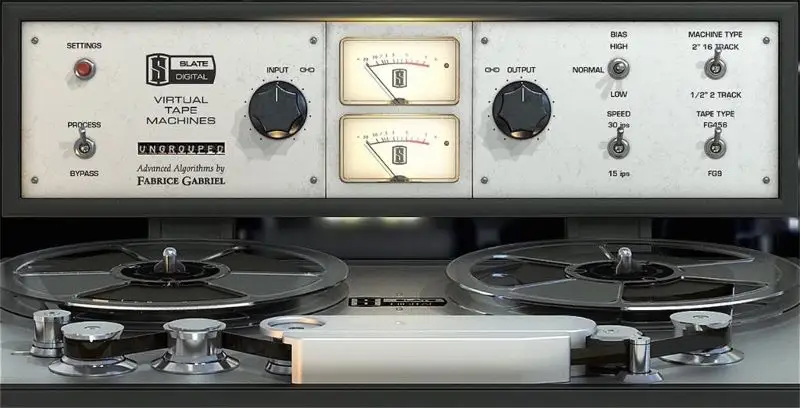
If you're mixing everything in the box, using a bit of saturation when mastering can give you that much-needed warmth. Think about it this way. Back before computers, music was recorded to tape. This means that every element in every song was affected and colored with tape saturation.
Of course, you may be a producer who doesn't want to emulate the characteristics of old-school music, and that's totally fine. Even a hardware compressor emulation will give you a bit of harmonic distortion to give your mix character, and that's truly all you might need.
Just like with compression, it's important to be subtle with your saturation if you choose to use it. Too much, and you can lose clarity in your music.
Stereo Widening
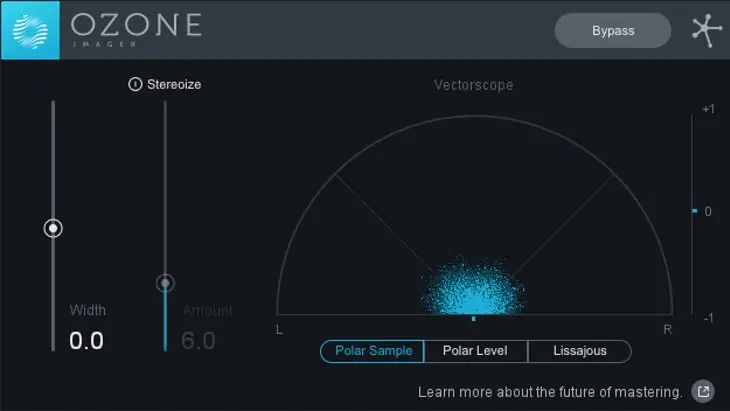
If you're ever blown away by how professional mixes seem to wrap around you when you're listening to them, it's most likely because they were given a stereo field enhancement treatment during mastering.
Using a quality stereo imager, such as the one from iZotope, can spread the right parts of your mix, making it wider and bigger while retaining punchiness.
If there's any one piece of advice we could give you when it comes to stereo widening (and you probably already guessed it), it is that you need to be subtle.
Going overboard with stereo widening can create phase issues, and your sounds can begin canceling each other out. We recommend making sure you've used the proper panning or time-based effects in your mix to make it sound wider before resorting to this.
Tools you Shouldn't Put On Your Master
So far, we've gone through a couple of tools you can use to impact your mix in positive ways. However, there are a few things you should avoid using on your master, including;
- Modulation effects - flangers, chorus, phasers, etc.
- Pitch Effects - Pitch shifters
- Time-based effects - delay and reverb
With that said, there are some engineers who swear by adding a slight bit of reverb to their master bus to put all of their instruments in one place. However, it's a dangerous game that can smear your transients and leave you with a washy, inarticulate mix. It's better to use time-based processing when mixing instead.
Should I Leave My Master Bus Processing To A Mastering Engineer?
Before we answer this question, note that master bus processing is not mastering.
They don't simply add a few plug-ins to make a mix sound good. They use incredibly sophisticated techniques and the headroom you've left them to make mixes sound bigger, wider, bolder, and punchier. They make sure that the levels are correct when they bounce out the final versions so that you can put them on your favorite streaming services.
Mastering is also far more than making your mix louder. A great engineer can take a whole mix that is sounding a bit dull and breathe life into it, enhance it, and use certain effects in a subtle manner to bring the overall mix to life.
These engineers must also work in rooms that are meant for mastering, where frequencies are even, and every sound can be heard clearly.
Final Thoughts - New Understandings For A Better Sound
By now, it should be pretty clear how important your master bus is to your overall track sound. It is the last point in the signal flow in your DAW, and it requires care at all times.
If you neglect the master bus, you could have a song with tons of issues after you bounce it.
Of course, because you've read this article and have a better understanding of the master, you know exactly what mistakes not to make to keep your music sounding the best it can!


