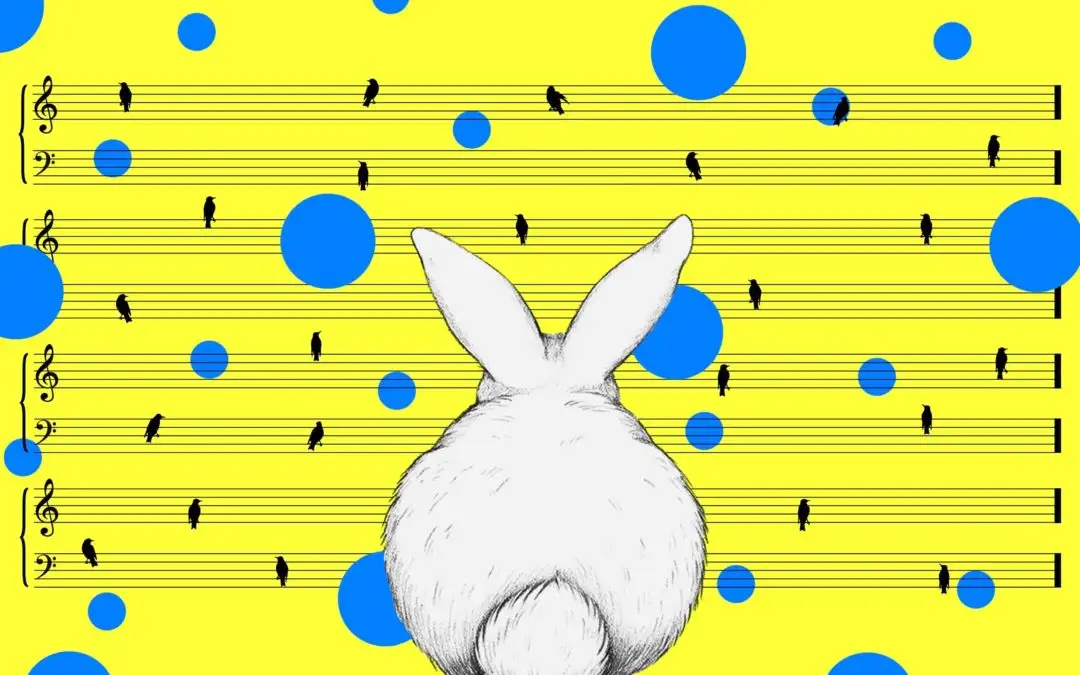
Yes, I’m going to let a bunny show us the basics of audio. Trust me, this will make sense in a second.
In 2012, Tape Op Magazine , a publication all about recording music, published an issue with an interesting cover. It included what looks like a doodle of a bunny for each type of basic audio format and sound effect. So there’s a bunny drawing for mono, stereo, delay, modulation, harmony, dissonance, reverb, distortion, compression, limiter, sustain, crossfade, digital, analog, and lo-fi.
Strange, but very helpful.
Each section of this post corresponds to one of the bunny drawings found on that Tape OP Magazine cover, and in this post I’ll go into more detail about each sound effect or format it shows.
Mono And Stereo
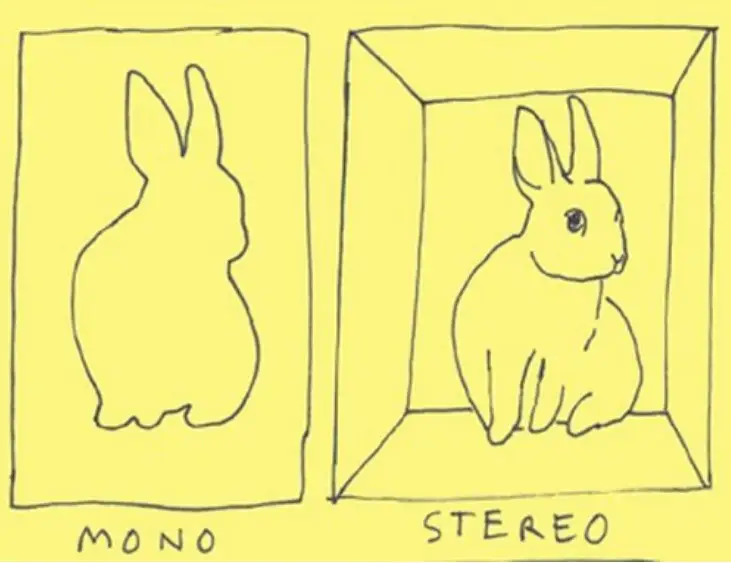
If mono is one dimensional, then stereo is two or three dimensional.
Simply put, mono is when you use one channel to reproduce audio . When you listen to a song recorded in mono, like some of the recordings by Bob Dylan, The Beatles, and Miles Davis, it’s usually centered in the audio field.
Stereo, on the other hand, is when you use two or more channels to make it sound like the music is coming from all angles . Most music today is recorded and heard in stereo, whether it’s you producing music from your home or Jay-Z recording a new record.
While mono is easier and cheaper to use, it’s less manipulatable than stereo. Typical uses of mono recordings include radio talk shows, AM radio, and most music from the mid-1900s and before.
Delay
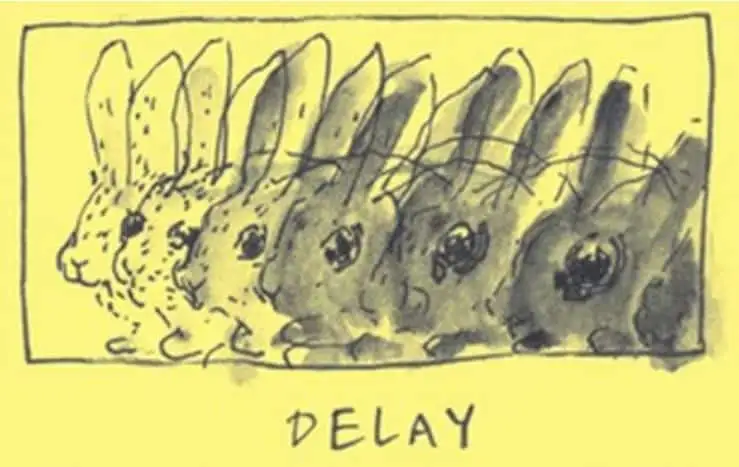
Delay is like an automatic copy-and-paste with each new paste being quieter and more distant than the original.
Basically, delay records the input signal and then plays it back after a certain period of time. So if you record yourself singing “Rabbit,” delay would play that back over and over again, each repetition sounding like it’s fading away.
You can choose the number of times that “Rabbit” repeats itself, and this is called “feedback.” The time in between each repetition is called the “delay time.” You can set both of these controls in whatever delay FX you’re using.
Modulation
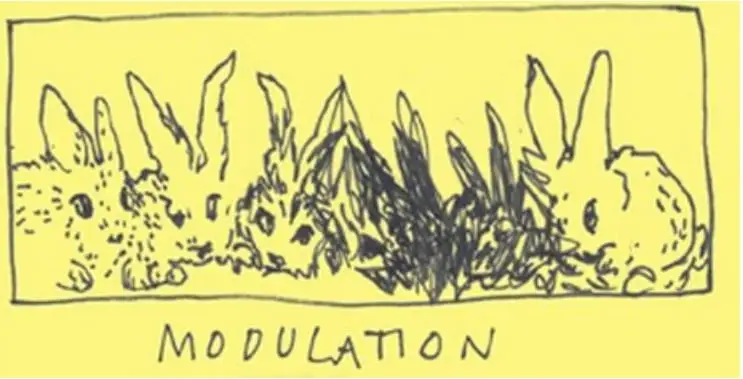
Modulation is taking a note and changing the key.
So you could be playing a song in the key of G major — let’s say G-Bm-C. Then you want to modulate to the key of D major, both of which have four chords in common with each other: G major, B minor, D major, and E minor. You can use any one of these chords as the “pivot chord” to go from one key to the next.
Modulation is like a rabbit that has similarities between two other rabbits.
Harmony And Dissonance
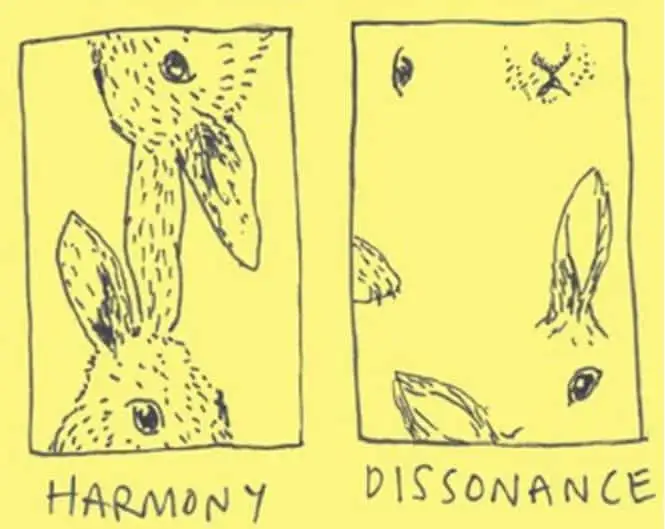
Harmony (consonance) and dissonance are, in my opinion, the heart and soul of music. They help give us contrast and surprise. They take us on a trip and then take us home.
Harmony is when things sound pleasant together , when they’re flowing in a state that anyone can tell sounds “good.” Dissonance, however, is when things sound tense or just not right. It’s the push and pull between these two creates great music, when it’s done well. The dissonant parts of a song make the home chord that much sweeter.
When dismembered parts become whole, people better appreciate the song as a whole.
Reverb
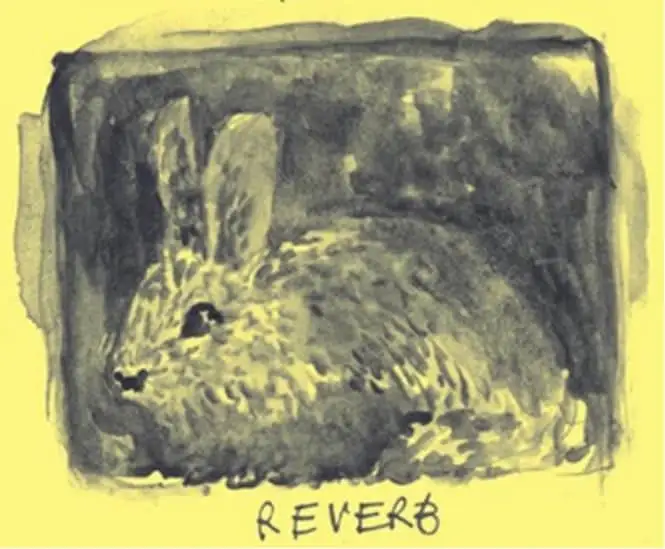
Reverb changes the size of the perceived room of a recording. It can make a lone bunny sound like it’s in a huge cave.
When you hear reverb, you hear a combo of direct sound (sound hitting your ear directly from the source) and reflected sound (sound hitting your ear after bouncing off other surfaces). Our ears and brains use this mix of direct and reflected sounds to tell us what type of room we’re in.
So reverb helps create a space for your sounds to sit within.
Distortion
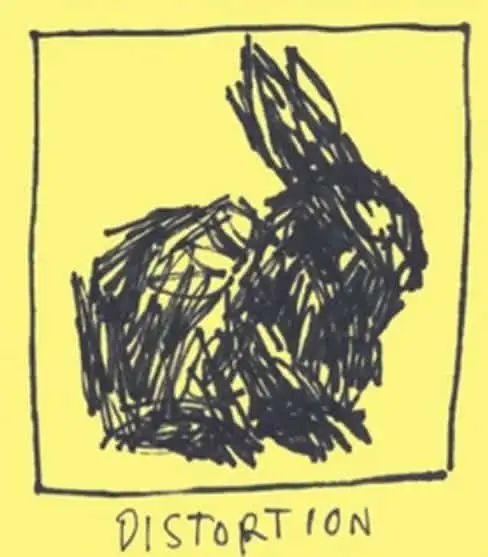
Distortion is when you over-process the audio signal on purpose , clipping and squishing waveforms. It’s like taking a cute little bunny and making it messy and less distinguished.
Most of the time, people use distortion on electric guitars, but you can also add subtle distortion to drums, vocals, bass, or really any instrument in order to give it a bit of attitude. Sometimes, distortion works best when there’s just a bit of it around the edges instead of drenching the whole sound.
Compression
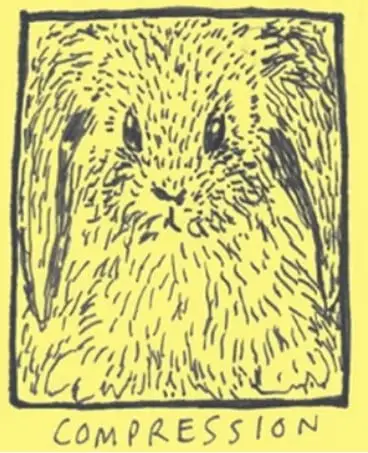
Compression brings the quietest parts of your track and loudest parts of your track closer to the middle. Basically, it makes the gain (essentially volume) more consistent across an entire track.
It uses a threshold which lets you choose at what dB the gain reduction begins. Once the gain reduction begins, it uses a ratio (which you also set) that determines how much the gain is reduced. Compression tames the dynamics of a track and generally fills out the sound.
It’s perfect for vocals, bass, and any instrument that varies in loudness throughout a track.
Compression is also one of the main effects used in mastering a song. For example, when you master a track through eMastered, we’re using compression (among other things) to make your song sound professional.
Limiter

A limiter is similar to a compressor (it uses gain reduction and can sometimes have a threshold setting), but the main difference is a limiter’s gain reduction isn’t controlled by any sort of ratio you set. Instead, you set a ceiling output, which means the audio going through your limiter won’t go above your ceiling.
Hence, the drawing of the bunny’s ears going right up to the top of the box and leveling out.
It can help increase the overall volume and density, and it can reduce the peaks. Limiters work well as the last plugin in your signal flow, just to ensure no clipping is happening.
Sustain
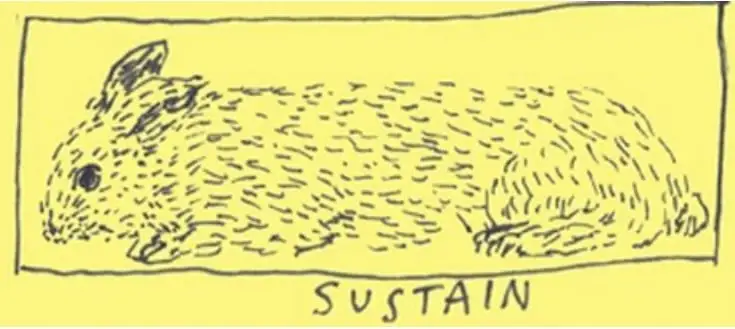
To talk about sustain, it’s helpful to talk about ADSR — Attack, Decay, Sustain, and Release. ADSR envelopes are something you need to know if you’ll be doing music production. It doesn’t matter what you’re recording, ADSR envelopes are involved.
The attack determines how fast the envelope begins. Decay determines when the sound should start to die out. Sustain determines how high the output of the whole envelope should be. And the release determines when the note should stop, when it should be released.
Basically, sustain sets the level at which the volume will stay constant until its released. How long sustain is held is not directly programmable, rather it’s determined by the distance between decay and release.
That’s a lot of technical jargon. If you’re lost, refer back to the drawing of the bunny.
Crossfade

When you blend the end of one track item with the beginning of the next item, that’s called crossfade.
For example, if you’ve recorded multiple vocal takes for a chorus, you can splice them together using crossfade. It allows everything to flow naturally without any clicks or blips. It basically fades out the first audio file and fades in the second audio file at the same time, usually happening in less than a second or two.
Digital, Analog, And Lo-fi
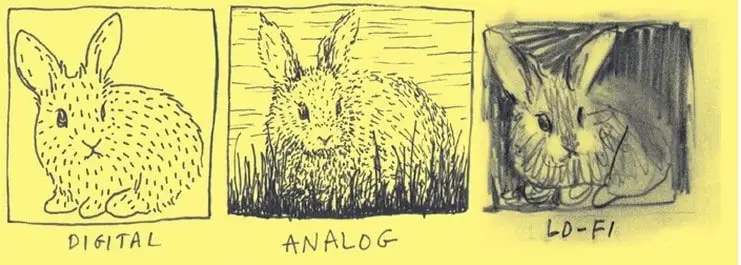
Analog music refers to music recorded with or through a physical thing, like vinyl or 8-track recorders. And each time you listen to music in analog format — vinyl, cassette tape, CD — there’s wear and tear on the music-delivery format. So analog music is at its highest quality right out of the package. Because of this physical format, there are natural hums and background noises in the playback of the recording.
And digital music is a copy of analog music. It captures your recording in samples, usually 44,000 times per second, and copies the music in bits to a digital file format. As you can see in the bunny drawings, digital music is very clean and pristine. It’s all about avoiding background noises, hums, and buzzes that have always been in analog formats.
Lo-fi music is the combination of these two, using those analog sounds as part of their digital music. A lo-fi music producer purposefully leaves or adds analog sounds as an artistic choice.
Thank The Bunny
At this point, I’d like to thank the bunny for simplifying these basic audio terms and definitions (never thought I’d write that sentence). Once you understand how these basic audio formats and sound effects work, the doodles we’ve looked at make much more sense.


