


Knowing what to do when recording at home is often more clear than what not to do. But the dos and don’ts are equally important.
I put together this list because I’ve learned these things from experience. And I don’t want other home producers to have to.
I’ll go through a few dos and don’ts from each of the four main stages of recording a song from scratch: your recording space, your recording equipment, the recording process, and post-production.
Your Recording Space
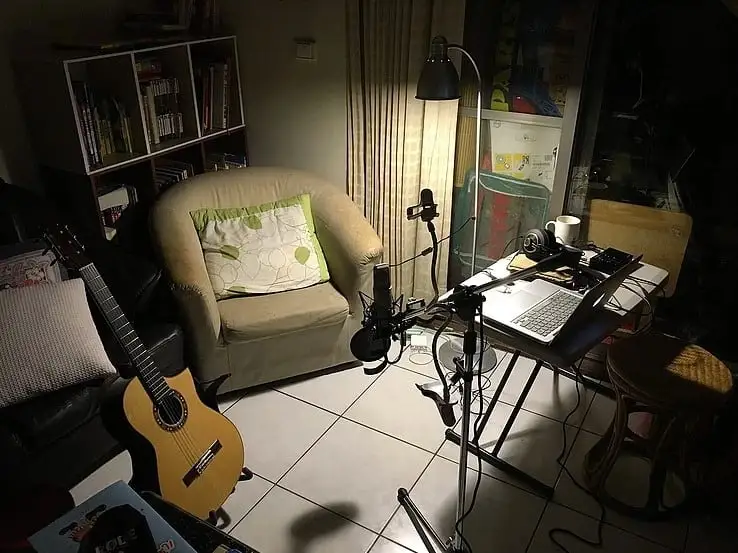
The first thing to cover is where you’ll be recording music. It’s a deciding factor in the quality of your recordings, despite how overlooked it often is.
DO Pick The Right Room
Most musicians recording at home don’t have much choice when it comes to recording space. It’s all about working with what you’ve got.
But, if possible, try to pick a space/room that’s big, quiet, and has hardwood floors. Bigger rooms have less reflected sound and better reverb. Quiet rooms keep outside noise out of the recording. And carpet absorbs mostly higher frequencies, which is bad for acoustics.
I currently record in a walk-in closet, which — sound-wise — is not the best in the house. But it’s the only available one and I’m making it work.
DON’T Use An Untreated Space
Whatever space in your house you end up recording in, you should add as much acoustic treatment as possible. This can involve acoustic panels, bass traps, and diffusers, and you can buy these materials new or take a DIY approach.
For the full low-down on treating your room, check out our beginner’s guide to acoustic treatment.
Your Recording Equipment
What you record with is almost as important as where you record. So here are some dos and don’ts when it comes to recording equipment.
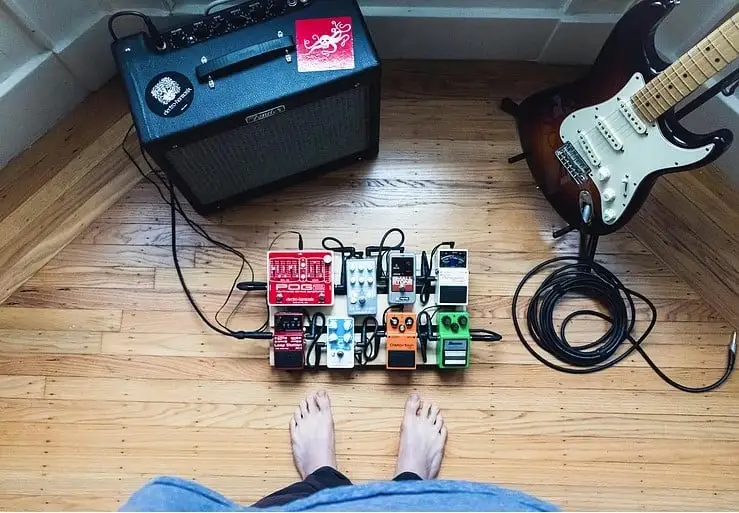
DO Get The Best Equipment You Can Afford
Your budget is probably not huge (I know mine isn’t), but it’s still important to get the best recording equipment you can. A bad microphone can ruin a good song. A cable with a buzz can wreck an entire recording. So do your research before you buy. It will be worth it.
DON’T Freak Out If You Only Have An iPhone
On the other hand, if all you have is an iPhone, you can still record music. People have recorded hit pop songs on a phone. So if your equipment isn’t great and you have no budget, that’s not an excuse for not making music.
DO Know How To Use Your Equipment
Whatever equipment you end up with, the most important thing is that you know how to use it and how it all works. You could have the fanciest audio interface, but if you don’t know how to use it, you won’t be able to record quality music. Likewise, if all you have is an iPhone but you know all the ins and outs of how GarageBand works, you’ll be just fine.
DON’T Keep Your Equipment Stored Away
I know musicians who have no choice but to put their recording equipment on the shelf or in the closet after each recording session. Sometimes there’s just no getting around it.
But if you can help it, do not put away your equipment. Find a space where you can leave it out. The more work it is to get ready to record, the less likely you are to do it. Whereas, if you can just pop over to your recording space with everything ready to go, you’ll find yourself doing it so much more.
The Recording Process
Now for the how behind recording at home — a crucial aspect of making a great song.
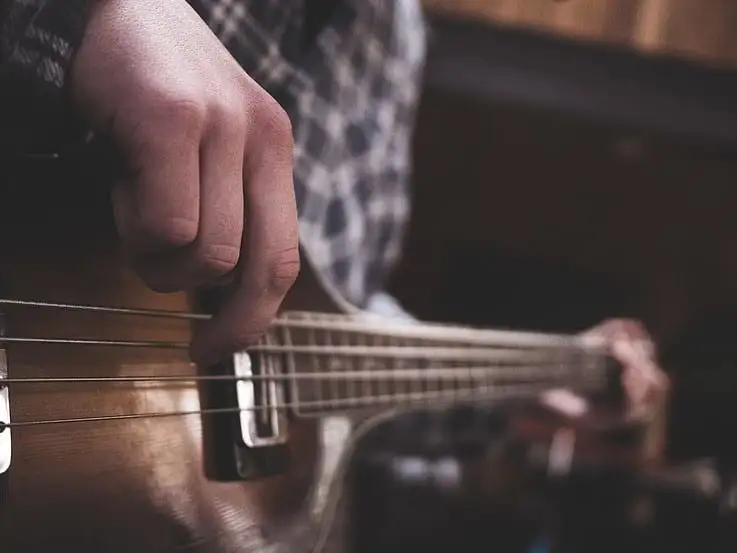
DO Isolate Your Sound Source
There’s a saying in audio engineering: “You can always add reverb to a recording, but you can never take it out.” That’s why it’s crucial — especially in non-ideal recording spaces — that you isolate what you’re recording. You want to make it sound as dead as possible.
For example, record vocals into a closet full of clothes. Or stand a mattress on its end and record your acoustic guitar into it.
Just cut out as much reverb as possible, especially if you’re in a small, carpeted room.
DON’T Record Without A Click Track
A click track (aka a metronome) keeps you on time, which obviously is needed in professional-sounding recordings. And if you’re on time, that will make edits so much easier because things just line up. Plus, playing to a click will make you a better musician.
DO Record Every Single Idea You Have
The amazing thing about the current recording technology is the editing capabilities and the amount of storage and recall. You can record 30 guitar ideas and pick the one you like later. That’s why you should record every single sound you think could work — every instrument, every melody, every lick. You can always pick the one you like after recording and get rid of the others.
DON’T Be Afraid To Re-Record
This is one I’ve been reminded of a lot lately. Your song is worth hitting record one more time and playing the part again. Your old take will still be there, and if ends up working, then you can still use it. But don’t feel rushed so much that you don’t do another take.
Post-Production
Okay, so you’ve got a well-recorded song that you made in a well-treated room. Now it’s time for the dos and don’ts of post-production…
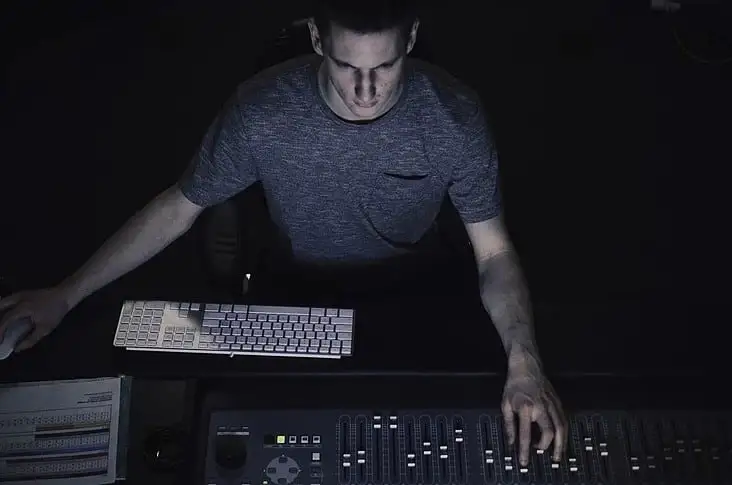
DO Use A Reference Track When Mixing
This changed the way I mix music. It’s a way of actively learning from artists who inspire you.
Before you start your mix, find a track that closely resembles your song and sounds the way you want yours to sound. Then drop that track into your DAW while you mix. Mute the reference track when you’re mixing, unmute/solo it when you want to refer to it.
DON’T Let Any Levels Hit The Red
Red is always a bad thing when working with audio. That’s when the sound source (when recording) or the level (after recording) is too loud and gets distorted.
In every step of your signal chain, stay away from the red. The anti-red mindset needs to start during the recording process, but when you’re setting gain levels, adding plugins, and setting your master fader volume, make sure the levels never hit the red.
DO Master Your Song
Mastering is the last step in the process of making an industry-standard song. It polishes up your song, making it sound like Billboard 100 hits. Hiring a mastering engineer is the typical option, and that works for a lot of musicians. But a lot of indie artists can’t afford that, even though they desperately want that pro-level quality.
That’s why eMastered is the indie producer’s savior. For a reasonable monthly cost, you can get unlimited masters that stand up to songs mastered by professionals.


