Vocoders are one of the best tools to give your mix an elevated electronic feel instantly. Luckily, these plugins often come with DAWs, or at the very least, can be purchased at a super affordable price. While vocoders are primarily used for their signature robot-like vocal processing, they have many applications. We’ll break down vocoders below and show you how to incorporate them into your mixes.
What Is A Vocoder?
For starters, it’s important to understand what a vocoder is. In its simplest form, the vocoder can be broken down into two elements: a carrier and a modulator. A vocoder takes a carrier sound and alters it with the harmonic information of the modulator sound.
The modulator signal is divided into different bands or points at which the carrier sound is altered across the frequency spectrum. Depending on the harmonic information presented by the modulator sound, the vocoder moves these bands higher or lower, producing that Daft Punk-like sound we all know and love.
Breaking Down The Parts of A Vocoder
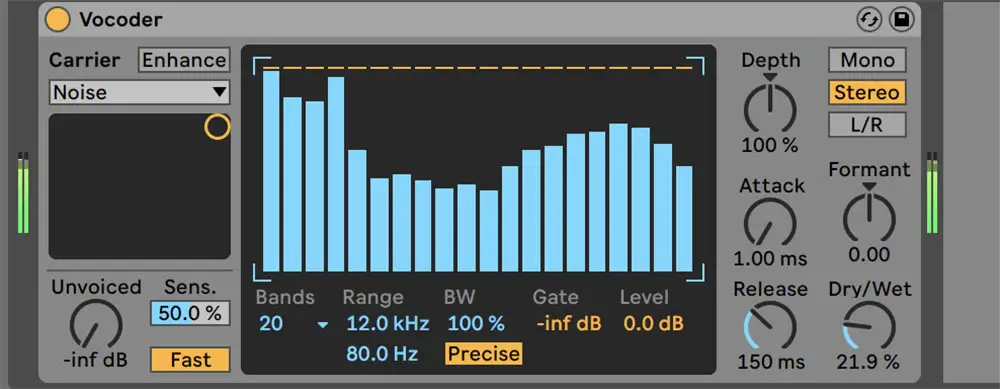
Before putting your vocoder to good use, it can be helpful to break down the main parts so that you’re able to inform your sound efficiently. Here are some of the main elements to identify:
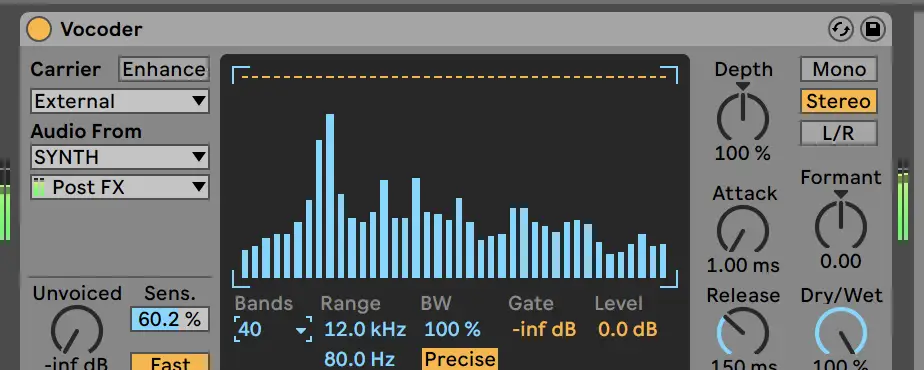
- Carrier: This determines your carrier type. The carrier can be set to an external source (like a synthesizer as pictured above), a modulator, noise, or pitch tracking setting.
- Unvoiced Knob : This represents some of the sibilances in your carrier sound. For example, in vocals, this could be harsh “s,” “p,” or “t” sounds. The vocoder automatically sets this value to -inf so that you don’t hear them, but in the event, you want more sound clarity, you might start to bring in these frequencies.
- Bands : This is how many bands you want the vocoder to use when altering the signal. Generally speaking, the more bands available, the clearer the original sound is.
- BW : This is the width of each filter within the vocoder.
- Depth : This is how deep you want the cuts on each filter band to go when processing your signal. Depth goes hand and hand with attack and release, respectively.
- Formant : Formant knobs use filters to alter the tone of your sound.
- Dry/Wet: This represents how much of your processed signal blends with the original sound.
One of the best ways to grasp an understanding of the individual parts above is to experiment! Once you have your vocoder set up with a carrier noise and modulator, play around with each parameter to hear how different settings affect the sound.
How To Use A Vocoder
Now that we understand what a vocoder is and how it works, it’s time to start experimenting!
Below, I’ll demonstrate a couple of ways you can incorporate a vocoder into your sessions. I’ll be using Ableton Live for this demonstration, but you can replicate similar results in almost any DAW .
Method 1: Modulating A Voice
Modulating is probably the most recognizable use of a vocoder. In this method, you’ll set your carrier type to “external” so that you’ll have two sounds (In this case, a synthesizer and vocal) interact with one another.
To start, I just recorded a voice memo that sounds like this:

Audio File
I also picked out a stock synthesizer that sounds like this on its own.
Audio File
Next, I went to my track that has the voice memo on it and placed the vocoder. I set the carrier type to “external” and selected the synthesizer.

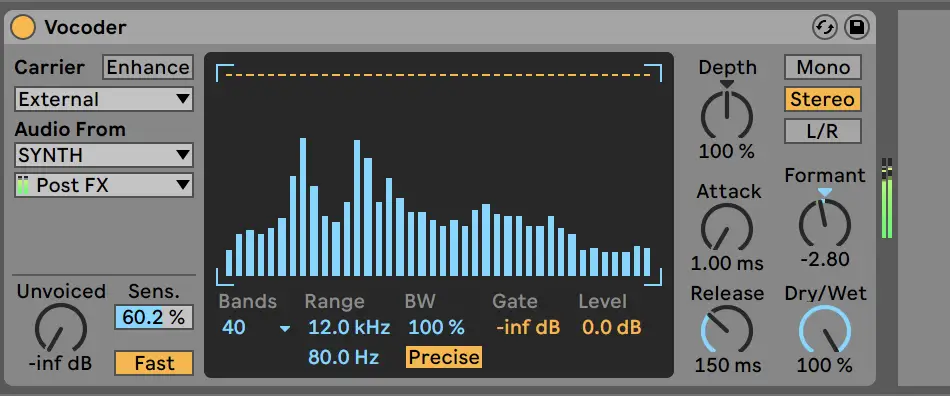
Voila! It sounds like this:
Audio File
As you can see, I also played around with the band and formant settings. Feel free to play around with your setup and cater your sound as you see fit.
Method 2: Modulating Instruments and Melodies
Another way to use a vocoder is to modulate other instruments and melody lines. You can do so with the traditional method above, but you can also use the “modulator” carrier type to have the vocoder process a sound through itself for some added interest and control.
Let’s use a bassline for this example. Here, I’ve mapped out a basic bass line with a stock bass instrument. It sounds like this:
Audio File
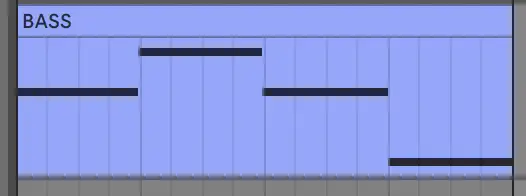

Next, I can add a vocoder onto the track and set the carrier type to “modulator.” This action will process the bass through the vocoder itself. I went ahead and set it to 20 bands and left the other setting where they are.
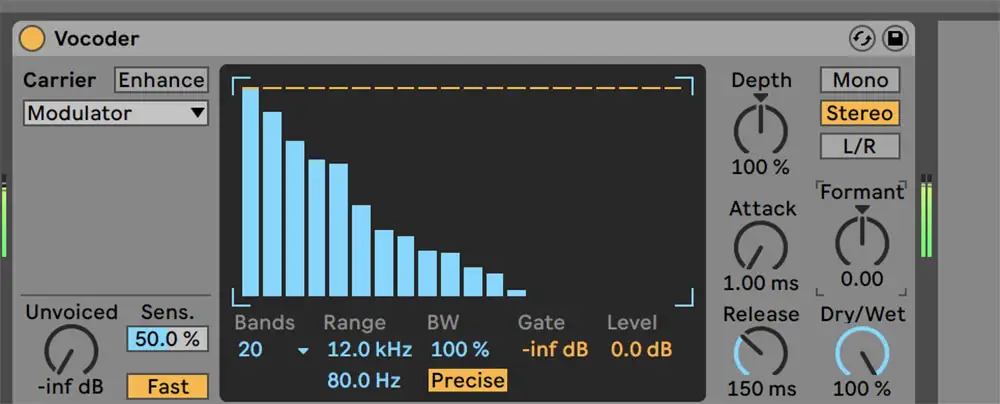
Audio File
As you can see, this use of the vocoder is more subtle. However, I think playing around with the carrier type and settings is certainly worth a try!
In my case, the vocoder can serve as a unique way to cut out some of the high-end frequencies I don’t need in my bassline while still keeping most of the feel intact.
Method 3: Modulating Drums
This vocoder use case is so simple yet so effective. It’s no secret that many EDM producers and other producers alike utilize white noise throughout their mixes to bring interest in color. This method takes that principle and automates it using the vocoder, giving your drums a bit more power and presence.
For this example, I just grabbed a simple 80’s inspired drum loop. It sounds like this unprocessed:
Audio File

From there, I added a vocoder and set the carrier type to “noise.” I then played with the dry/wet knob to get a blend I was happy with.
Audio File
It may not seem like a huge difference, but you can really tell the difference in the context of a mix. Here is an example of automating the dry/wet knob of the vocoder while playing the drum loop and the bassline.
Audio File

As you can see, the automated noise can help sounds swim and create interest throughout your mix.
All in all, vocoders are wonderful tools to have in your sound design arsenal. Hopefully, this brings you one step closer to making more interesting, complex sounds!


