

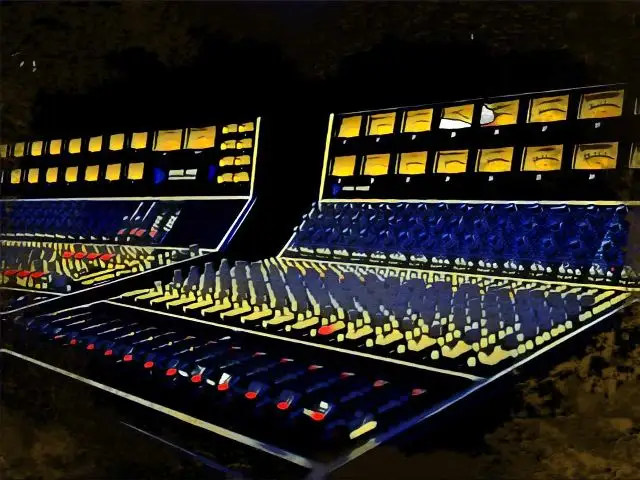
You're sitting at your studio desk with your headphones, hitting the halfway point in your mix, when all of a sudden you realize there's an annoying, persistent hiss in the background.
That, my friends, is noise .
It's the sneaky saboteur of amateur mixes, and in excess, it can make a mix feel deeply unprofessional.
However, if you want to keep your noise low, we're here to help. It starts with demystifying the term that all too often throws new engineers for a loop - the noise floor.
What is the Noise Floor?
Think about having a huge party at an apartment. When there are tons of people in the house, the noise gets so loud that starts permeating the ceiling above, effectively ticking off the upstairs neighbors.
However, as the party begins to die down and you're only left with the faint hum of background chatter, the noise in the apartment starts to recede from the ceiling to the floor. Once everyone at the party is gone and the host goes to bed, the only element of noise left is the subtle stillness of the room.
This is the noise floor .
It's the unavoidable presence of electrical, thermal, or environmental noise that we get in our recordings.
This can be the hum of an air conditioner, the sound of cars on the street below, or the mechanical components in your computer working away. Think of it as the base-level noise found in a recording.
A high noise floor would be a group of podcasters that decide to record their episode in the center of bustling Time's Square, and no one wants that. A low noise floor, on the other hand, allows listeners to focus on each aspect of the ideal recording without any distractions.
In audio, noise floor is measured in decibels (dB)
The question is, how can we keep our noise floor in check to make our recordings sound more professional?
Keeping Your Noise Floor Low
As a recording engineer, it's crucial to keep your noise floor low.
The age-old adage of "fix it in the mix" will not cut it here, even with all of the high-end noise removal tools that exist nowadays.
Here's why: a high noise floor can be like a stubborn stain on a new canvas.
Once it's there, it's tough to completely remove without affecting the quality of your audio.
When you record with a high noise floor, you're not only recording your target instrument but all the other unwanted sounds happening in the background, such as the whirr of your computer fan, subtle electrical hums, or the gentle rustle of your clothing.
While you can use software to fix noise, you'll still have degraded audio quality in the end. If you don't have access to noise removal software and you decide to continue processing your mix as you normally would, adding loads of compression and EQ will make the noise more pronounced and problematic.
The key here is preventing noise from the get-go, rather than trying to fix it later.
Knowing Your Signal-To-Noise Ratio
One important term to look out for in the context of noise floor is the "signal-to-noise ratio" (SNR).
The SNR represents the relationship between the desired audio signal (such as a voice or acoustic guitar) and the unwanted background noise (such as the hum of an A/C).
A higher SNR indicates a cleaner and more desirable audio recording.
Imagine you're trying to record a quiet sound, like a gentle acoustic guitar strum, in a room with some background noise, like a fan running. The SNR measures how much louder the guitar strum is compared to the background noise.
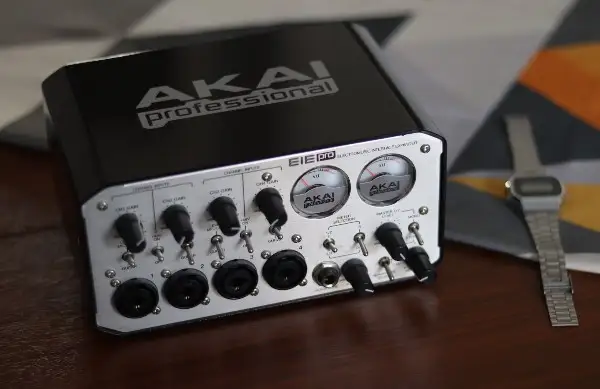
Beyond noise in the room, many active microphones have SNR specs as well, they have inherent self-noise. No matter if the environment is loud or soft, this noise will still exist.
We calculate the SNR of a microphone using a reference acoustic level of 94 dB SPL or 1 Pascal. The standard measurement at the mic's capsule is:
94dB SPL 1 khZ tone.
So, if a microphone's self noise was 14 dBA (we use A-weighted approximations when measuring self noise, as it's how we hear noise rather than how it actually affects the signal), we would subtract that 14 dBA from the 94 DB SPL to get a SNR of 80 dB.
An 80 dB SNR for a microphone is a pretty good rating. I would say any microphone that has an SNR of 74dB and above is good for quality recordings.
Dealing with the Most Common Forms of Noise
Now that we've looked at the hard math, let's take a step back into practical territory and see what we can do to keep unwanted noise out of our recordings.
Ground Loops and Electrical Noise
One of the most prominent forms of unwanted noise in our studios also happen to be one of the most difficult to assess and remedy.
Ground loops are fairly common electrical issues that occur in audio and electronic systems.
Without getting too deep into the electrical science, they happen when there are multiple paths for electric current to flow between different pieces of equipment or components, creating a loop .
Here's how this works:
In your audio setup, you most likely have a number of devices connected to one another, including amps, mixers, mics, and computers. Each device comes with a ground connection, which provides a safe and stable reference point for electrical energy to dissipate into the ground, reducing the risk of fire or electrical faults.
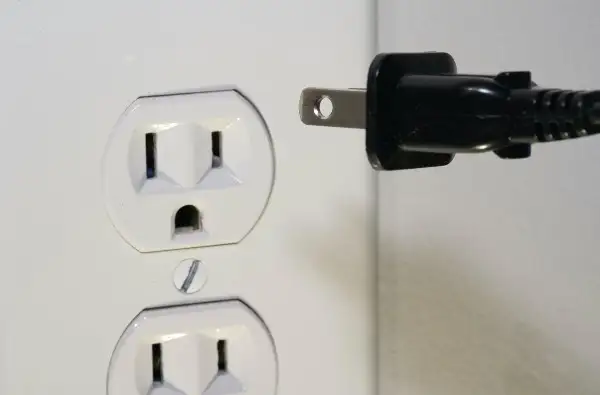
All of these grounds are then funneled to a common ground point, such as a power strip or electrical outlet.
The thing is, when there are multiple ground connections in a system, there's a potential for voltage differences between them, especially if they are connected to different electrical circuits or outlets. This voltage difference can create a loop for electrical currents to flow, and this loop can act as an antenna, picking up electromagnetic interference (EMI) from various sources, such as power cables, fluorescent lights, or other electronic devices.
The result is that this unwanted electrical noise , which is essentially the interference from the electromagnetic fields in the environment, creeps its way into your signal path and causes audible hum or buzzing.
We can mitigate these ground loops by physically or electrically separating the equipment from the electrical grounding of the environment they're used in. However, if that's not possible in your current setup, you can also use tools like DI boxes, ground lift adapters, or balanced audio cables to eliminate unwanted noise.
Rumble

Next up, we have rumble.
The studio that I work at is right next to the 101 freeway in Los Angeles, and every once in a while, a large semi will drive by. Even though I record vocals in a professionally-treated space, the rumble can sometimes get so strong that it permeates the building and gets captured in the recording.
It's incredibly quiet, but it's there.
Beyond traffic outside, rumble can be just about any low-frequency in an audio signal. It gets associated with footsteps, microphone handling, or wind noise from outdoors. Like rolling thunder in the distance, rumble often sounds deep and continuous.
Of course, we don't want a continuous low-frequency noise floating beneath our recording, which is why we need to take steps to mitigate it:
- Using a Shock Mount: Shock mounts are suspension systems that hold microphones in place, isolating them from vibrations caused by the stand. They're one of the best preventative tools for rumble!
- Low-Cut Filter (High-Pass Filter): Depending on what you're recording, you might consider engaging the low-cut filter on your mic or interface if it has one. These filters typically reduce frequencies below 80 Hz.
Wireless Interference

At any given point, you are sitting in a swarm of electromagnetic interference. It's all around you!
Luckily, most of it isn't an issue when recording.
However, in certain cases, electromagnetic waves coming from your WiFi router or smartphone can be troublesome.
If you've ever tried to record something with your smartphone sitting right next to you, you may have noticed a buzzing sound coming from your studio monitors. So, you decide to move your phone, and the buzz goes away.
This is because your phone emits radio frequency (RF) signals when it communicates with cellular towers, Wi-Fi networks, or Bluetooth devices. These RF signal can induce electrical currents in audio cables and components, so if you're recording with your phone near you, either turn it on Airplane mode or get it out of the room entirely.
The same thing can be said for WiFi. If you have a home studio, I'd recommend keeping your WiFi box in another room than the one you record in.
Background Noise

Whether it's the roar of passing cars, noisy neighbors, or even the subtle squeak of your studio chair, background noise can be a huge pain.
Luckily, there are ways to minimize background noise in your recording space:
- Outside Noises: One of the best ways to minimize outside noise in your studio without investing thousands of dollars in proper soundproofing is to keep the windows and doors closed when recording. You might even get your hands on some heavy curtains to reduce sound getting through your windows or record during quieter times of the day.
- Internal Noise: Have a squeaky chair that you record with? Lubricate the joints or find a chair that has a quieter design. Dealing with a noisy computer fan? Consider adjusting the speed manually while recording or record in a different location than your computer.
PRO TIP: When recording, do your best to wear "quiet" clothing. Those squeaky leather pants and that denim jacket with the dangling metal buttons can introduce noise.
Additional Considerations for Reducing the Noise Floor
Once you've addressed the common issues that impact your signal to noise ratio, it's important to look at the nuanced factors.
Low Input Gain
Many amateur recording engineers have a bad habit of setting their input gain too low when recording.
This is where the practice of proper gain staging comes into play. You need to amplify the level of your audio signal enough to pick up the subtle details of your recording so that it sits well above the overall noise floor, whether electrical noise from your microphone itself or ambient noise in the background.
Poor gain staging often equates to poor sound quality. When recording, make sure the level is hot enough to capture the intended source without clipping.
EQ
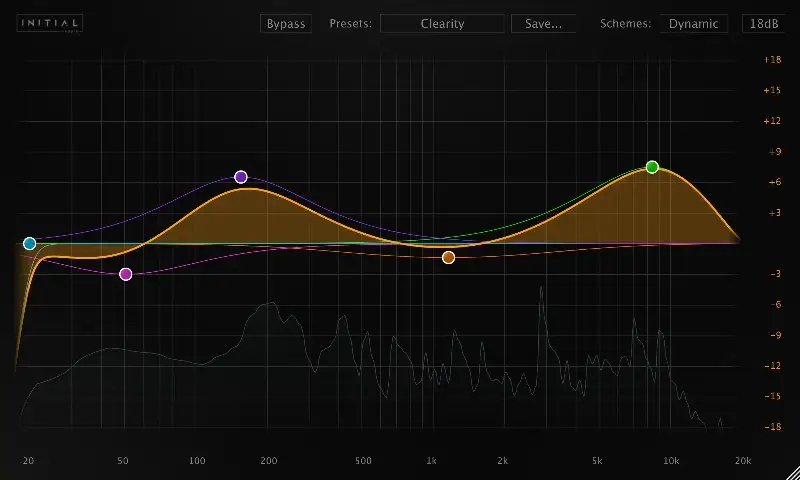
Whenever you boost a band with an EQ, you not only boost the desired signal but also any noise present in those same frequency ranges.
For example, if you throw a high-frequency shelf on a vocal to give it more sparkle and shimmer, though the vocal was recorded with a high noise floor, you might also bring up the hiss and noise.
One of the best ways to mitigate this (besides re-tracking the vocal) is to use noise reduction tools prior to EQ.
The same thing can happen when boosting low frequencies too. If you need a signal in your mix to have more low-end energy, I recommend using a high-pass filter before boosting to refrain from bringing up rumble.
Compression
Compression can be found all over modern mixes. It limits the dynamic range in our mixes and helps things sound solid and upfront. However, if you don't take care of reducing your noise floor before recording, you'll end up with a lot of noise in your mixes once you start compressing.
This is because compression brings up the quieter parts of audio signals to match the louder parts. If the quieter portions of your desired signal have a lot of noise, the compressor will make them more audible.
There are a few ways to mitigate this.
For starters, you can apply noise reduction, such as a noise gate, before compressing. If that doesn't work, you might consider the fact that you're compressing too aggressively. The more subtle the settings, the less you'll have to worry about increasing the noise floor.
You can also try multi-band compression .
A lot of the time, noise is more problematic in specific frequency ranges than others. If that's the case, you can apply heavier compression to areas without a lot of noise to control the dynamic range of the overall signal without impacting the noise floor.
Using Software to Minimize the Noise Floor
If you weren't able to reduce your noise floor during the recording process, you're lucky that you live in the technological age.
Here are a few tools you can use to minimize noise in your audio recordings:
Noise Gates
Noise gates are some of the most effective tools for getting rid of unwanted noise.
Like a compressor, a noise gate will use a predefined threshold to control the level of audio that passes through it. Once the signal level dips below the set threshold, it essentially "closes the gate," getting rid of noise during quieter moments.
Let's say you're recording a podcast, and in the background, the microphone is picking up air conditioning noise. You could set the threshold of your gate just above the level of the air conditioner but below your speaking voice to clean up the recording.
Noise Reduction Software
While you'll likely find a stock noise gate in your digital audio workstation, you probably won't find quality noise reduction software.
This type of software works differently from a noise gate in that it analyzes a noise sample in an audio recording and creates a noise profile that identifies the frequency and amplitude characteristics of the unwanted noise.
Once the noise profile is generated, you can apply noise reduction processing to the entire audio file, effectively suppressing the noise and leaving the desired audio intact.
Many professional audio engineers and editors use noise reduction software which come with several fine-tuning parameters for nearly unnoticeable noise floor reduction.
Final Thoughts - Rising Above the Noise Floor
By keeping your noise floor low, you can move one step closer to a pro mix. Avoid ground loops, minimize interference, reduce equipment noise, broadband noise, and atmospheric noise, and use quality recording equipment.
Once you check off all the boxes, you'll be able to get the best sound quality possible!


