


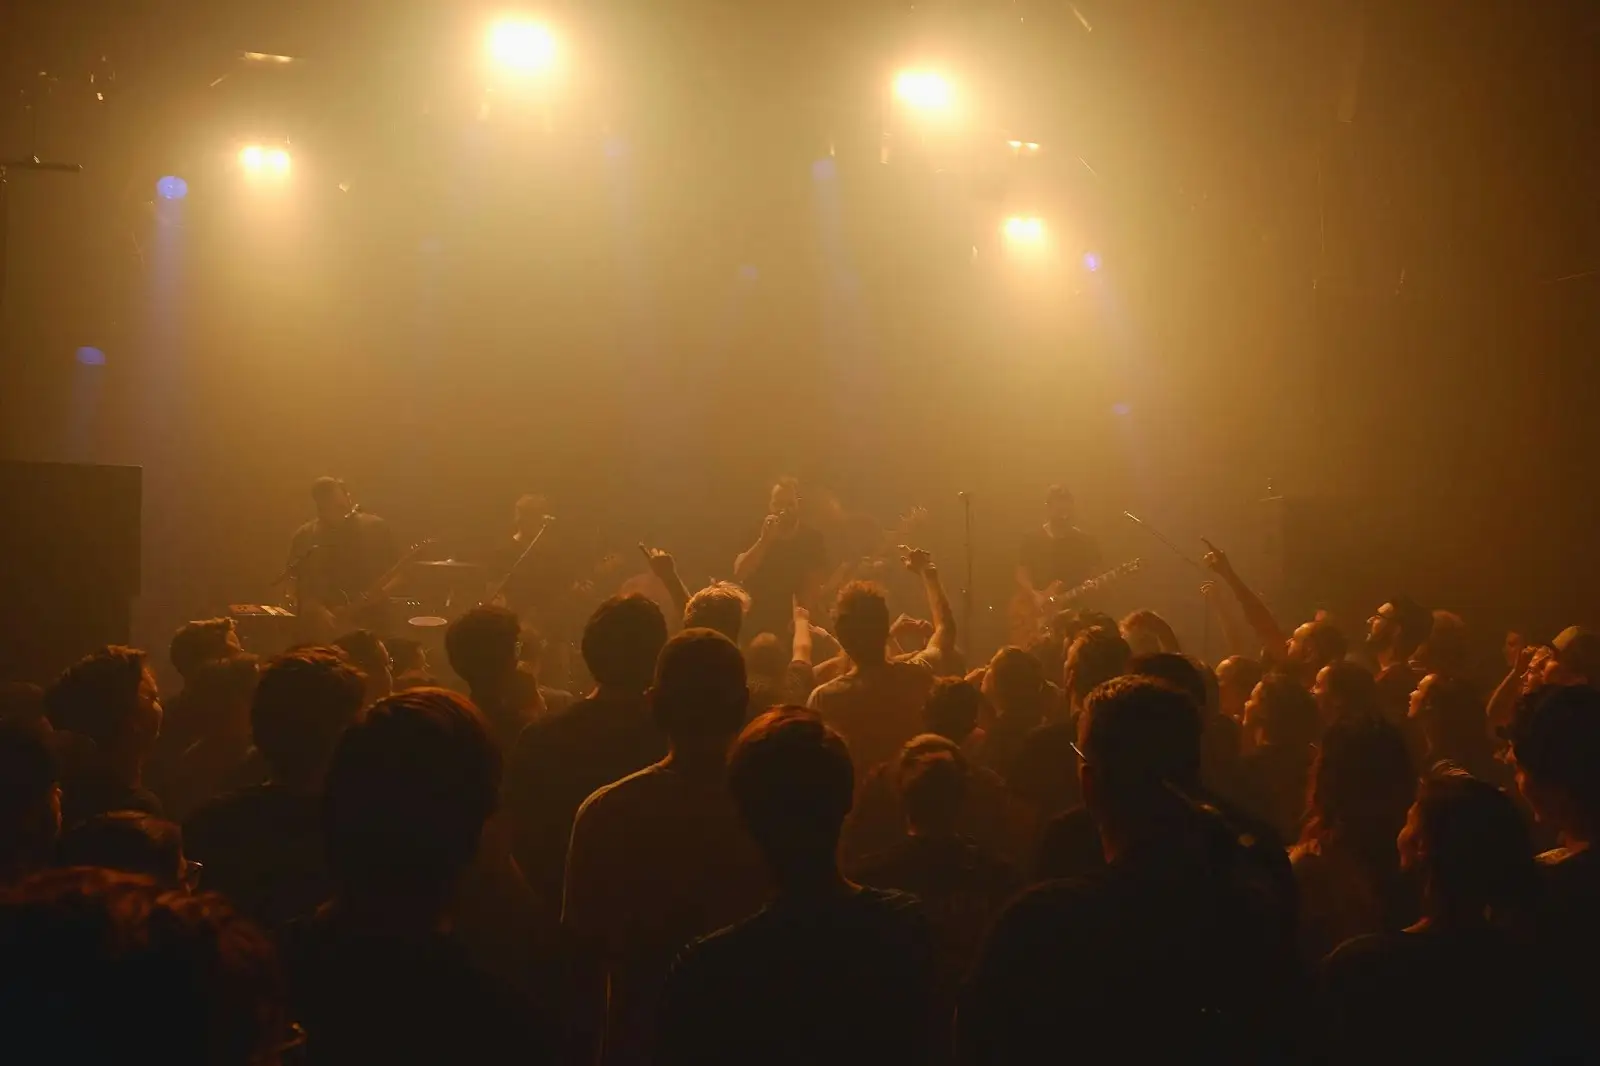
There’s many reasons to record a band live - maybe you want some quality audio from a gig for social media videos; or perhaps you want to capture the special energy that happens when bands perform in the same room as their fans.
Whatever your motivation, if you’re aiming to record live band performances, there’s a slew of things that require consideration. That’s why we’ve compiled this list of tips to help you get the most out of your recording endeavors.
Live Recording Approaches
There's many ways of recording a live band, whether it's one instrument coming out of a single speaker, or a 24-piece brass band.
If you’re Nickelback (god bless 'em) or Taylor Swift, the resources available to you for recording a live performance are infinitely more than if you’re Bob’s Awesome Pub Band.
For the purposes of these tips I’m going to straddle the middle ground between a cr*ppy recording made on your mate’s iPhone and the kind of high end live recording process employed by the Stones.
General Considerations
#1. Start With the End in Mind
Why are you making a recording in the first place? The answer to this question will help you decide on the quality you need, and the process to get there.
It may be as simple as wanting to get a sense of how the band performs on stage - in which case a simple stereo recording will suffice. If you want a more polished live demo or video you'll be better off doing a multitrack recording.
#2. Contact the Venue Ahead of Time
Whatever your recording process will be, it's always a good idea to speak to the venue and/or promoter before the gig to clear the recording with them.
They may already have plans to record the band (and sell it to back to them). Or you may find the contract states that any recordings made on the premises belong to the venue (some do!).
#3. See a Show at the Venue
When it's practical always aim to see a show at the venue you're planning to record in. Get a sense of the layout of the room, where the audience hangs out, and where you might be able to set up your recording gear.
It's also a smart move at this point to make friends with the FOH engineer and find out what the mixing desk is capable of.
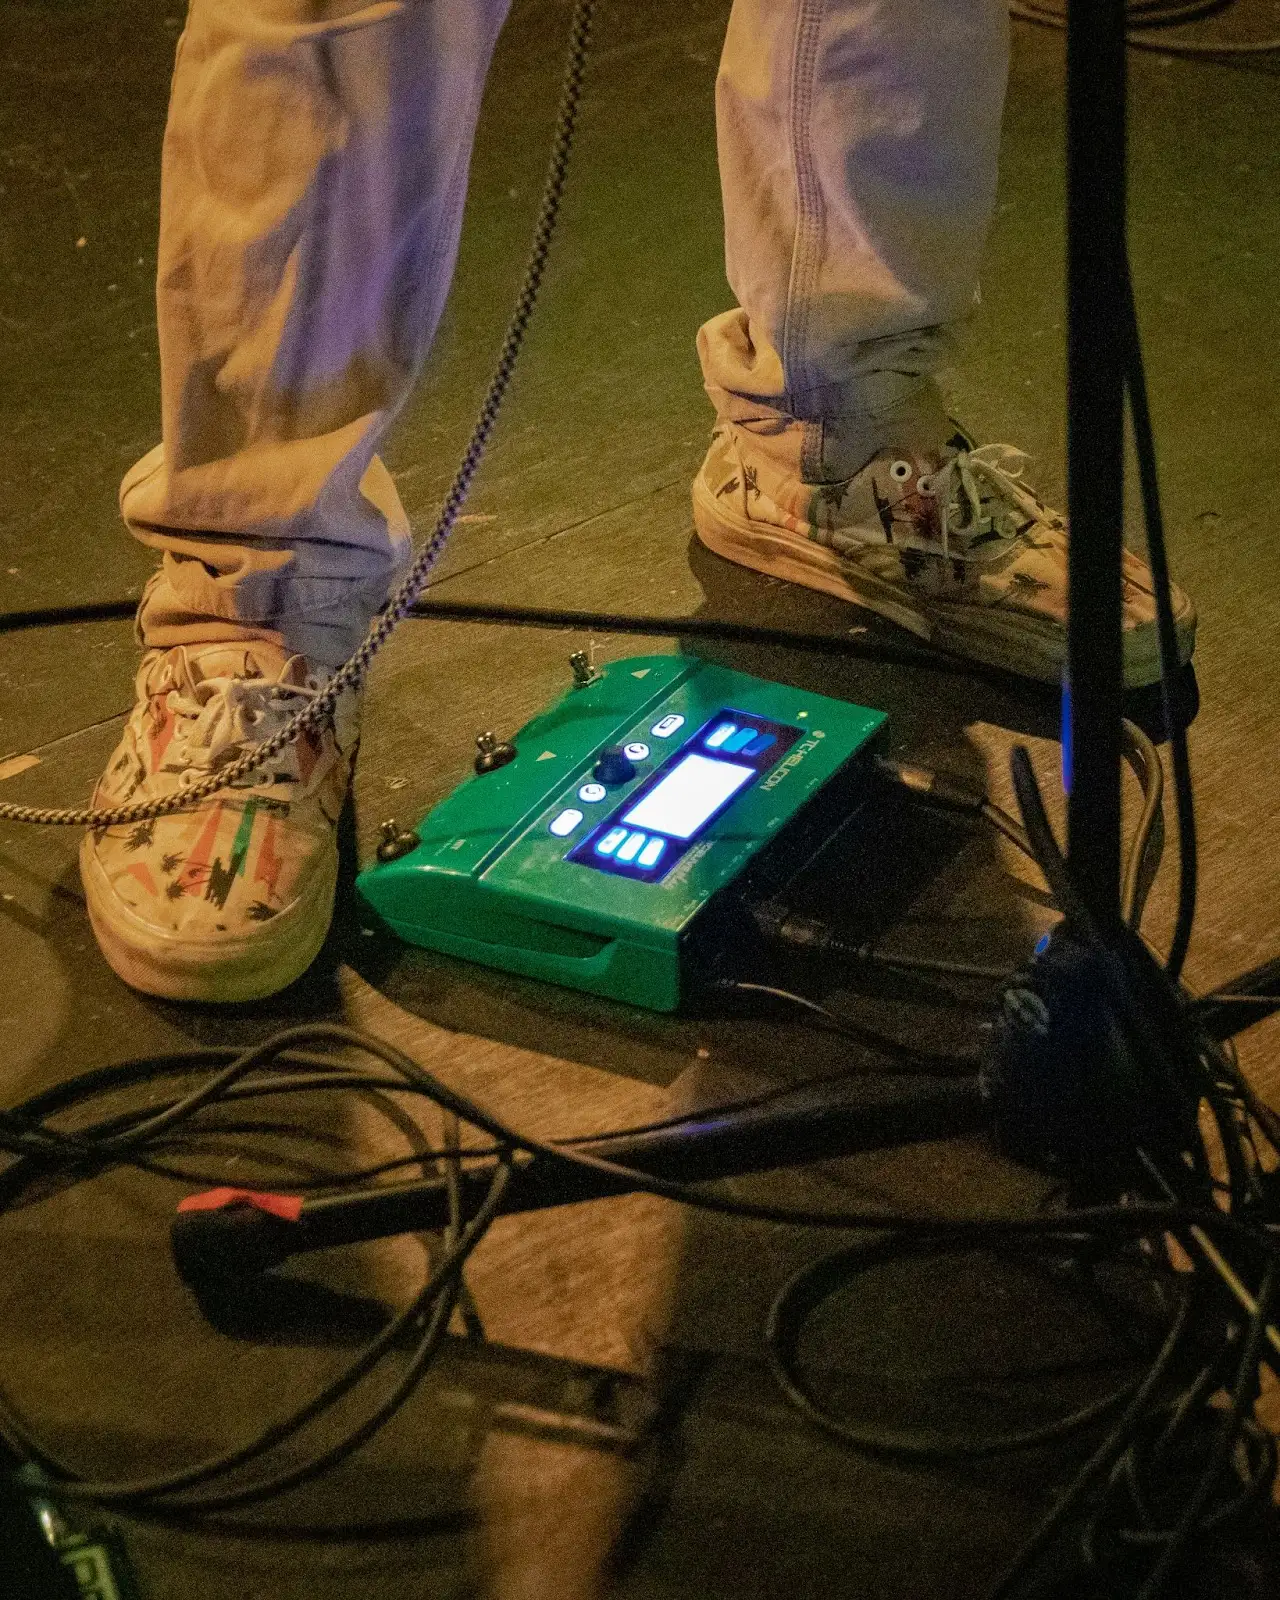
#4. Monitoring
Invest in a good quality pair of closed back headphones to help you monitor your recording. A set of DJ headphones may be a good choice, since these are designed to be used in noisy environments.
#5. Make A List and Check it Twice
Once you know how you'll be recording the band make a list of all the equipment you need to bring with you. Check it, and check it again. Then pack it ahead of time so nothing gets missed in a last-minute packing frenzy.
#6. Bring Extras
Bring extras of everything: batteries, mics, cables, DIs, mic stands, etc. If something craps out on you while you're setting up you're unlikely to receive help from the venue.
#7. Allow Plenty of Time
Get to the sound check early to give you plenty of time to scope out the situation and get set up. Depending on how you're recording you may even be able to get levels from some band members while the other musicians are setting up.
#8. Record the Soundcheck
And while we're on the subject of sound checks, go ahead and record the soundcheck. As well as allowing you to check the recording levels, it will give you a chance to play back the recording to see if anything's missing from the mix when it's not coming through a PA. If necessary, and if you are able, make adjustments to the set up so the final capture sounds good.
#9. Headroom
A live band will always be louder during the show than during soundcheck, so be sure to set your levels with plenty of room for growth. A preamp that overloads briefly during a gig will go unnoticed. That same overload will ruin a digital recording.
#10. Label Your Gear
Music venues can be dark and dingy places and it's easy for things to get muddled in the aftermath of a show. Label all your gubbins clearly so you don't lose your precious collection of premium XLR cables.
#11. Find a Middle Ground
However you go about it, much of live recording is about compromises and workarounds. Unlike studio-based music production you can't control every single variable, so stick to what's practical and be prepared to to settle for less than ideal recording circumstances.
Stereo Recording
If you're after a basic recording of the entire band to dissect and analyze after the show, a simple stereo recording will suffice.
Standalone Field Recorders
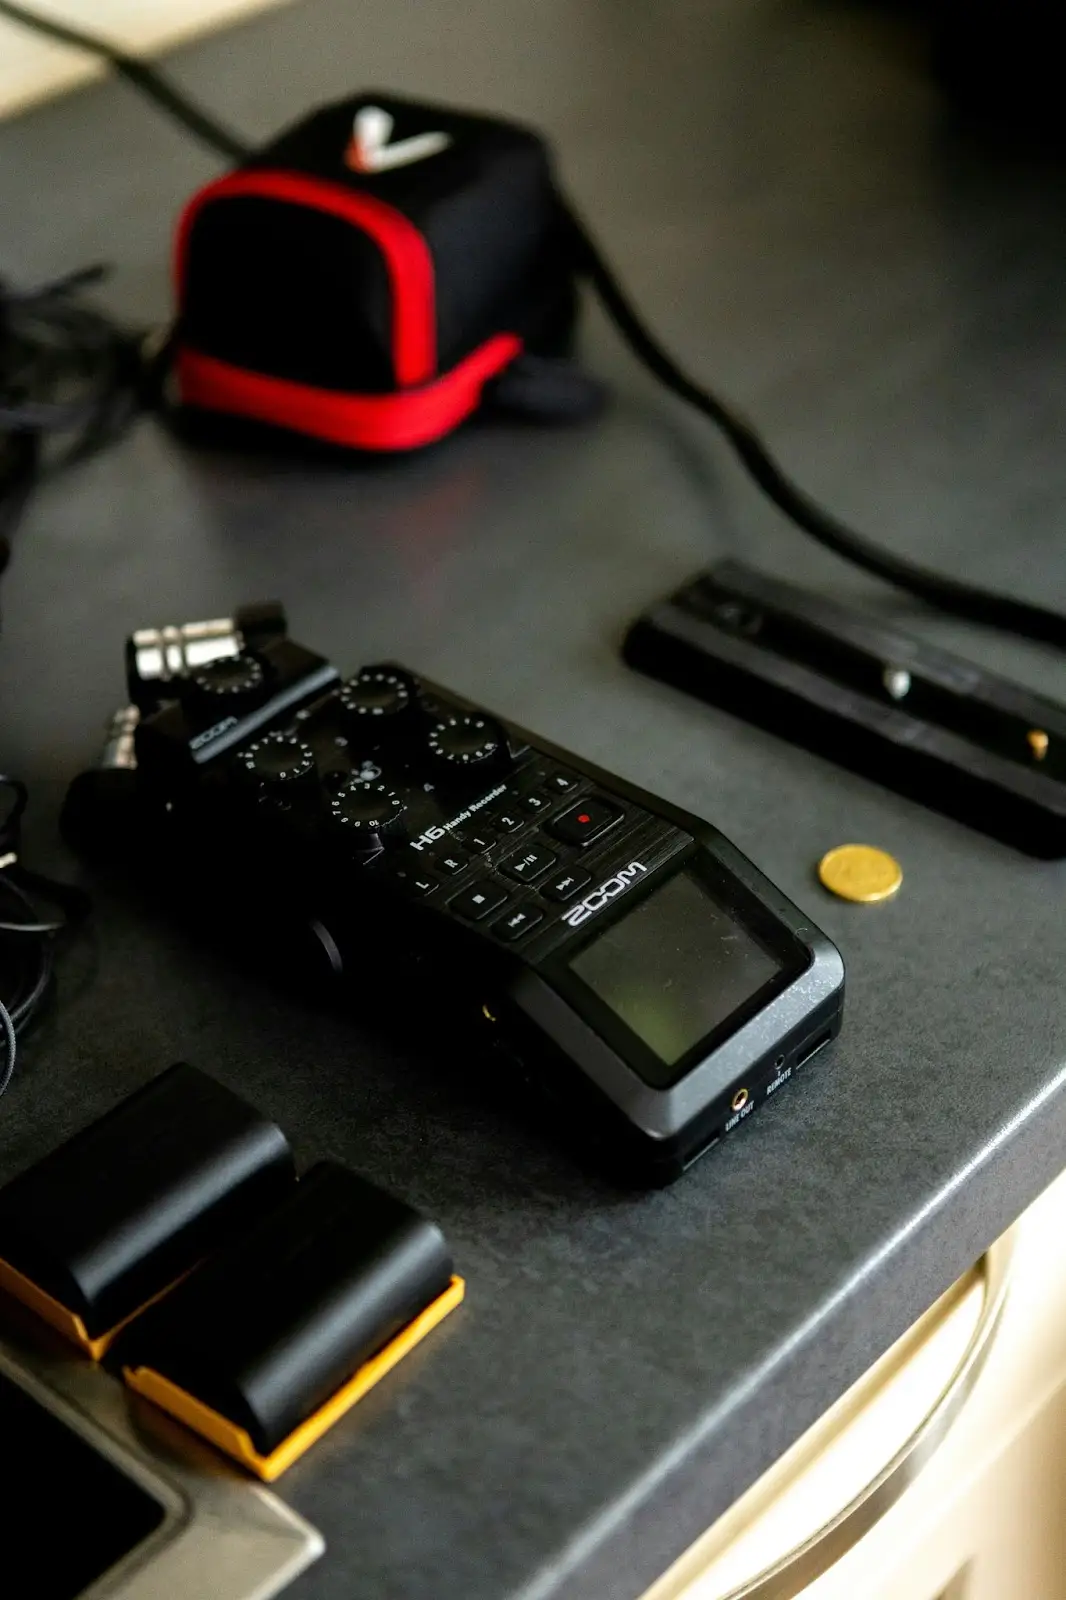
One solution is to use a hand held recording device for capturing the event, like a Zoom H4n. While this may seem like a simple option, getting a decent-ish recording isn't always straightforward.
#12. Stand and (Don't) Deliver
Don't rely on a friend standing in the crowd holding the recorder aloft - you'll just end up with lots of crowd noise, and a general sense that the band were in the room. Chances are you'll also have the recorder next to the one person who knows the entire set and sings along in a different key.
#13. Flying High
If your field recorder is an XY stereo pair of microphones , you can try suspending the device above the audience. The best place for this would be somewhere above the FOH desk, pointing towards the stage if possible.
Be aware that, unless the venue is fitted with acoustic panels or acoustic absorbers, this placement can capture unwanted reflected sound from the ceiling and rear wall, in addition to the direct signal.
#14. Dedicated Mics
If your field recorder has XLR inputs, try suspending a pair of omnidirectional microphones above the audience on either side of the stage and feeding them into your device. Using a spaced omnidirectional pair means you avoid the colored off axis response that directional mics can suffer from.
#15. Quit Your Jibber Jabber
If you find that the background noise from the audience is too loud using this method, try switching out the omnis for a pair of PZM mics.
#16. Battery Power
If you're relying on battery power to run the recorder, make sure batteries are changed at every possible opportunity: after soundcheck, in between sets. It doesn't matter what the battery meter says the level is, just assume you need fresh ones.
#17. Grab a Feed
Another way of capturing a stereo recording of the gig is to take a feed from the FOH desk. Keep in mind that often the desk doesn't have everything you see on stage running through it. A drum kit for instance may only have the snare and kick drum miked up. Plus, you won't get the inebriated shouts of approval from the audience.
A better way of feeding from the desk is to set up a dedicated mix through a pair of aux sends (if they're available).
#18. Pre or Post
If you're using the above method you have the option of setting it up as pre- or post-fader. Both have their benefits and drawbacks.
A post-fader mix will keep adjustments in levels made as the night goes on. A pre-fader mix, however, allows you to feed in a pair of ambient room mics to pick up room sound from the stage and crowd.
Laptop Recording
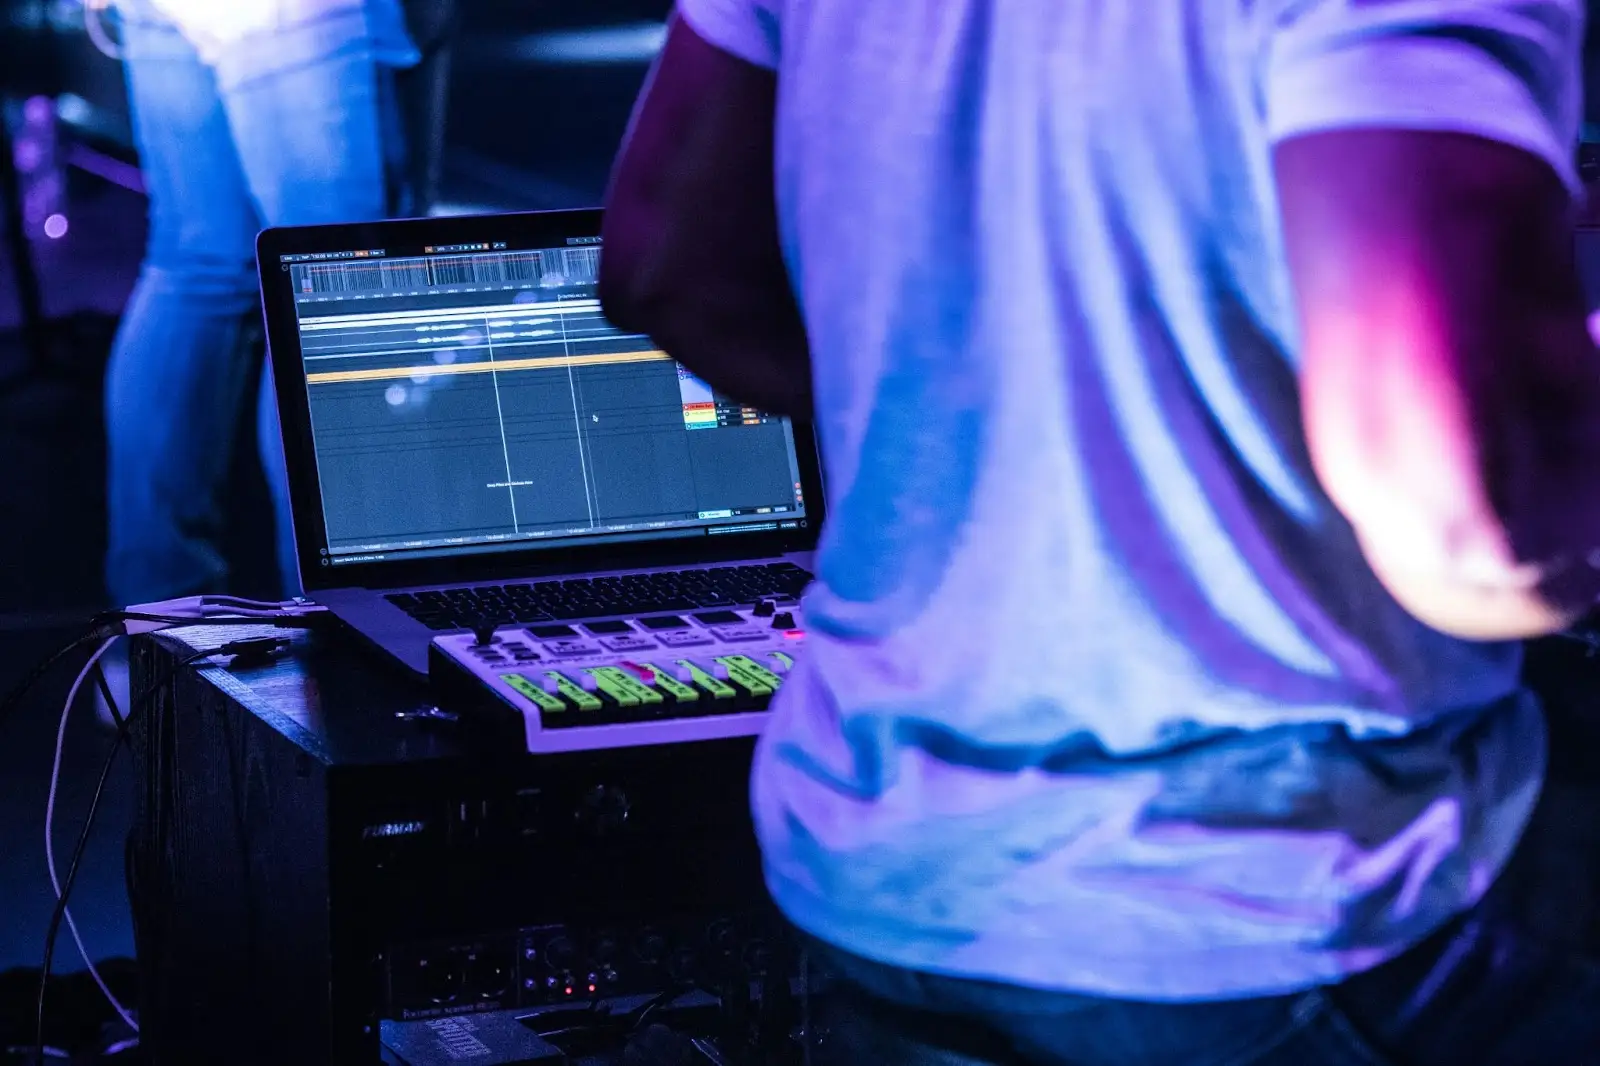
Another option for making a simple stereo recording is to plug your laptop and recording interface to the gig and record into your favorite DAW using a pair of well-placed microphones.
A lot of the tips above also apply to laptop recording, like headroom, mic placement, and taking a feed from FOH. Some laptop-specific tips include:
#19. Wrap It Up
Make sure you laptop has some form of protective case on it to protect it from splashes and knocks. While a custom carrying case for your audio gear may seem excessive, it's cheaper than buying a new laptop.
#20. Dedication
If you plan on doing a lot of mobile live recording, it's worth having a dedicated laptop just for this purpose.
#21. Back Up
If you have a stereo field recorder, bring it to the gig and use it to make a back-up recording. Because, you know, computers and stuff...
#22. Don't Dongle
Finally, choose a DAW that doesn't need an external dongle (or internet access) to run. Logic and Reaper are both great options here.
Multitrack Recording
The next step up in the live band recording game is multitrack recording . This takes a lot more thought and preparation, but recording individual tracks will give you more flexibility in the mixing process later on, plus the ability to re-record parts if one band member is particularly ropey.
The first step is figuring out how you'll capture the recording.
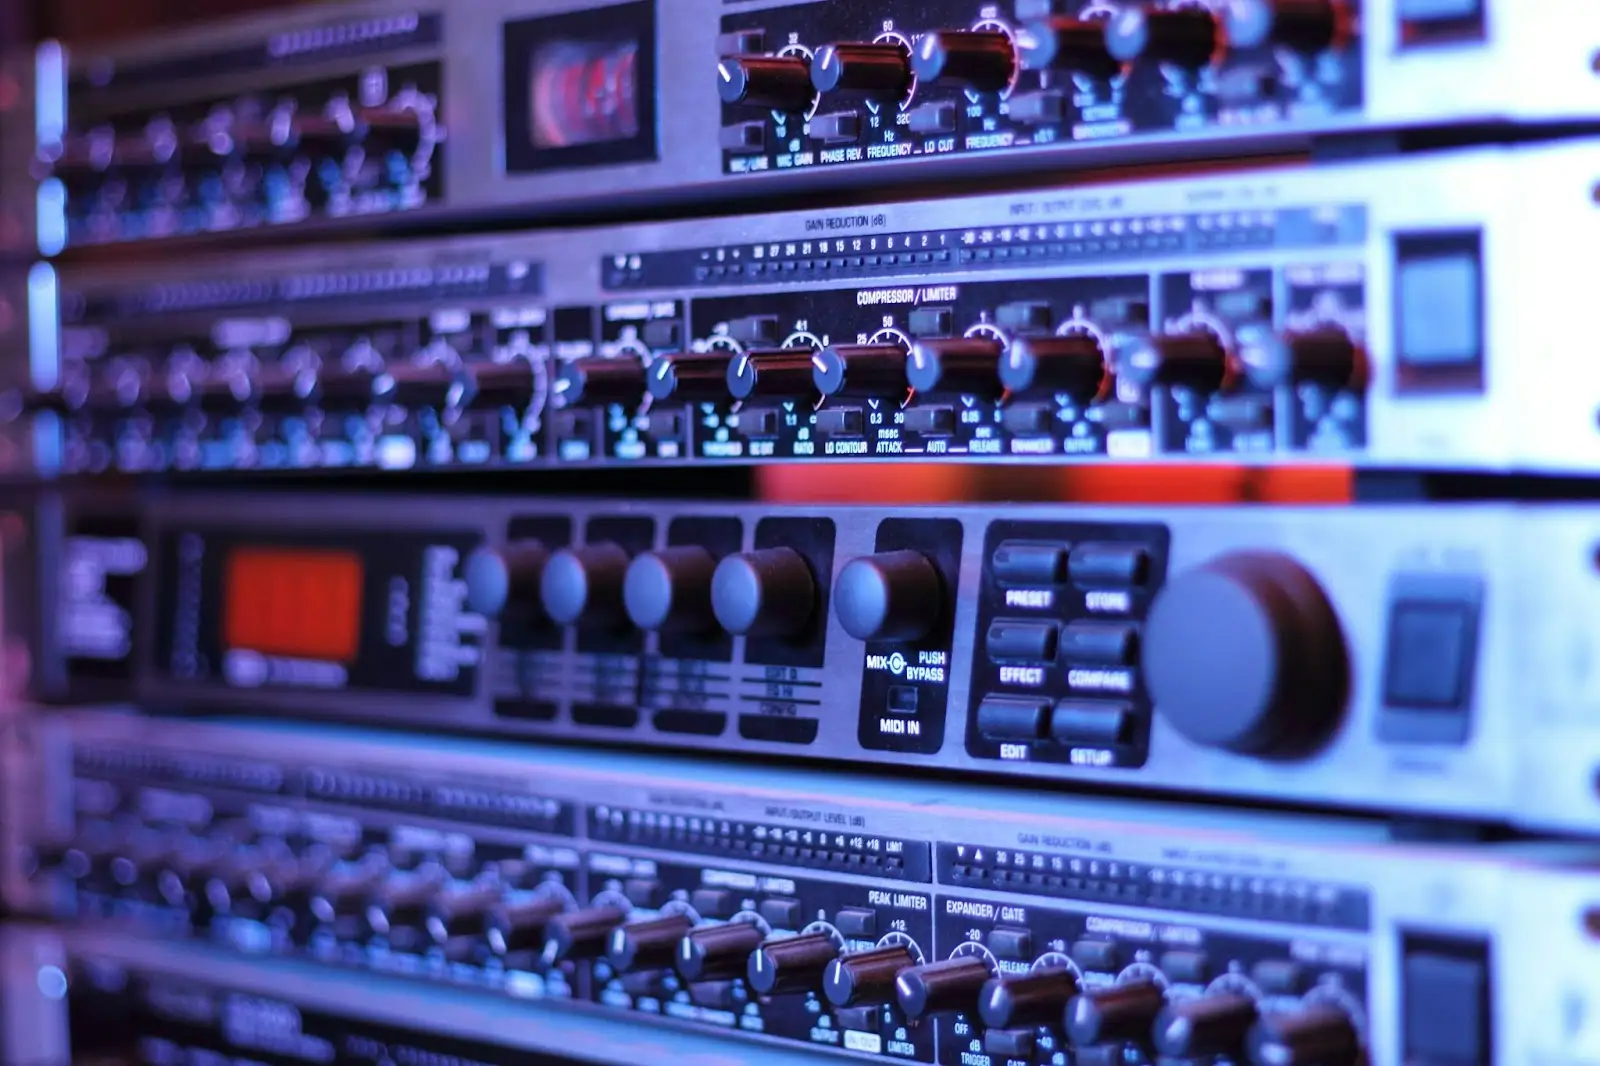
Hardware Recording
#23. Dedicated Hardware Recorders
If you're planning on doing a lot of live band recording, dedicated hardware recorders are well worth considering. While the initial outlay may pinch your wallet a little, the stability and robustness they offer make them worth the investment. They are never going to crash mid-set, and higher-end models can be rack-mounted for extra protection.
#24. Size Matters
When you're looking at hardware recorders, think about the storage available. Is it internal or removable? What's the capacity? This will dictate how long your live band recording can be.
Software Recording
If you're going the software route, keep in mind the tips above (19-22) related to laptop recording. You'll also need to think about:
#25. Audio Interface
You'll need an audio interface with enough input channels to handle the live sound coming in from whatever your source is (feeding from FOH or your own mic setup). It's up to you to decide the minimum number of input channels, but 12 would be a good start.
If your audio interface has ADAT capabilities you can expand the number of mic preamps available to you if more inputs are needed.
An alternative is to use a dedicated analog mixer that doubles up as an audio interface. The Presonus StudioLive and Tascam Model 24 both offer these options.
#26. Template Up
It's a smart move to prepare a template in your DAW ahead of time. Label tracks according to the instruments you'll be recording (bass guitar, drums, vocal mic etc.), and group channels together so you can easily record-enable all tracks at the push of a button.
#27. Tidy Your Cables
Going the multitrack route with a laptop will lead to a spaghetti of audio, power, and connection cables. Find a way to keep them tidy and secure them from being inadvertently pulled out mid-set.
#28. Beware of Ground Loops
With all the cables floating around, you're likely to have ground loops occurring. An easy way to eliminate this is to run your laptop from its battery, although this is easier said than done.
#29. Just in Case
To be on the safe side, take a stereo feed from the FOH desk to a dedicated field recorder. Because sh*t happens.
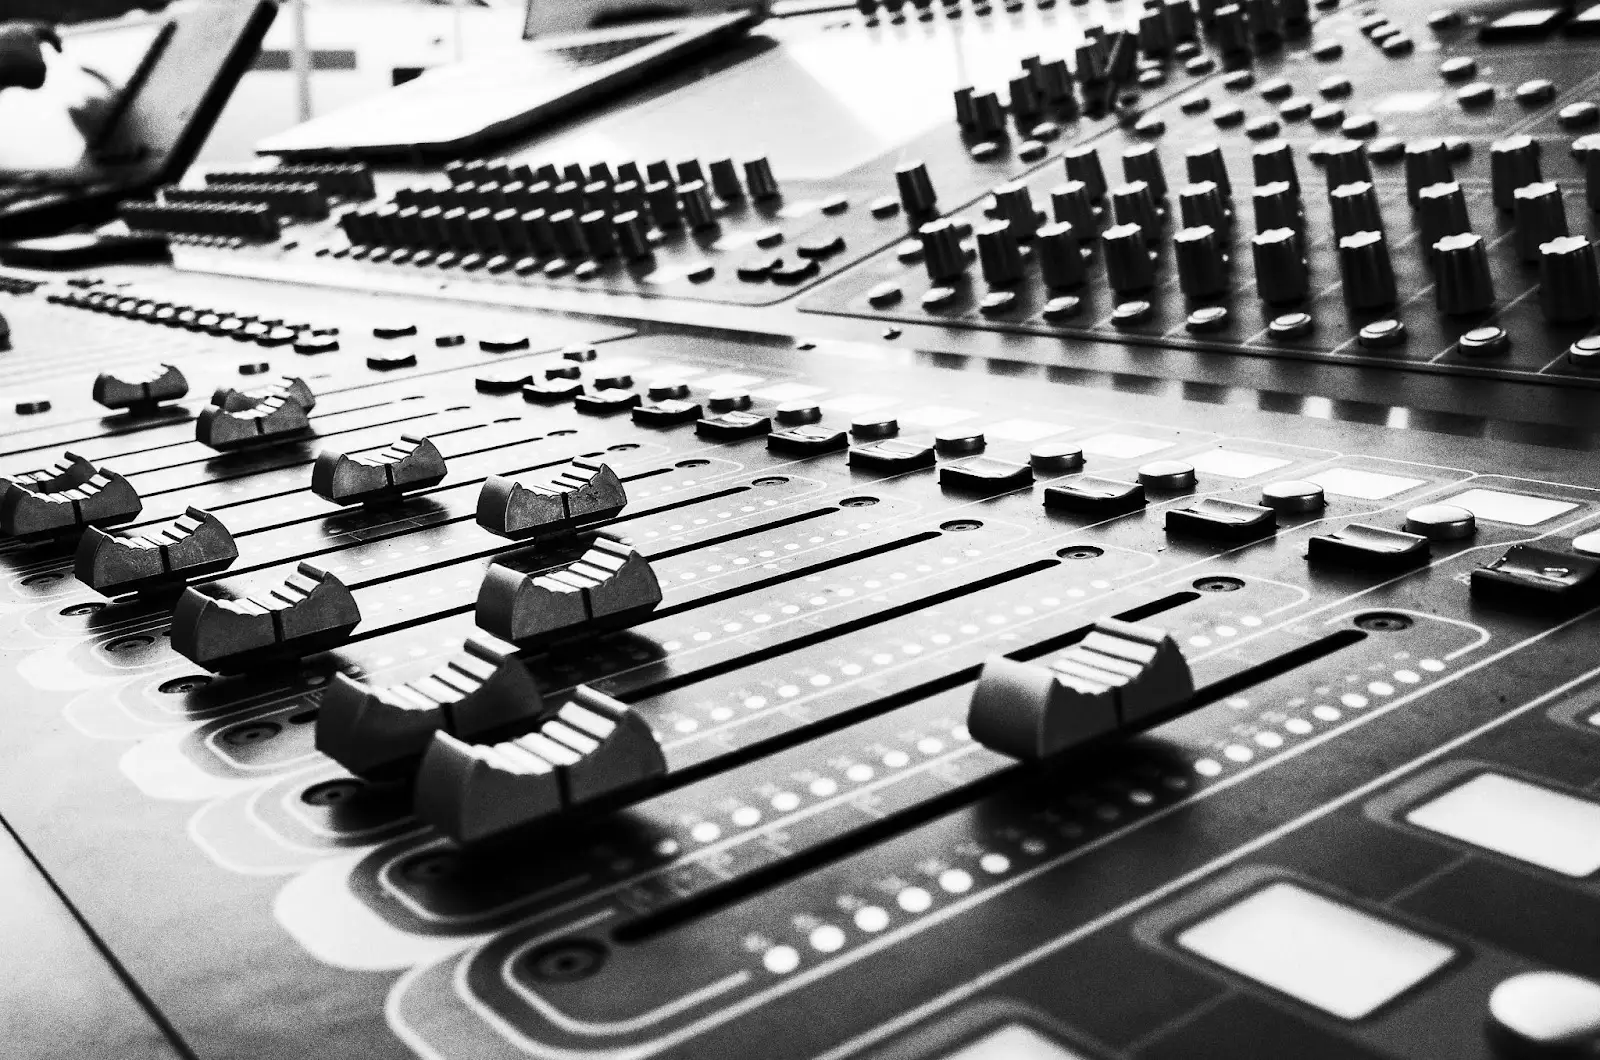
Audio Signal Routing
The next mystery to solve in live multitrack recording is how to get the audio signal from the stage to your recording interface.
#30. Direct Outputs
If the FOH desk has direct outs these can be great for multitrack recording purposes. A direct output signal comes after the mic preamps, but before any processing, such as EQ or compression.
This is handy since you won't need mic preamps for the full band on your audio interface, but it does mean that any changes to the gain on a channel will also be recorded. This however can be fixed with some deft automation in post.
As we've already discussed though, taking a feed from FHO can be a bad idea. You typically won't get a great drum sound as kick and snare drums are often the only parts of a drum kit to be miked, and you'll be missing out on all the various acoustic nuances of the venue that the engineer is mixing with.
#31. Inserts
This is generally not advised, not least because the venue engineer will likely be using at least some of the inserts for outboard processing. If inserts are your only option make sure you use a cable with a bridged TRS connector to connect to your recording gear, or use a hardware recorder that can be patched directly into insert points without affecting the signal further down the desk chain.
#32. Digital Mixers
If the venue uses a digital mixer you'll need to know your way around it blindfolded. Every digital mixer has its own way of handling outputs, including some with connections that will link straight to your laptop.
Assuming you took the earlier advice and visited the venue ahead of time, if you find a venue that uses a digital mixer grab a hold of the user manual and study it so you know exactly how to get what you need.
#33. Splitters
Splitter boxes and snakes do what the name suggests - split the signal en route to the FOH desk before the preamp. This gives you more control over what's going into the recording in a way you don't get with a FOH feed.
Using a passive splitter box will mean you need preamps and phantom power available on each of your audio interface channels. Active splitters include in-line preamps.
Splitter boxes are great in theory, but remember you'll need to bring all the additional cabling and the splitter box itself, along with all your recording gear.
Another consideration is the room this will take up on stage. The FOH engineer may not want an extra box and loom lurking about the stage, or it may just not be practical due to size limitations.
Dedicated Recording Set Up
If you have a good relationship with the venue and FOH engineer it may be possible to bring along your own mics and DIs solely for recording purposes. This isn't intended to double up the FOH engineer's efforts, just to fill out elements that are essential to the recording that may not be miked up for live sound.
#34. Space: The Final Frontier
Being able to do this depends on having the space. If you're recording many instruments and the stage is the size of standard NYC clothes closets you might be limited with how much you can set up. Likewise if there's other bands performing on the same night; you may not have time to strike your gear before the next band play.
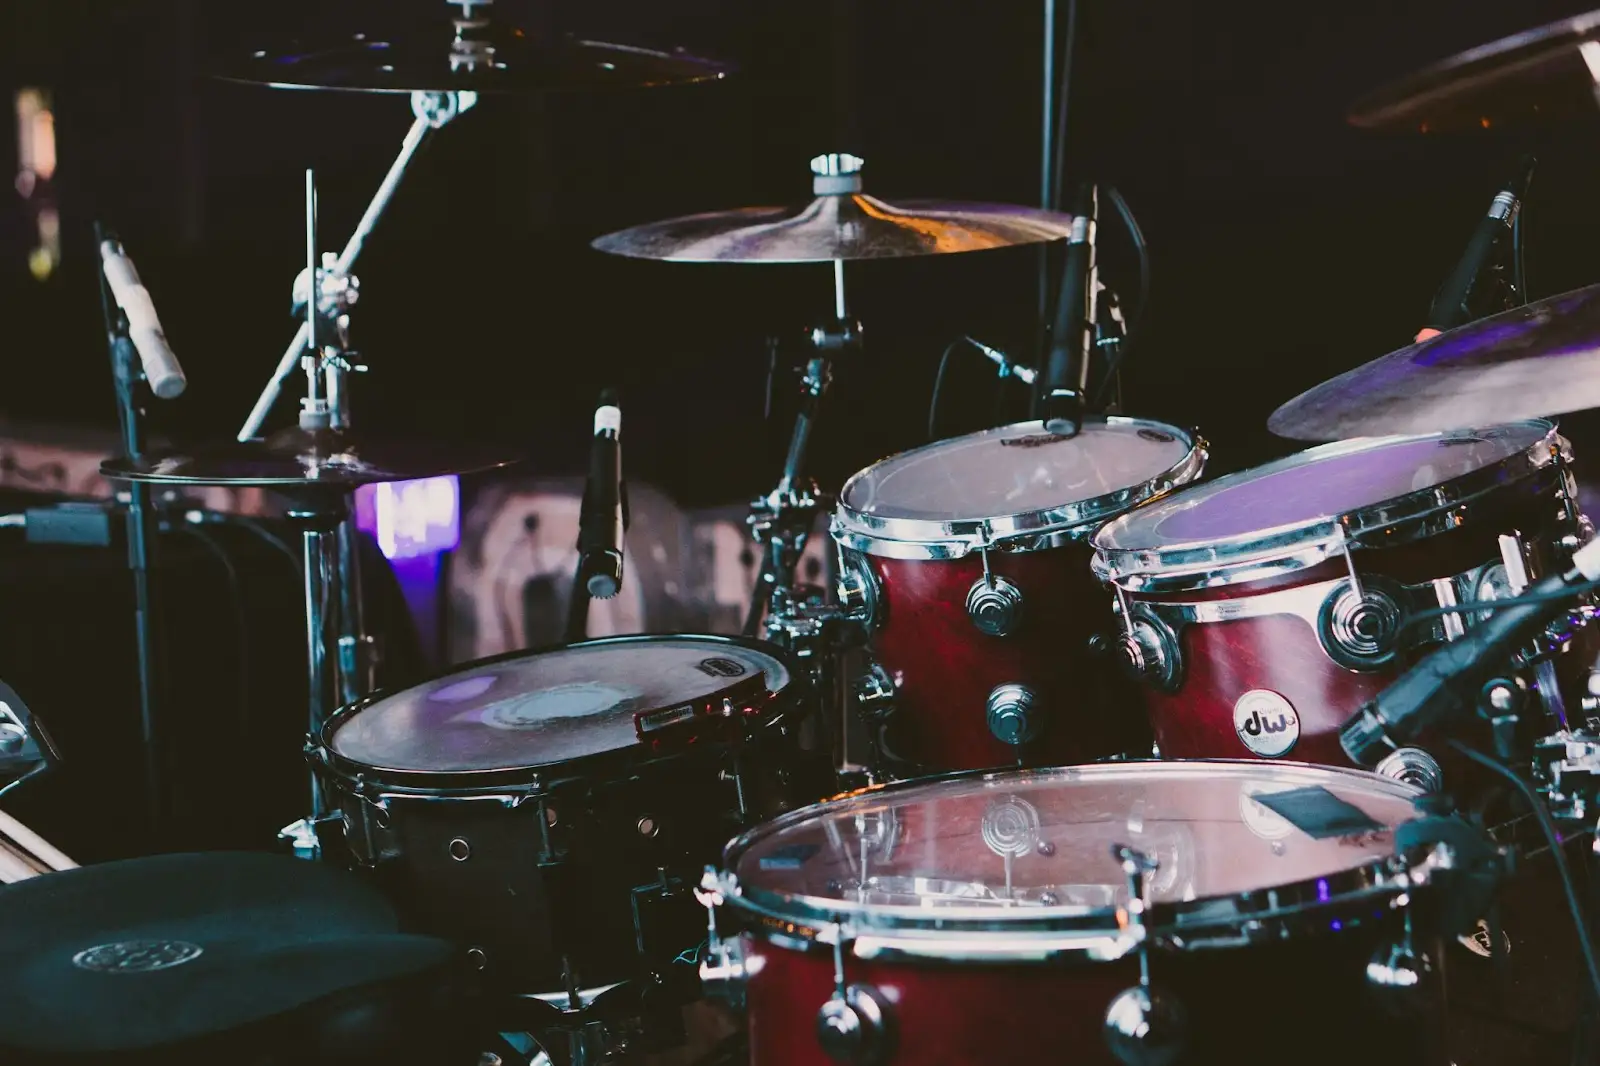
#35. Drums
If the FOH engineer isn't using multiple mics for the drum kit you may want to fill in what's missing for the purposes of the recording. A rhythm section can easily run to 16 inputs or more, so hit the books on placing drum mics (and mic placement in general) in case you need to use less than you'd like.
#36. Bass and Guitar
Depending on the size of the venue, the FOH engineer might decide the bass or guitar amps don't need miking up.
This is where your magic bag of spares will come in handy. A good dynamic mic will be your friend and allow you to take a signal from the guitar amp.
If possible, DI the bass player to get the cleanest sound for your post-mixing process. The DI can feed to the bass amp so the sound still gets carried on stage. This technique can work for other instruments as well
#37. Ambience
We've touched on this before, but it's worth mentioning again, especially if you're going to all the effort to capture a good live sound through multitracking. Setting up a couple of omnidirectional mics will give you a nice audience feed that you can cut and paste into the mix to boost the energy of the recording. It's also a useful feed to have for masking unwanted sounds from the band.
#38. Mic Stands
And don't forget to bring enough stands for all the mics you'll be setting up!
Live Band Recording Equipment Checklist
This list isn't an exhaustive one, and depending on the band and your desired outcome you won't necessarily need everything. Use it as a jumping-off point to create your own!
- Hand held stereo field recorder
- Stereo pair of omnidirectional mics
- Cardioid small diaphragm condenser mics
- Dynamic mics
- Enough XLR cables for the mics you'll be using to record the band
- Spare mic cables
- DI boxes
- Stage box or splitter
- Laptop with recording software & audio interface OR dedicated hardware recorder
- Closed back headphones
- Spare batteries
Conclusion
Recording a live band for the first time can be intimidating. Even with years of experience under your belt the process can still throw your for a loop, since every situation will have its own set of challenges and workarounds to deal with.
Expect the unexpected, know where you stand in the pecking order of the gig (most likely at the bottom), and be communicative. Most of all, enjoy the process.
Now go forth, and recordeth the music!


