


A great song starts with a stellar recording. If you want to make the most out of your music, learning proper microphone technique is essential. After all, it's not just about what gear you use, it's how you use it. Learning how to navigate the world of condenser microphones, dynamic microphones, and ribbon microphones can feel overwhelming, but rest assured that anyone can learn microphone placement techniques with a little time and energy.
Below, we'll walk you through the basics of proper microphone placement so that you can master mic technique in all of your recordings. We'll also walk you through the different types of microphones and polar patterns and showcase some key recording considerations.
Why Does Mic Placement Matter?
Microphone placement is incredibly important since it will determine the clarity and potency of your recording. The position of the microphone directly affects the perceived tone and timbre of a voice, which can completely alter the shape of a song. Proper placement can also prevent unwanted interference like feedback from other sound sources or clipping.
Understanding Your Tools: Ribbon, Dynamic and Condenser Microphones
Before diving into microphone placement, it's imperative to understand the tools of the trade. Great microphone technique starts with finding the right tool for the job. In most cases, you'll be working with condenser microphones, dynamic microphones, and ribbon microphones when recording music:
The Condenser Microphone
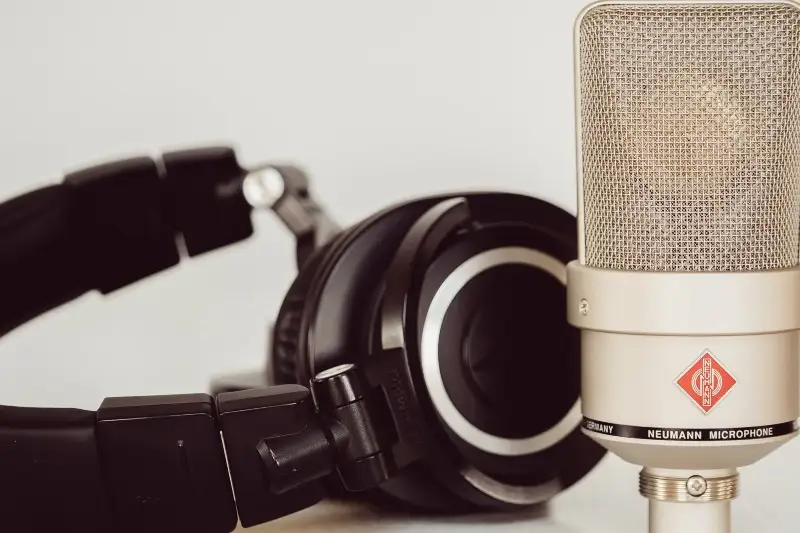
This is by far the most popular microphone type to use when recording in a studio environment. These highly sensitive microphones have a wide frequency response allowing them to capture vocalists up and down the frequency spectrum.
PROS:
- Clear, wide-ranging frequency response
- Superior clarity makes condenser microphones the choice pick for studio recording
CONS:
- Delicate construction
- Requires Phantom Power
The Dynamic Microphone
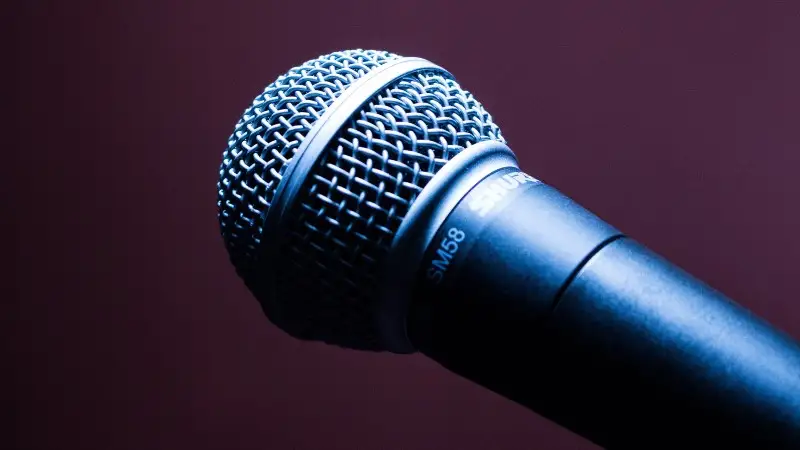
Dynamic microphones are most commonly used in a live performance setting, but they can also work well for tracking depending on your style of music. These microphones can handle high amplitude levels well.
PROS:
- Durable microphones that work well in a live setting
- Great for rock music or genres that have a wide dynamic range with high amplitude
CONS:
- Less captured detail relative to condenser microphones
- Heavier microphone capsule
The Ribbon Microphone
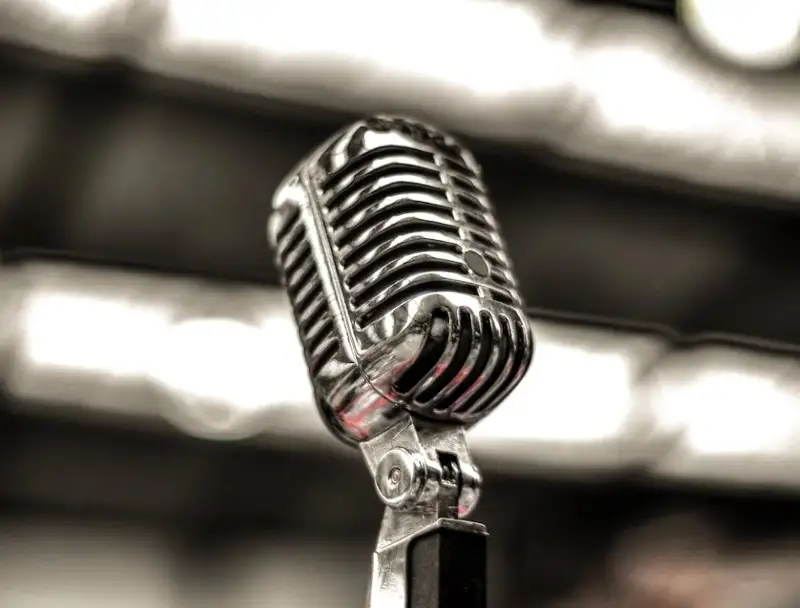
Ribbon microphones are less common in your average recording space, but they still serve as excellent tools for recording vocals or any particularly bright instruments.
PROS:
- Clear frequency response, often used in studio recordings
- Darker, warm "blanketed" sound which is ideal for recording sound sources that are naturally bright
CONS:
- Very delicate microphone capsule
- Lower output level may require preamplification
Decoding Microphone Polar Patterns
Every microphone has its own polar pattern, which speaks to a microphone's sensitivity level around all surfaces of the microphone. Polar patterns depict where sound is picked up on the microphone. Some microphones allow you to switch between polar patterns as well. In any case, here are the main patterns you'll come across on your recording journey:
Cardioid Microphone Pattern
This heart-shaped microphone pattern is the most common pattern for vocals. It's very sensitive directly in front of the microphone capsule and collects no sound from the back. This is great for capturing a single sound source.
Omnidirectional Microphone Pattern
An omnidirectional microphone has a 360-polar pattern, capturing sound from all sides. This can be used to capture room ambiance or sound from multiple sources simultaneously.
Figure 8 Microphone Pattern
This polar pattern is bidirectional, picking up sound from directly the front and back on the microphone, but not from the sides. It's particularly useful for capturing two sound sources, like two vocalists during a duet.
You can listen to the different polar patterns in action here:
Key Recording Considerations
Recording music is an art in itself, so there isn't necessarily a one-size-fits-all approach. That being said, here are a couple of general principles you should take into consideration before hitting that red button:
The Proximity Effect
The proximity effect is a phenomenon that occurs when using a directional microphone, like a cardioid condenser microphone. While recording, the closer the vocalist is to the microphone, the larger the low-frequency response.
Conversely, this means that the further away a vocalist is from the microphone, the more bright their vocal will sound. Therefore, it's important to think about how your vocal will sound within the context of other instruments long before the mixing stage. A well-balanced mix starts with a highly curated recording.
The Nature of a Vocalist
Before you hit record on an official track, get a sense of how your vocalist typically performs. Their natural amplitude will determine your microphone's gain level and potentially the placement, too. For instance, background vocalists may sing further away from the microphone to create a larger sense of space.
Studio Treatment and Limitations
The environment of your recording space will greatly inform your microphone placement. You'll want to pick an area that has virtually no background noise and as little reflective surfaces as possible like windows or untreated walls that create the opportunity for echoes.
If you can, record in an environment that is as neutral as possible. In a pinch, you can opt to record your vocals in a closet, since the surrounding clothes can help absorb surrounding reflections. Carpeted rooms and rugs can help, too.
Performance Demands
Does your song include lots of belts? High-frequency whistle tones? A dramatic shift between loud and soft sections? Make sure you're considering the dynamic nature of performance when making your microphone selection for your sessions.
Signal to Noise Ratio
Before you begin tracking your vocalist, it's wise to aim for the highest signal-to-noise ratio possible, giving your sound source a strong signal. You can do this by identifying the source for any noise on your live track and reducing it, or boosting the amplitude of your live recording signal.
How to Get the Perfect Microphone Placement for Recording
Whether you're recording vocals , a podcast, or instrumentalist, here are some golden rules to help you identify the perfect microphone placement for tracking live sound:
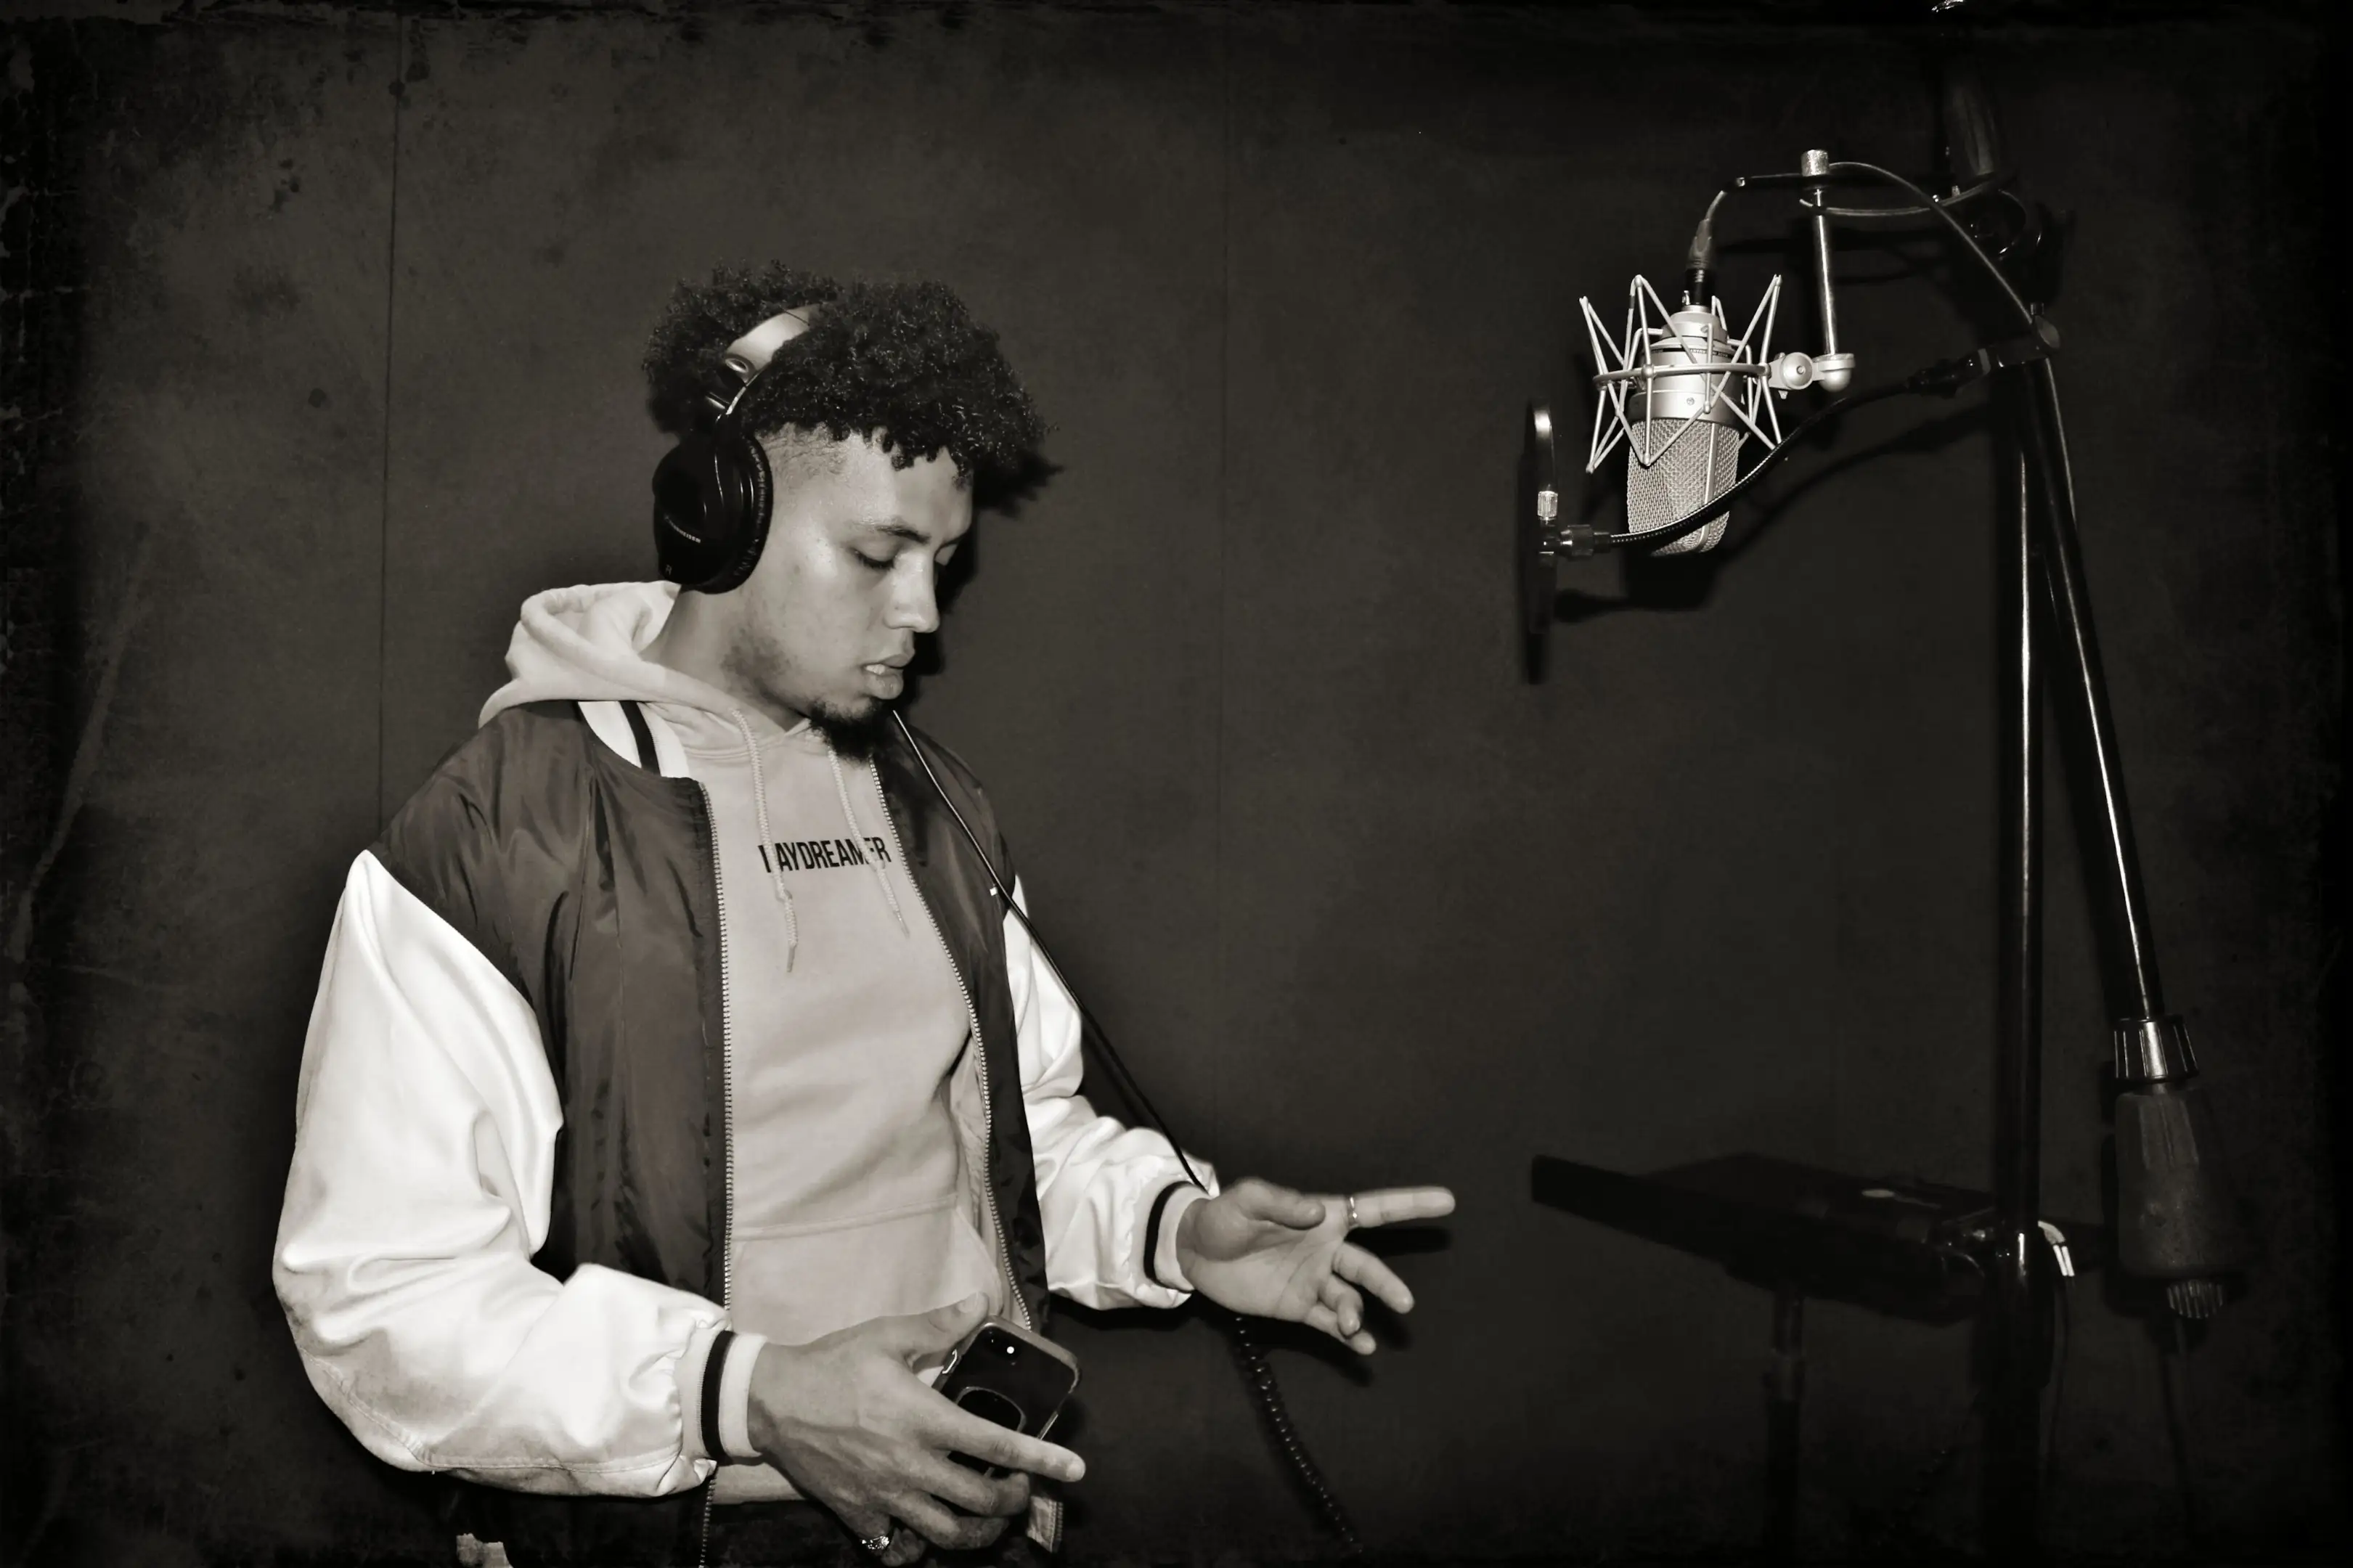
Finding the Axis: Keeping an Ideal Distance
Within a microphone, you can usually identify a capsule, typically a small circular component that picks up the sound source. Generally speaking, you want a vocalist's mouth to be aligned with the axis, or 4 to 6 inches away from the capsule of the microphone.
In some cases, this may make the sound a bit too bright. However, you can position your vocalist slightly off-axis to take away some of the brightness.
Clearing Your Environment
Microphone alignment isn't the only component of a great recording - you'll want to make sure you eliminate any distractions or potential noises that could take your listeners out of your vocal. If your vocalist needs a lyric or chord sheet, make sure they have it on a music stand on a level so that they don't become unaligned with the microphone capsule. This could also mean implementing basic acoustic treatment techniques , or something as simple as avoiding tracking in an area with reflective surfaces or squeaky floors.
Protecting Against Plosives
Note that certain syllables can come off more harsh than others in a recording. You'll want to protect against certain "plosives" like Ss, Ps, and Ts that may stick out more than other consonants in a vocal. This can be done with mindful singing or using certain tools like pop filters. De-essers can also assist in the process, but it's best to get as clean of a recording as possible, rather than depend on fixes in the mixing stage of the process.
Monitoring Levels vs. Adjusting the Gain
Understandably, you or your vocalists will want to be able to hear themselves while recording. Be sure to adjust the output monitor level, versus the gain level of the microphone to get more sound. This distinction is important since raising the gain can open you up to distortion while recording. You should only raise the gain of your microphone if you truly need a louder input level.
In addition, some singers may prefer to have one ear on, and one ear off while recording. This is fine, but make sure to double-check that the monitor sound doesn't bleed into the live sound pickup. The same goes for the level of the click track in your mix.
Cater Your Placement to the Needs of Your Instrument
Each instrument and style of music will have its own needs in terms of microphone use. With vocals, you'll want to have the singer perform on axis position, about 4 to 6 inches away. Most other instruments or sounds may require several mics:
- Guitar: Use one mic near the strings to capture brightness, and another by the sound-hole for warmth. If you find that the recording comes off a bit too bright, consider opting for a setup with ribbon microphones.
- Piano: Place a microphone on the left and right sides of the soundboard. This may vary depending on the parts of your specific piece.
- Drum Kit: Each element of the kit including the kick, snare, toms, and hi-hats will have its own microphone. You may also incorporate overhead microphones to get a sense of the space, room, and cohesive drum sound.
Microphone Placement FAQs
Narrowing down the perfect microphone placement is a key component of the recording process. Here are some commonly asked questions and answers to help you make the most of your studio session:
What are the four fundamental styles of microphone placement?
The four styles of microphone placement are close miking, distant miking, ambient miking, and spot miking, all of which are differentiated by the distance between the sound source and the microphone. When recording vocals or individual instruments, you'll primarily be utilizing close miking techniques.
Does microphone placement matter?
Yes! All microphones have specific pickup patterns that must be considered when producing a live recording. Your live sound will vary greatly depending on where you position yourself in relation to the mic, so it's imperative that you know how to place yourself accordingly.
What is the proper angle for a microphone?
Microphone placement will vary depending on the type of mic and your microphone's polar pattern. When it comes to recording vocals, you'll likely be using cardioid mics which record the sound sources directly in front of them. In this scenario, the vocalist should align themselves with the center of the microphone with about one to two fists-worth of space in between the vocalist and the microphone.
What is the best mic position for vocals?
Generally speaking, you'll want to position a vocal cardioid microphone (like a condenser mic, for instance) 4-6 inches away from the sound source. The diaphragm of the microphone should be aligned with the source, or in this case, the vocalist's mouth.
Poor microphone placement can ruin an otherwise great recording. Hopefully, this guide gives you the confidence you need to set up microphones properly; whether you're working with condenser, ribbon, or dynamic mics. Have fun putting your new skills to the test while capturing live sound!


