

Throughout your journey as an audio engineer or producer, you're bound to run into some technical jargon. One of the most misunderstood yet prevalent terms is the concept of dithering.
You've likely seen the term "dither" in your DAW , but what is dithering exactly? And when do you use it? Below, we'll break down everything you need to know about the dithering process so that you can use it properly when processing audio files. Let's dive in!
What is Dithering?
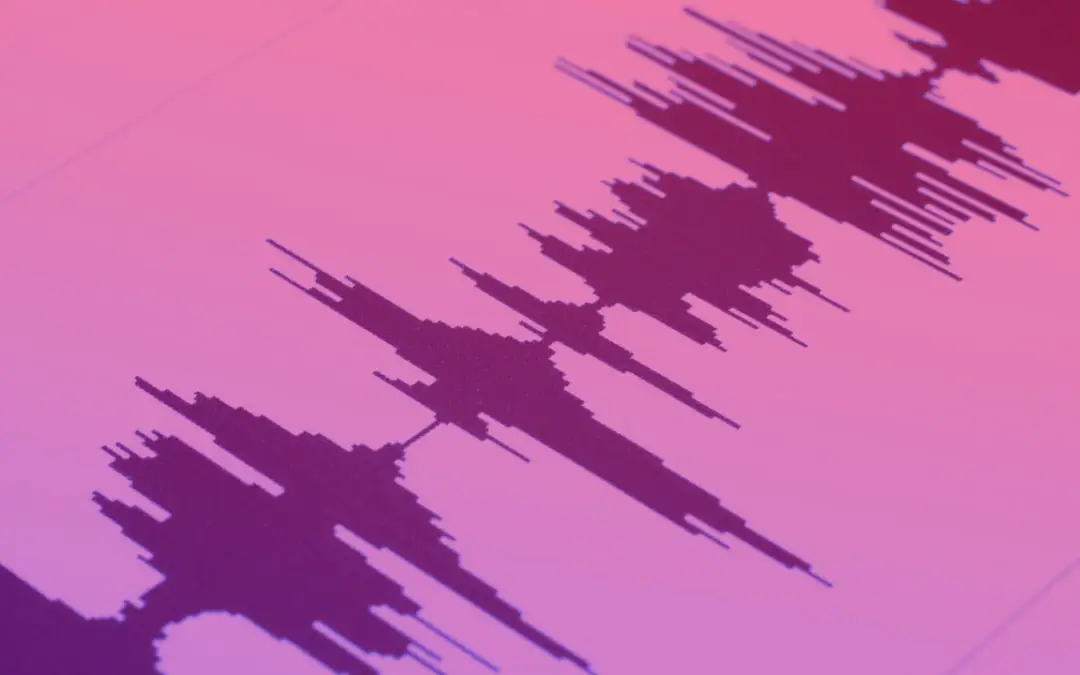
Dithering refers to a digital audio process used during the final stages of mixing and mastering. In simple terms, dithering is a type of digital noise that's intentionally added to an audio file. Dither is used when rendering to a lower bit depth.
Audio engineers use dither noise to mask the noticeable noise and artifacts created in a process called quantization distortion discussed below.
What Is Bit Depth In Digital Audio?
In order to convert an analog signal into a digital audio file, you need a certain set sample rate and bit depth. Our DAW reproduces analog signals by recreating snapshots of audio or samples.
The sample rate determines the specific frequencies captured by a sample while the bit depth communicates information related to dynamic range. In most cases, audio engineers are recording at 44.1 kHz or 48 kHz.
A larger bit depth means a lower noise floor, or a greater range of dynamics captured. In most sessions, you're usually recording with 24-bit audio.
What Is Quantization Distortion?
Whenever you convert audio to a lower bit depth, you're bound to lose detail. For instance, going from 24-bit audio to 16-bit audio would require some form of bit depth reduction. Your DAW takes the different bit values and rounds them to the closest possible bit in a process called quantization.
However, this can introduce rounding errors, where one bit may be oversaturated as a result of downsampling. This is sometimes called truncation since you're taking the incoming signal and condensing it into a smaller amount of bits, which leads to quantization distortion.
Quantization distortion can introduce harmonic distortion and other noise artifacts that would otherwise be undetectable in a mix. Fortunately, quantization noise can be reduced by adding dither noise.
Dithering creates a low-level white noise that can help smooth out the harmonic distortion caused by any quantization error. You're most likely to hear quantization distortion during quieter parts of a mix, like fade-outs or delay tails.
When Should I Use Dithering?
Generally speaking, you should use dithering whenever there is a risk of introducing quantization noise to your track. Therefore, save dithering for whenever you're reducing bit depth on an audio track. When you apply dither, you're essentially adding noise to create a more continuous wave of sound to smooth out the peaks and valleys caused by quantization distortion.
When Should I Not Use Dithering?
Ideally, you should avoid dithering whenever possible. While you might have to reduce your audio file size for some common outputs, you should only add dither, and therefore commit to the quantization process as little as possible.
In short, if you don't need to dither audio, or reduce bit depth quality, then there's no need to do so. Even if quantization distortion is audible in terms of low-level noise, it can still create a harsher frequency response perceptible to the human ear.
Dithering should be used minimally in the mastering process. Don't introduce quantization noise if you don't have to.
How Do I Add Dither?
During the mastering process, you'll notice that most limiter and other mastering plugins give you the option to add dither. Again, you should only toggle this feature "on" whenever you're reducing bit depth. Some DAWs might also provide the option to apply dither upon export.
There might also be a "noise shaping" toggle which can be used to help smooth out the frequency response altered from reducing the bit depth of an audio file. Essentially, noise shaping is similar to applying an EQ curve to the dither for a less noticeable sound. Dither should only be applied once and should serve as the last step in your signal chain.
The 3 Types of POW-r Noise Shaping Dithering
Did you know that there are different types of dithering? Various companies created their own dither types with various noise-shaping abilities. While most DAWS use type 1 POW-r dithering, it's worth understanding how each dithering algorithm is optimized:
Type 1 POW-r Dithering
Chances are if you're applying dither, you're using type 1. This algorithm does not use noise shaping, so there's no EQ curve. This algorithm has a flat frequency response and is used primarily for louder mixes with low dynamic range. It's ideal for creating high-resolution 24-bit audio.
Type 2 POW-r Dithering
Type 2 is designed for speech noise. This dithering algorithm uses noise shaping curve to help speech stay audible but smooth on the ears.
Type 3 POW-r Dithering
This type of dithering is more common in the world of scoring and film, where highly dynamic recordings might encounter more quantization distortion. Type 3's noise shaping alogithm has a strong EQ curve designed to tame a wide frequency range.
Dithering FAQ
Are you still having trouble understanding dither noise? Here are some commonly asked questions and answers about dithering to help you gain more understanding as an audio engineer.
What is dithering explained?
Dithering is a process used to smooth out audio recordings with an altered bit depth. This audio process adds a small amount of productive noise to an audio signal that's had its bit depth reduced to limit quantization distortion.
Does dithering make a difference?
Absolutely! Dithering is designed to reduce quantization distortion when changing bit depth between two pieces of audio. Changing bit depth can lead to a quantization error, especially in songs with a wide dynamic range that can be reduced through dithering.
What does dithering do to audio?
Dithering works to reduce quantization distortion in a piece of audio. This process helps a processed piece of audio sound smoother when reducing bit depth.
Should I turn off dithering?
You only need to use dithering algorithms when you're reducing bit depth of an audio file. In other instances, you should turn off dithering.
Though confusing, dithering is a productive process key to successfully reducing the bit depth of a piece of audio. Dithering helps a processed sound retain more of the quality of the original signal, making it a powerful tool for every audio engineer. Enjoy using dither noise while changing bit depth of your signals.


