

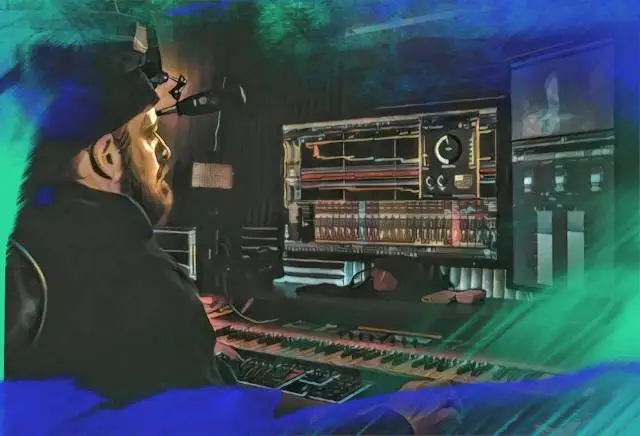
Automation is a mixing super power that may be overlooked by novice producers, but is expertly incorporated by the most seasoned artists. Volume automation in particular may seem like a simple concept, but it can make an incredible difference in the quality of your art.
If you haven't taken the time to understand attenuating volume or exploring the various automation modes throughout the mixing process, not to worry. Below, we'll explain everything you need to know about volume automation and how to use it so you can incorporate this technique into your creative process.
What Does Sound Automation Mean?
Before diving into what volume automation is, it's important to understand what it means to automate sound. Putting your DAW into automation mode allows you to change the way a specific value is expressed over time.
For example, it's common to automate parameters like EQ, reverb, or in this case, the volume fader. Instead of having a static sound, automation data captures movement, providing a more dynamic sound.
If you think about it, automation modes allow you to give music a more realistic presentation. When we sing or play an instrument live, you don't do so at a static volume. Even the most trained instrumentalists and vocalists have some level of variation across a live performance. We're somewhat accustomed to this sort of sound, which is why recorded automation sounds so good.
Without programming or recording automation, our beats can begin to lack that human element, creating a static, and sometimes sterile beat profile. Mix automation builds a more realistic portrayal of music expression and keeps listeners engaged over the course of a mix.
What is Volume Automation?
Volume automation just means the fader automation of the volume knob, or the changing of volume over the course of a song. For example, you might draw an automation curve to go up during the chorus of a song (which would make the volume of a song rise during the chorus).
Automation changes for volume or any individual parameter can be recorded directly into your DAW, or programmed manually using items like the draw or pencil tool depending on your DAW of choice. The good news is whether you use Pro Tools, Ableton Live, FL Studio, Cubase, Logic, or any other workstation, you will have basic access to writing automation for volume into your mix.
What's the Difference between Volume and Gain Automation?
While a gain plugin or knob and volume fader may seem like they have similar effects, it's important to understand a key difference: gain automation affects a piece of audio preprocessing, while volume attenuates the clip post processing on an effect chain. Automating either could have drastically different effects.
Typically, you gain stage your recording (you can learn more about that here ) and then automate parameter changes with the volume fader if you're going for a particular effect. Setting the gain level is done mostly throughout the recording process, while automating volume level typical occurs during the mixing stage.
How to Automate Volume in Ableton Live
To enable automation in Ableton Live, click the automation toggle or input "A", so long as your keyboard MIDI toggle is off. This will open up automation lines on each of your tracks. You can add inflection marks at different points and press "B" to go into draw mode, or automate outside of the typical beat grid.
You can also record automation so long as that automation recording toggle is enabled. You can edit existing automation by highlighting and clicking and holding on inflection points, or right clicking to insert in specific shapes or switch the beat grid.
Not using Ableton Live? Not to worry! Here are the automation instructions for some of the other common DAWs:
Pro Tools
To automate in Pro Tools, click the Automation Enable Button, and then program or record in automation. You can also press Control + Option + Command and then click on the parameter (in this case, volume) you'd like to affect:
Logic Pro
To automate volume in Logic, you can open automation lanes by selecting "A". Then, click the parameter you'd like to automate. You can then draw in points on the automation lane, or record automation directly into the DAW.
FL Studio
In FL Studio, you can click the automation toggle to open the automation clips for each track. Select different parameters with the toggle enabled to affect individual items as needed.
4 Strategies for Using Volume Automation in Your Tracks
Now that you know how to use volume automation in your music, here are a couple of strategies for incorporating volume automation into your music:
Pulsing to the Beat
Volume automation can be chopped to a beat grid to create a pulsating effect. For instance, you can try taking a static drone sound and setting an automation curve to raise and lower the volume on every eighth or quarter note of your track. This can create a unique, rhythmic feel which might be fun to play with throughout the production process.
Pumping up the Chorus
One common automation trick is to automate the volume of your chorus to be ever so slightly (perhaps no bigger than one decibel) louder than the verses of your song. Having this contrast can make your choruses appear slightly bigger, though it's important to remember that you're doing this to create contrast , not clipping.
Creating Fade Ins and Fade Outs
Automating volume can be a simple way to build and release anticipation, whether you're creating a build up to a drop, or creating a fade into the introduction of a song, or fading out the end of your track.
Cutting Off Long Reverb and Delay Tails
Time-based effects like reverb and delay can sound really cool, but they only have a lasting effect if they are in contrast to the rest of the piece, i.e. there are some points in which there is little to no reverb or delay.
That being said, it's a good idea to consider automating reverb and delay, experimenting with cutting off the reverb or delay completely (or automating the volume to zero) once you've hit the drop or completed the transition that your tail is aiming to serve.
Volume Automation is a Valuable Tool
You don't necessarily want to adjust volume automation across your entire mix, but when curated thoughtfully, creating dynamic contrast across the course of your song can be incredibly powerful. Hopefully, these strategies have helped you learn some automation tricks to spice up your songs. Have fun playing with volume automation curves!


