


Understanding audio headroom is essential to the success of any budding producer, engineer, or performing artist. Without it, all of your favorite songs would be flooded with harsh clipping distortion, which isn't easy on the ears, to say the least.
But where exactly does audio headroom come from? And how can you secure audio headroom within your mix? Below, we'll detail everything you need to know about audio headroom so that you can avoid unwanted distortion through every stage of the recording process.
What Is Audio Headroom?

In lamens terms, audio headroom is how much you can boost an audio signal's amplitude (or volume) without causing distortion. Headroom generally refers to the desired amount of space between the clipping point of a signal and the noise floor of a dynamic mix.
You don't want too much headroom since excessive space will lead to an unnecessarily quiet mix. However, too little headroom might initially create a higher perceived loudness, but it can come at the cost of clipping and distorting your song when filtering through the master channel. Not enough headroom can also squash a song's dynamic range, making the audio signal feel flat to the listener.
How Much Headroom Should You Have?
Most audio engineers advocate for 3 to 6 decibels of headroom when mixing and mastering when putting the final finishing touches onto a track. While having enough headroom is particularly important when mastering music, it should be considered throughout every step of the recording process since every audio process builds on top of the prior processing.
How Does Headroom Work with Digital Audio?
Every piece of equipment, even those built-in digital systems (like a virtual instrument) has a clipping point. If you've ever played your guitar too loudly into an amplifier, you've probably experienced clipping. Clipping occurs when you're out of headroom, causing the audio signal to crunch and distort since the power of the input signal exceeds that of the equipment or software container.
In digital audio systems, the clipping point is at 0 dBFS (a.k.a decibels from full scale) on your channel faders. A lot of analog gear also has a clipping point of 4 decibels full scale. Any digital system tends to rest at 0 dBFs for clipping, but physical gear may differ based on its intended use and when it was created.
Having the right amount of headroom at every stage of the recording process is essential so that you can turn over a well balanced mix to your mastering engineer.
How Do You Create Headroom?
Headroom isn't necessarily something you can generate-- remember, this is simply a term used to describe the space between an input level and the clipping point of physical and electronic instruments, but you can "create" headroom by making appropriate space in your mix.
Here are a couple of tips and tricks you can use in your audio system to produce more headroom while working with digital or analog audio signals.
Gain Staging
The term gain staging is pretty general - it refers to optimizing your track's gain levels at each stage in the recording process in order to provide enough headroom during the final stage of audio production.
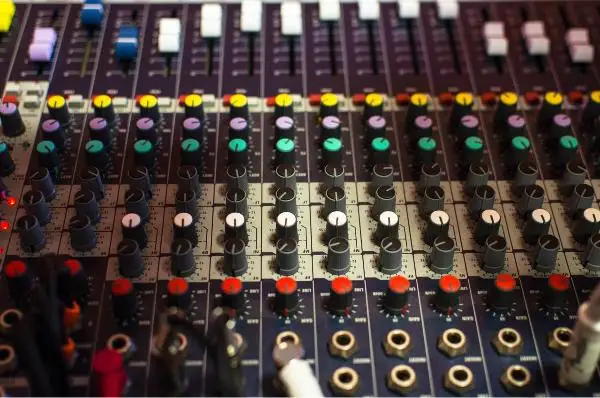
When recording, you need to start by setting analog input levels at an appropriate level, usually with the help of a VU or RMS meter. For instance, you might adjust your input gain on a preamp to about -12dB or so before hitting record. Your output levels should also be set in reference to the next stage of the creation process.
When pulling tracks into your DAW, you'll want to start with all individual mixing channels set to 0 dB, since this is the sweet spot starting point for most modern processing and plugins. These tracks will be turned down during the mixing process to create balance and headroom for the final mix.
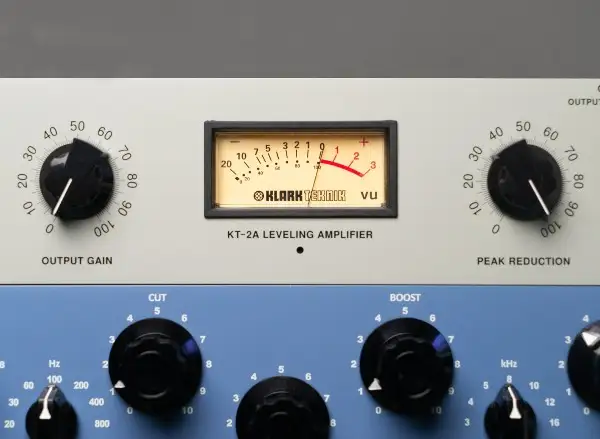
Try a VU Meter
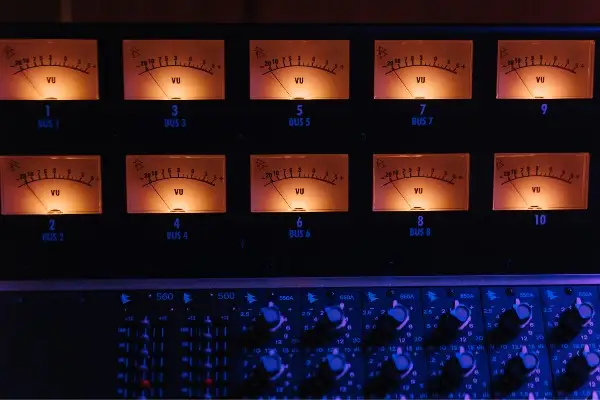
A VU meter or volume unit meter is used to measure the average level of volume, similar to the RMS (root mean square) meter depicted below. VU meters were originally used with strictly analog audio, so they are calibrated with a reference point of 0 dB to 4 dB, which is the clipping distortion point for analog systems.
VU meters provide a reference for the audio level based on the response of an audio signal input. RMS values are generally more accurate, but its entirely possible that a VU meter is already built into some of your analog systems.
Maintaining a Good Signal To Noise Ratio
A signal to noise ratio or SNR rate refers to how high the amplitude of your audio input signal is (how loud it sounds) in relation to the noise created by using that analog audio equipment. The higher the SNR, the less noise you're likely to hear, and the more clear the signal will sound.
Opting to use analogue systems that have a high signal to noise ratio can make it easier for you to have headroom since you will be able to get clear sound without having to submit to a loud amount of noise.
Use Peak Levels and RMS Meters
Monitoring your signal level with active plugins can make it easier for you to make informed decisions to conserve the average signal level of your mix. Loudness can be broken down by peaks level (the highest part of your waveform) and RMS value (the average signal level in your recording).
These line level devices are usually built into your faders. When looking at a meter, you'll typically be able to see the transient peaks (the peak level) and average volume audio levels by comparing and contrasting the different meter bars. For a more accurate view on your mixing console, you can utilize plugin meters to give you an instantaneous reading. Having a clear account of your levels naturally provides more opportunities for you to work headroom into your mix.
Headroom FAQs
Headroom is important to understand, but complex to explain. Use these commonly asked questions and answers to help expand your understanding:
What is headroom in audio?
Headroom is the amount of space you have in a mix before causing distortion. To manage headroom properly, the mixing engineer uses gain staging and other techniques typically to achieve at least 3 to 6 dB of headroom before mastering.
How much headroom should I have in my track?
You typically want to aim for 3 to 6 decibels of headroom in a mix before sending it off to the mastering engineer. It's essential to keep an eye on your headroom through every stage of the recording process since every level of processing builds on the one before it.
Is more headroom good?
It's not about having more or less headroom, it's about having the right ratio in relation to your mix. Typically, the recommended range at the end of the mixing stage before the mastering process is 3 to 6 dBs of headroom.
Understanding the importance of audio headroom is important to create a professional, polished mix. It also gives you a clear directive to shoot for when mixing your music. Use these techniques to build balance mixes for your listeners.


