

In the world of audio production, meters are everywhere. Blinking, bouncing, and flashing with every note and beat, helping engineers and producers 'see' sound.
Among the most iconic of all audio meters is the humble VU meter. Synonymous with vintage outboard gear, it may seem a little outdated in today's digital landscape.
But despite all the flashing and blinking of modern technology, the VU meter remains more than just a cool vintage accessory. It's actually a really useful tool for anyone working in the world of sound and recording.
So what exactly is a VU meter, and (perhaps more importantly) why should you care?
What is a VU Meter?
The 'VU' in 'VU meter' stands for volume unit. A VU meter (sometimes called a standard volume indicator) measures the average level of energy in an audio signal, providing a visual representation of relative loudness.
The important point is that a VU meter doesn't show peak levels - only the average volume of a signal.
And this is the main difference between a VU meter and other meters . Unlike a peak or LUFS meter, a VU meter (or more specifically the needle) has a relatively slow response to a signal.
This averaging response to a signal means a VU meter isn't the right tool for making sure a mix doesn't exceed a set output level.
But it's still an incredibly useful tool! If you're working on something that needs a fairly consistent level of perceived loudness (like vocals, for example) a VU meter is a reliable friend.
This is because VU meters respond in a way that's more akin to how the human ear perceives sound. Our ears don't hear every single peak and trough in a signal, but instead smooth things out to get a general sense of things. The same applies for a VU meter.
To really understand why VU meters work the way they do - and why they're still around - we need to take a quick look back at how they came to be. Put on your history hats!
The History of the VU Meter
In the early part of the 20th century, audio technology was advancing. Radio stations were popping up willy-nilly, and telephones were appearing in every household. In order to make sure everyone could hear things clearly, broadcasters needed a standardized way to measure and control signal levels.
At this point, there were various audio meters already available. European broadcasters had developed systems of their own, including DIN (German), Nordic (Scandinavian) and the BBC (British) meters. While they all had different scales, the function was the same - to monitor peaks in broadcast signals in order to prevent transmitters from overloading.
However, these systems were complicated, and expensive to manufacture due to the valve-based active electronics running the show. American broadcasters wanted a simpler, less expensive solution for monitoring signal levels.
Audio boffins at Bell Labs and CBS teamed up to do some research on this, publishing a paper in 1940 that described the Standard Volume Indicator (SVI), measured in ‘volume units’ (VU). This became standardized a couple of years later, under the catchy heading ANSI C16.5-1942. You can guess why folks ended up using the term ‘VU meter’.
The SVI meter, a passive electro-mechanical device, was designed to visually represent average signal levels rather than the peaks measured by its European counterparts, since this was considered more important than tracking sharp transients. The needle had a 300 millisecond response time, and the meter showed a range of -20 to +3 volume units (VU).
Over the decades, VU meters became the norm for telephone installation, radio broadcast stations, and recording studios, even finding their way onto consumer audio equipment. Their legacy persists well into the digital age in both hardware and software versions.
How to a VU Meter Shows Signal Level
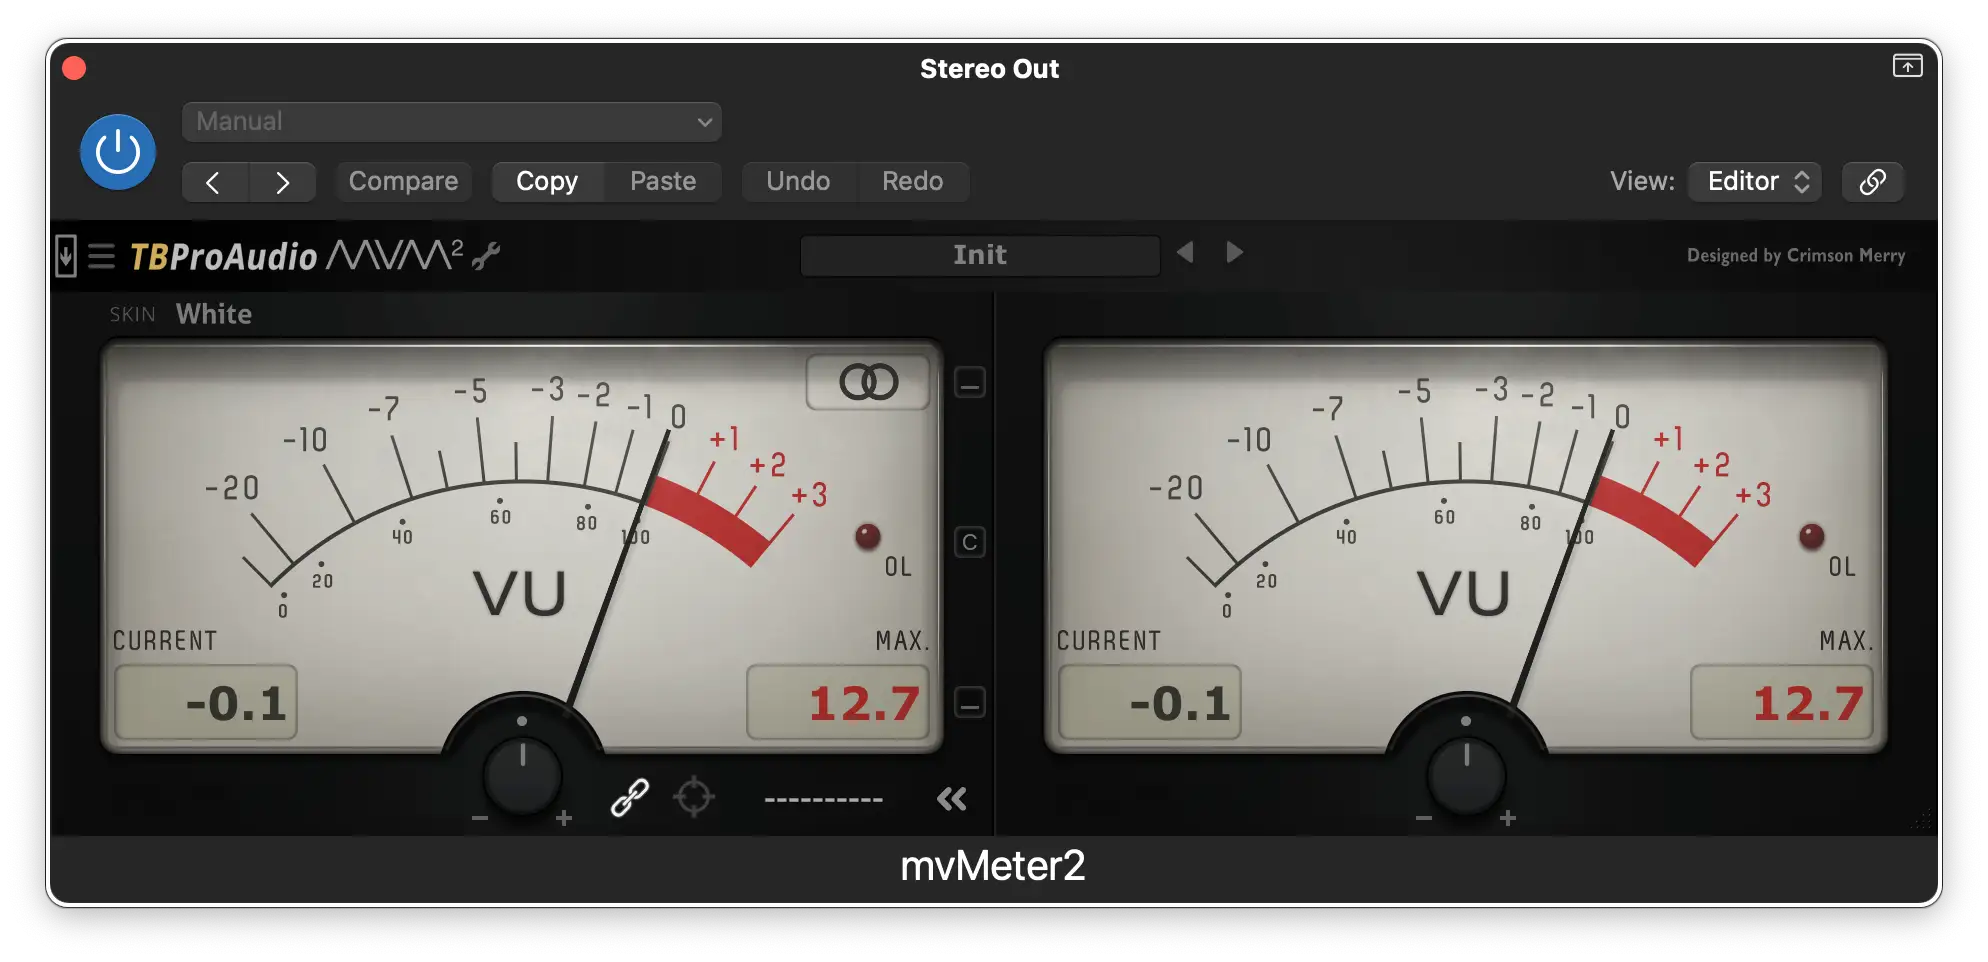
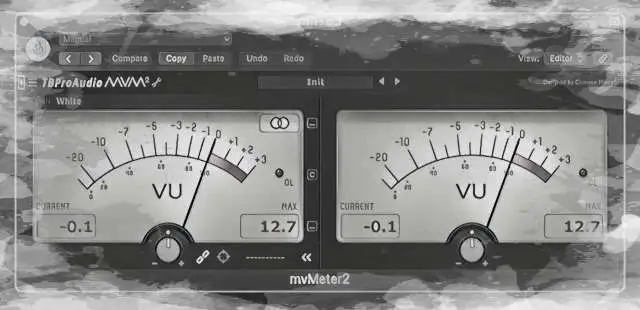
A VU meter traditionally shows two scales.
Volume Unit Scale
The top scale indicates decibels relative to 0 VU. And here we need to go back into just a little more history...
Originally the VU meter used a variable attenuator, so 0 VU could be calibrated to specific requirements. With no attenuation applied (i.e. set to 0 dB), a steady tone of +4 dB would register as 0 VU on the scale.
The attenuator proved to be a costly component, so manufacturers ultimately dropped it to make VU meters more affordable to install on mixing consoles and other recording equipment. This led to the 'standard' operating level of 0 VU = +4 dB.
OK, back to the present day.
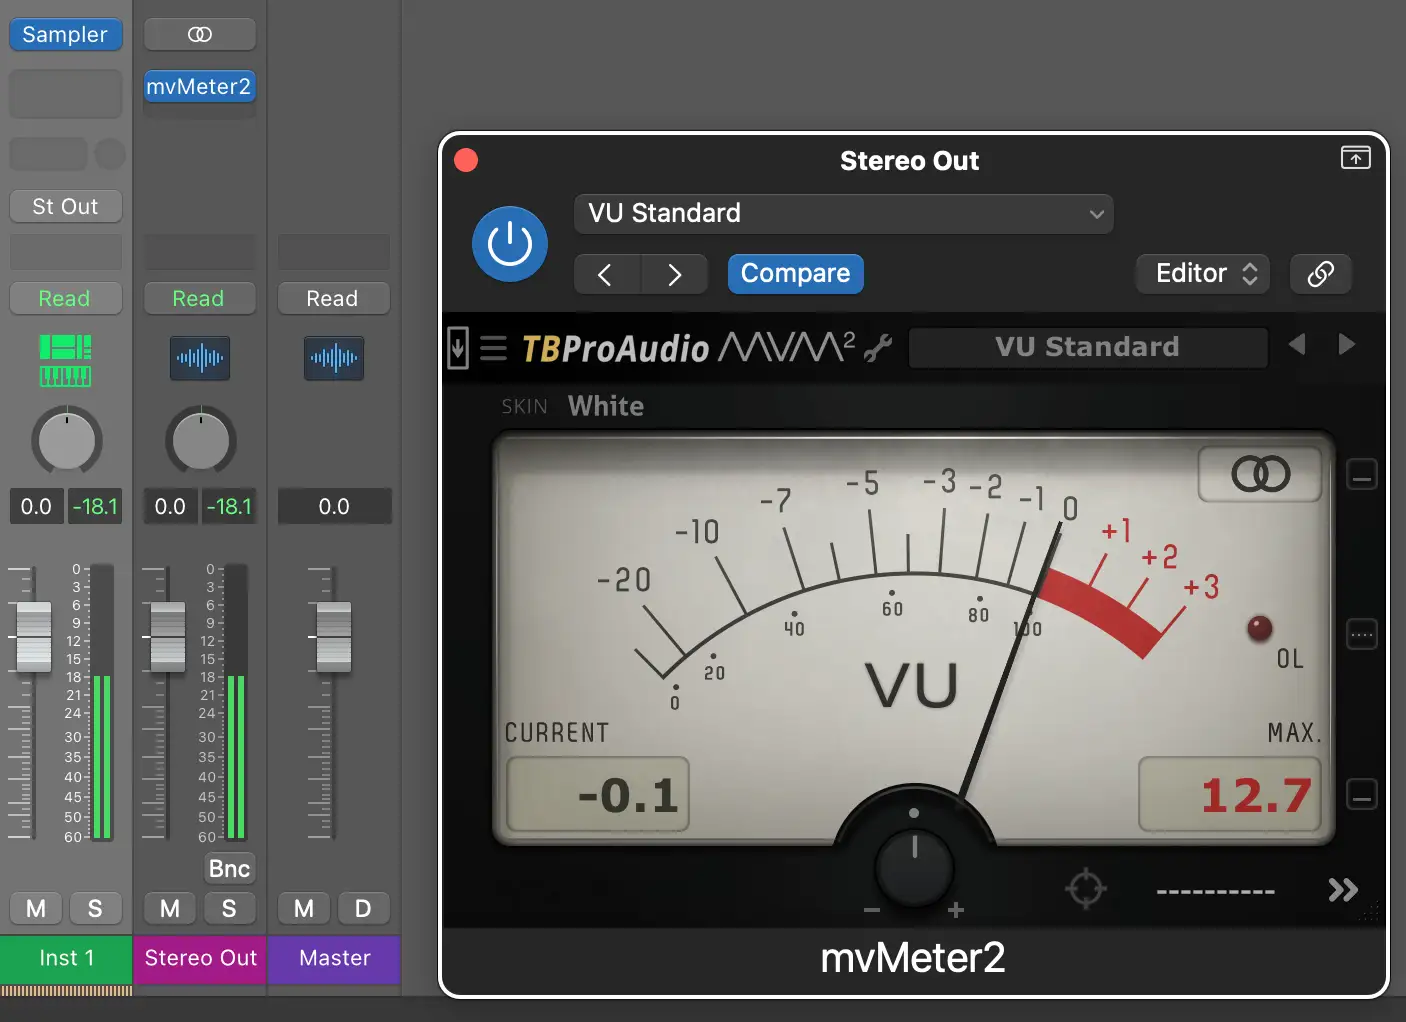
On an analog VU meter (that hasn't had any calibration adjustments) a reading of 0 VU equals +4 dB. On digital VU meters, the plugins are generally calibrated so that an audio signal level of -18dBFS ( decibels full scale ) hits 0 VU. This setting allows headroom for occasional peaks while still maintaining healthy average levels.
Remember the needle on the meter with its relatively slow response time? On an analog VU meter, the audio signal drives a moving coil which moves the needle (slowly) across the scale. A digital VU meter mimics this behavior, showing average volume level rather than true peaks.
Similarly, digital versions of VU meters respond in a typically non-linear fashion, where the bulk of the movement happens closer to the 0 VU mark.
Modulation Level Scale
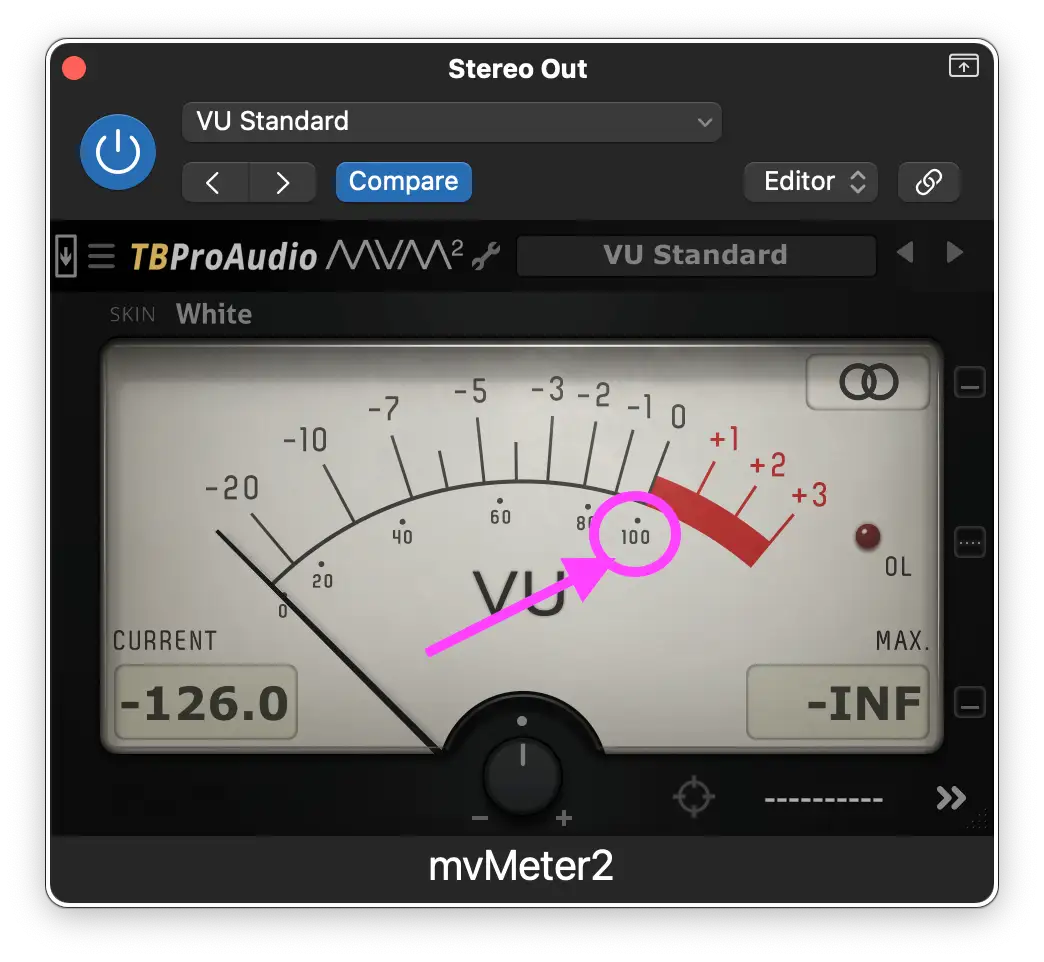
The second scale on a VU meter, beneath the VU reading, is a nod back to the original VU meter roots. The modulation level originally referred to the strength of the audio signal being sent via AM radio broadcasting. 0% indicated there was no audio signal, while 100% meant that things were at maximum level - anything above this would be overload.
Obviously times have changed, and this meter reading is less useful for audio engineers nowadays. Still, many digital VU meters carry the modulation scale to keep the vintage vibe.
VU Meters vs. Other Meters
VU meters were the main way to monitor audio levels until things started going digital in the late 1980s/early 90s. At that point, engineers started using full scale meters; these indicate the maximum possible signal level within the (digital) system.
Unlike a VU meter, which can safely creep into positive numbers, on a full scale meter, once you hit zero there's nowhere else to go except the land of distortion.

Aside from the numbers, how else does a VU meter compare to the many other types of meters around? Let's take a look.
Peak Meters
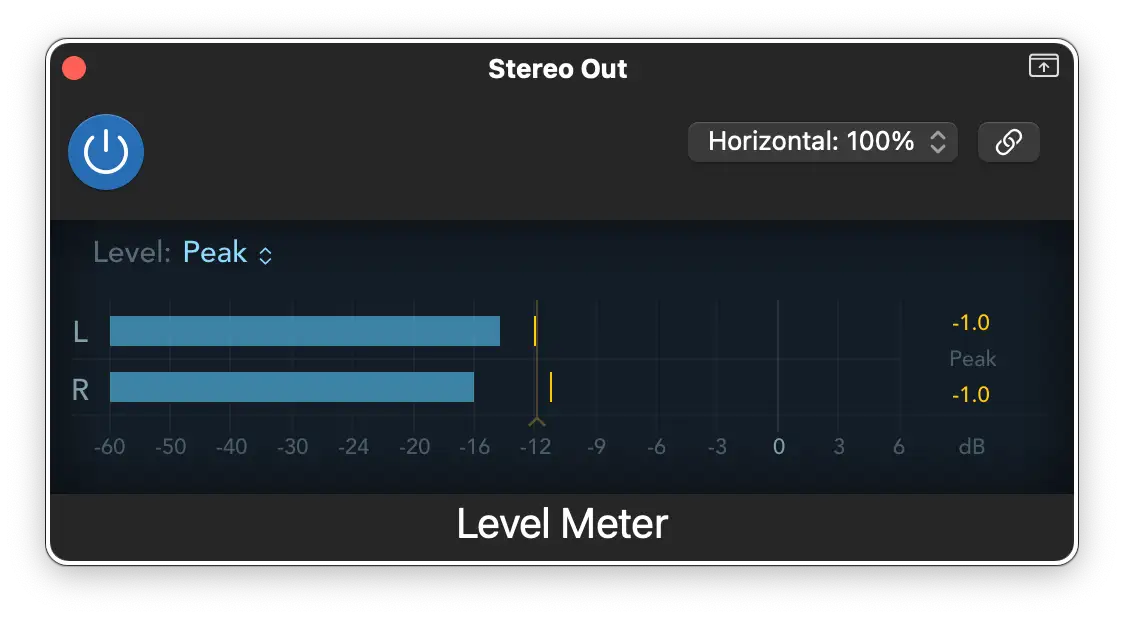
A peak meter will react pretty much instantly to any change in the absolute level of an audio signal - crucial if you want to avoid harsh digital distortion (and you do).
A VU meter, being slower to respond, won't show these momentary peaks.
RMS Meters
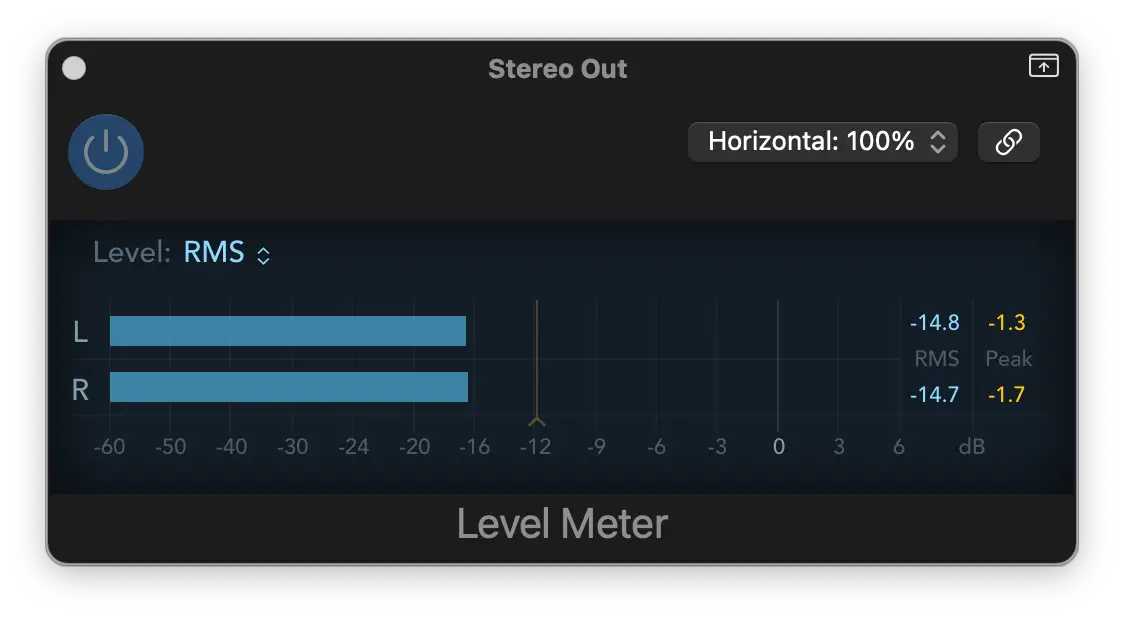
Like VU meters, RMS (root mean square) meters also measure the average loudness of audio sources. However, they use a mathematical model to figure out all the wizardry and so tend to be more accurate.
However, a VU meter shows things in a more visually appealing way, and can give audio engineers a more well-rounded view of the mix as a whole.
LUFS Meters
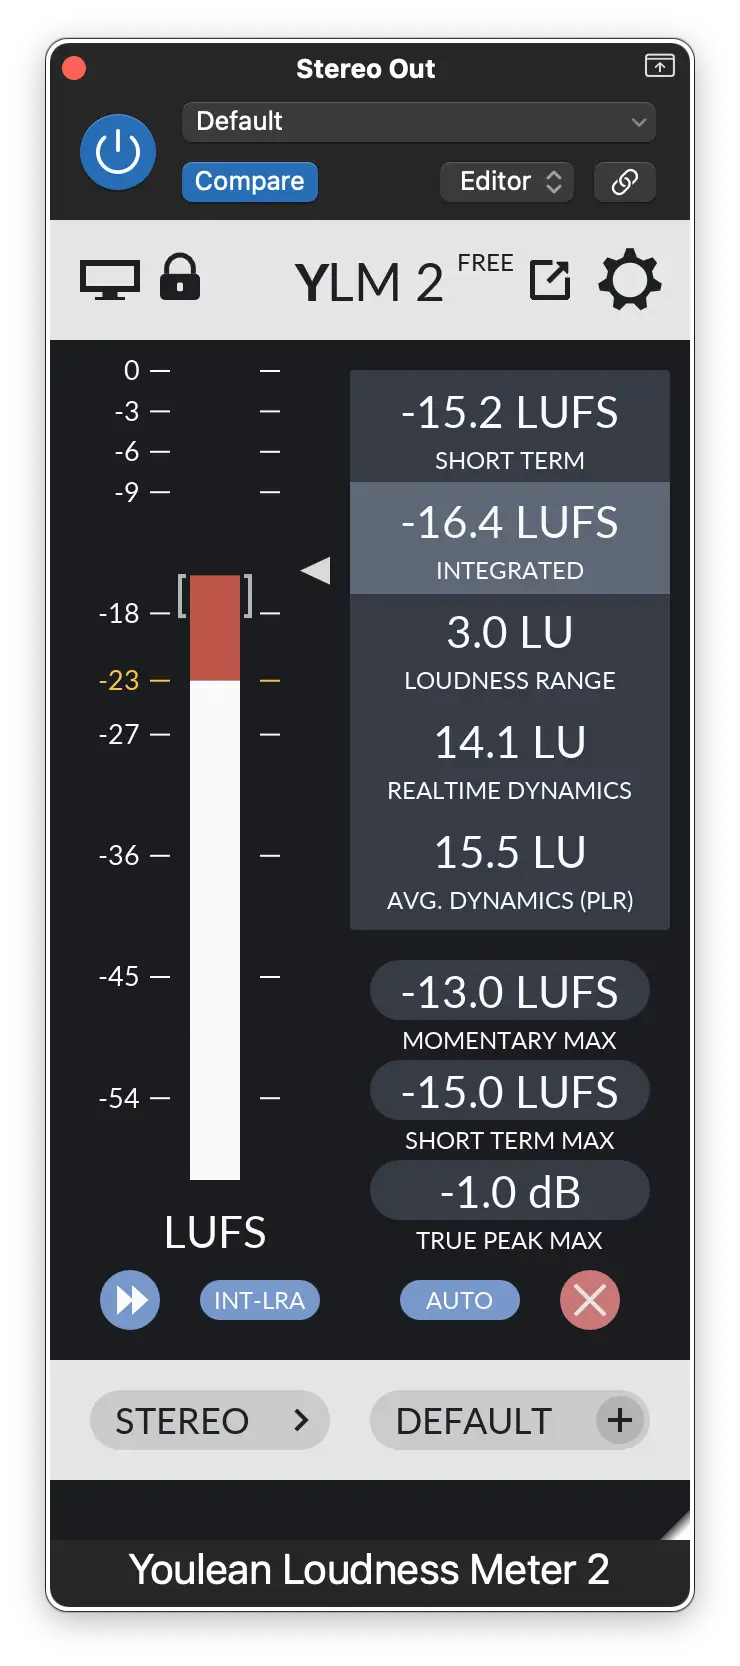
L oudness U nits relative to F ull S cale have become the standard in modern broadcasting and streaming. LUFS meters measure the integrated loudness over time, and include momentary and short-term readings.
LUFS readings are essential if you're delivering work to places like Spotify or Netflix, which require very precise delivery specs. In these cases, a VU meter is virtually useless.
Why are VU Meters Still Useful?
While not as accurate as peak meters for catching clipping, and lacking the detail of a LUFS meter for delivery specs, the humble VU meter is still an incredibly useful tool to have in your studio. Whether you have them on outboard gear, or use them digitally as a plugin, here's how they can lend a hand.
Gain Staging:
Gain staging is the process of ensuring the output level on all tracks and busses is set to the optimum level . Using a VU meter calibrated to -18dBFS, you can quickly and easily adjust the input level on plugin levels to hit the 0 VU mark.
Manage a Songs Dynamics:
When you're mixing a song, you generally want the chorus to have more energy than the verse. Having a VU meter inserted at the end of your mix bus will help you see if there's a bump up in energy as the chorus kicks in.
You don't want a massive jump in volume; just a couple of dB more should do the trick. As always, use your ears!
Match the Loudness of a Reference Track:
Using a reference track when mixing is a commonly found practice among audio engineers. The problem is these tracks have been mastered for optimum loudness, so the mix-in-progress is going to sound inherently weaker when compared to the reference track.
Enter the VU meter.
Compare the loudest part of your mix (probably the chorus) and see where it's sitting on the VU scale. Then solo the reference track, make a note of how much louder it is, and turn the input gain down by that amount.
By using this method to get a solid reference level, you'll be comparing your mix with the reference at the same volume.
Easy At-a-Glance Referencing
Whether you're balancing vocals, deciding whether to add more compression to a bass guitar part, or mastering a track, a VU meter will make it easy to get things to your target level by offering a human-friendly view for how loud something 'feels'.
If the needle is bouncing around all over the place, the track probably has a bit too much dynamic range , and could use some compression to tame things. If the needle is hovering around -2VU (i.e. vertically) things are in the sweet spot.
Common uses include:
- vocal mixing - a VU meter helps you judge the average volume of vocals, regardless of short peaks.
- drums and percussion - sharp transients from snare hits will likely not register on a VU meter, giving you a better sense of mix density.
- mastering - some engineers like to have a VU meter at the end of the chain running in tandem with a LUFS meter, as an additional check on perceived volume.
Because they respond to the signal from an audio system in a similar way to the human ear, VU meters give you a smoother, more musical view of your sound levels.
VU Meters: Hardware or Plugin?
Aside from the cool factor, there's not really any advantage to buying an outboard VU meter for your audio system. That's because the real benefits of using one only come when they're properly calibrated, and hardware VU meters with an adjustable attenuator, along with an accurate crest factor, are hard to come by.
Luckily, there's plenty of digital VU meters around. Most are reasonably priced, and some of them are free !
Some places to start include:
Tips for Using a VU Meter Effectively
Calibrate properly : Know what 0 VU means on your system. By default, most VU meter plugins are calibrated to 0 VU = -18 dBFS.
Pair with other meters : They look sexy and all that, but mixing with only a VU meter to assist you will result in trouble down the road - probably in the form of distortion. Always use a peak level and/or LUFS meter in tandem with a VU meter.
Use for vocals and bass : VU meters are fantastic for getting an optimal level from bass and vocal tracks.
Trust thine ears : As with all things in the digital age, use your ears to guide you. Don't be dazzled by the bouncing needle!
Mix into the VU : Use a VU meter early on in your mixing process to help find that sweet spot right away.
Use pink noise : This is a great way to calibrate your VU meter to hit a target LUFS level. Set up a VU and LUFS meter on your mix bus and play some pink noise. Adjust the gain on the noise to hit the required LUFS level, then adjust the VU meter reference level to place the needle around -2VU.
Conclusion
VU meters may have a classy, vintage look, but their ability to act as an average meter for loudness in a musical, humanistic way is why they've stood the test of time. In a world of blinking LED displays and digital numbers, a bouncing needle can help clarify things and offer a useful perspective on a mix.
Whether you're tracking vocals or mixing on an analog console, the VU meter is more than just a retro accessory - its a practical tool with real-world benefits. Use it wisely and you'll find yourself making cleaner, more consistent, and better sounding audio.
Now go forth and maketh the music!


