


Have you ever listened to a song and thought to yourself, “this is the best kick drum sound I have ever heard?” When Led Zeppelin and the engineer Andy John recorded “When The Levee Breaks,” they did so in a cavernous setting using a set of Beyerdynamic M160 ribbon microphones which they positioned from the stairwell overlooking Bonham’s drums. That was 1971.
Going through extreme and creative measures to record instruments and produce original sounds is still something practiced today. But this style of sound creation is becoming less practiced as modern DAWs make it easier than ever to create unique sounds.
Sound Different, Stand Out
Not everyone has access to record their album in a 1940’s bomb shelter or a 15th-century church. Whether you are recording your drums in a studio or using samples, adding a plugin to shape your kick drum will give you the ability to create a bass drum sound that is unique to you.
Make Creating Easier
DAWs such as Logic Pro, Pro Tools, and Ableton have plenty of tools to help you shape and design sound. Taking the time to learn these tools is crucial, but it can also stunt the creative flow when we are feeling inspired. Using kick shaping plugins will help streamline the sound-designing process by giving you easy access to a bank of parameters for shaping the bass drum sound.
Be More Professional
Don’t have the option to record in a studio? Are you worried that your home-recorded drums don’t sound polished? Audio engineers have an incredible ability to control sounds in post-production. Adding kick shaping plugins to your DAW will take your bass drum sound to the next level without adding extra hours of labor and studio time.
How to Use Kick Shaping Plugins
Follow these tips to learn a few tools that will make your kick drum sound great. And after that, we explore a few free plugin options that tie these tools into one place and help you get the job done.
Dial-in the EQ
EQ has earned its’ place at the very beginning and the very end of the mixing process . Equalizers are for removing and balancing the frequencies contained within the sound. Sometimes there are harsh frequencies created in a recording. If we do not remove these frequencies before applying, say, compression , we will accentuate the unpleasant frequencies.
When mixing a kick drum, you will typically want to remove the higher frequencies with a high cut (low-pass) filter (try around 15500 Hz) and a low cut (high-pass) filter (20 Hz).
Dial-in your EQ first to avoid the frequencies that lead to ear fatigue.
ADSR, Compression, and Transient Shaping
You may have heard of the acronym ADSR. It stands for attack, decay, sustain, and release, and it will become your secret weapon to mixing the best sound for your instruments (especially the drums).
Attack
When an instrument first makes a sound, the amount of time it takes for the sound to go from quietest (no sound) to loudest (the most sound) is known as the attack.
Decay
After an instrument sound has finished the “attack,” the amount of time it takes for the sound to decrescendo from its’ loudest point (peak of attack) to the sustain level.
Sustain
When the sound level has finished peaking (attack) and settling (decay), the sustain is the amount of time and the level at which the sound maintains itself (examples could include a saxophone holding its note or a singing bowl ringing out in a meditation).
Release
The amount of time it takes for the sound to decrescendo from the sustained level back to silence (no sound).
If you don’t have access to a recording studio or real instrument sounds, mastering ADSR will allow you to take basic MIDI instrument sounds and give them some of the richness you desire from your instruments. And if you do have access to high-quality instrument packs and sounds, using ADSR will allow you to improve on those sounds more.
Try adding a longer attack and release time to your kick drum sound to give it more body. In pop music, it is sometimes desirable for your kick drum to “click” – adjust your attack until you can hear the clipping just a little bit, then back it off slightly.
Compression vs. Transient Shaping
Compressors and transient shapers are two different tools for controlling the ADSR of a sound. While the concept of transient shaping is not new, it is not a processor commonly offered by many DAWs. The solution to this is downloading and installing an additional plugin for transient-shaping to use within your DAW.
So what is the difference between a compressor and a transient shaper? The easiest way to explain the difference between the two is compressors are threshold-dependent , and transient-shapers are threshold-independent . Or in other terms, compressors are triggered based on specific parameters, and transient-shapers act more like filters. To achieve the best mix, you will use both of these tools depending on the audio and the sounds you have.
Mix your kick drum compression on the heavier side, as this will give you the ability to make the “volume” of the “sound” louder when you are finished (if you want to).
Stereo Imaging
It is standard for both the snare drum and the kick drum to be set as “mono” and not “stereo” in the audio mix. Do this with stereo imaging if it is not already to avoid phasing issues that could occur when other sounds or instruments interact in the project.
Parallel Processing
Think of parallel processing as a way in which to add depth to a sound by blending the dry, unprocessed signal with the processed wet signal. A good parallel-processing plugin will allow you to adjust these levels from the first signal to the latter and back until you achieve your preferred sound. Try using more of the processed, wet signal to give your kick drum a “fatter” sound.
It is not just a feature you may find in a kick shaping plugin – parallel processing is an advanced mixing technique that takes time to study and master. We will likely cover this topic in more depth in future articles.
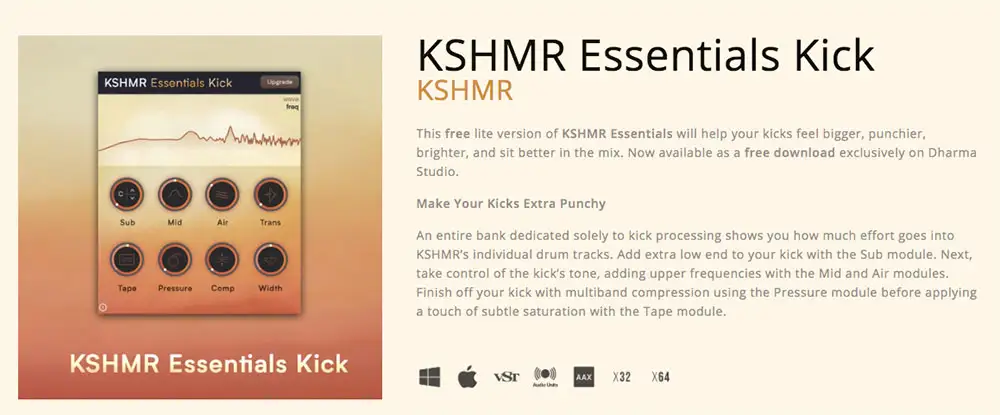
KSHMR Essentials Kick – Free Kick Shaping Plugin
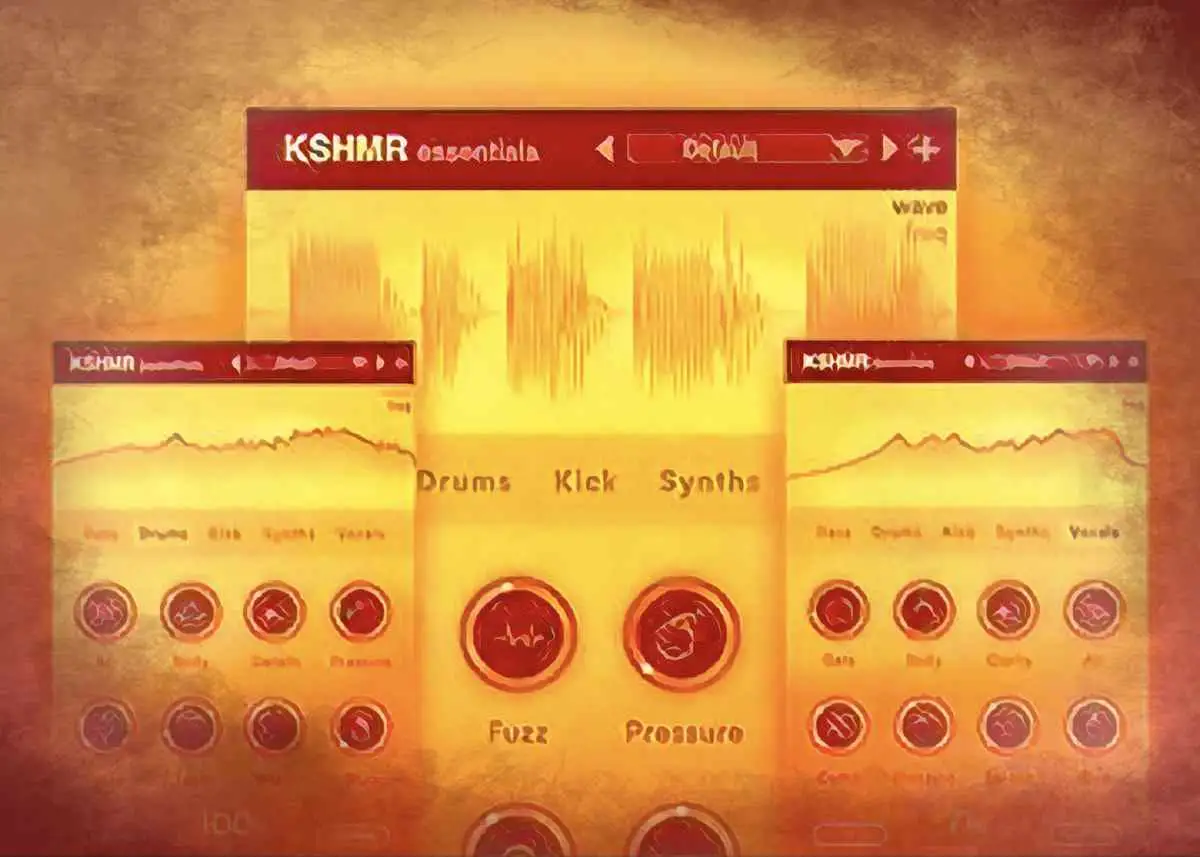
The free KSHMR Essentials Kick Plugin , offered by Dharma Worldwide, lets you manipulate the sub, mids, pressure, air, and more, giving you the ability to shape the sound of the kick drum in your tracks from one window inside the DAW.
You will have to purchase the KSHMR Essentials package to make all of your instruments sound amazing, but Dharma Worldwide offers their Kick Drum Plugin for free when you create an account on their website.
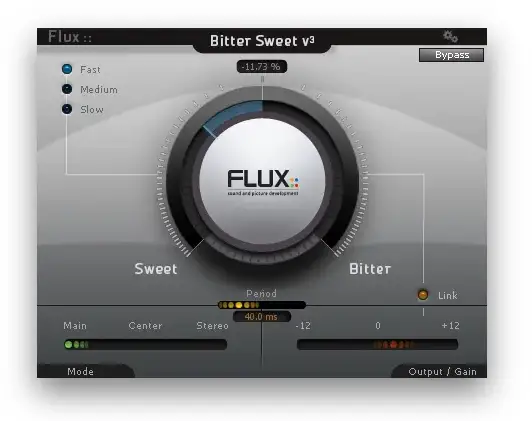
Transient Shaper by Bittersweet
Another free tool for shaping kick drum sounds is the Transient Designer plugin by BitterSweet . While the KSHMR plugin has its’ own transient parameter knob, this plugin is dedicated entirely to transient shaping. As mentioned previously in this article, transient shapers control the transient response and envelope curve of an audio (or wave) signal and are used to help shape the sound of a recorded drum.
Other Tips for Making Your Kick Stand Out
- Use the highest quality sounds and samples you can. These are often not free, but you can find some pretty awesome ones on the internet, like the ones offered here from Bedroom Producers .
- Invest in a pair of high-quality headphones or studio monitors so that you can hear the difference between a good mix and a bad one.
- Listen to other artists and producers and practice replicating their sounds.
Explore and Have Fun
There are endless plugin options available for shaping and creating your kick drum sound. Start exploring to find out what works best for your genre and production style.


