Compressors are an essential tool in pretty much every kind of music production (except perhaps early music), but they can also be slightly terrifying to use if you don't fully understand what all the knobs and gubbins do.
In this article, we're taking a deep dive into the heart of compression - the audio compressor ratio explained. Compression ratios are often over-used or under utilized by newbies to production (and even folks who've been around the block a few times).
By understanding the compressor ratio and the magic it does, you'll be able to make better mixing decisions, and achieve balanced, natural sounding mixes. Read on!
Beginner's Guide to Compression
Compressors are all about reducing the dynamic range of a track or instrument.
They do this by preventing the loud parts from getting too loud, without affecting the quieter bits. Think of it like a bouncer at a club - the well-behaved guests are let through, while the rowdy ones are told to calm the F down before they can come in.
Most compressors have the same basic controls:
- Attack
- Release
- Threshold
- Ratio
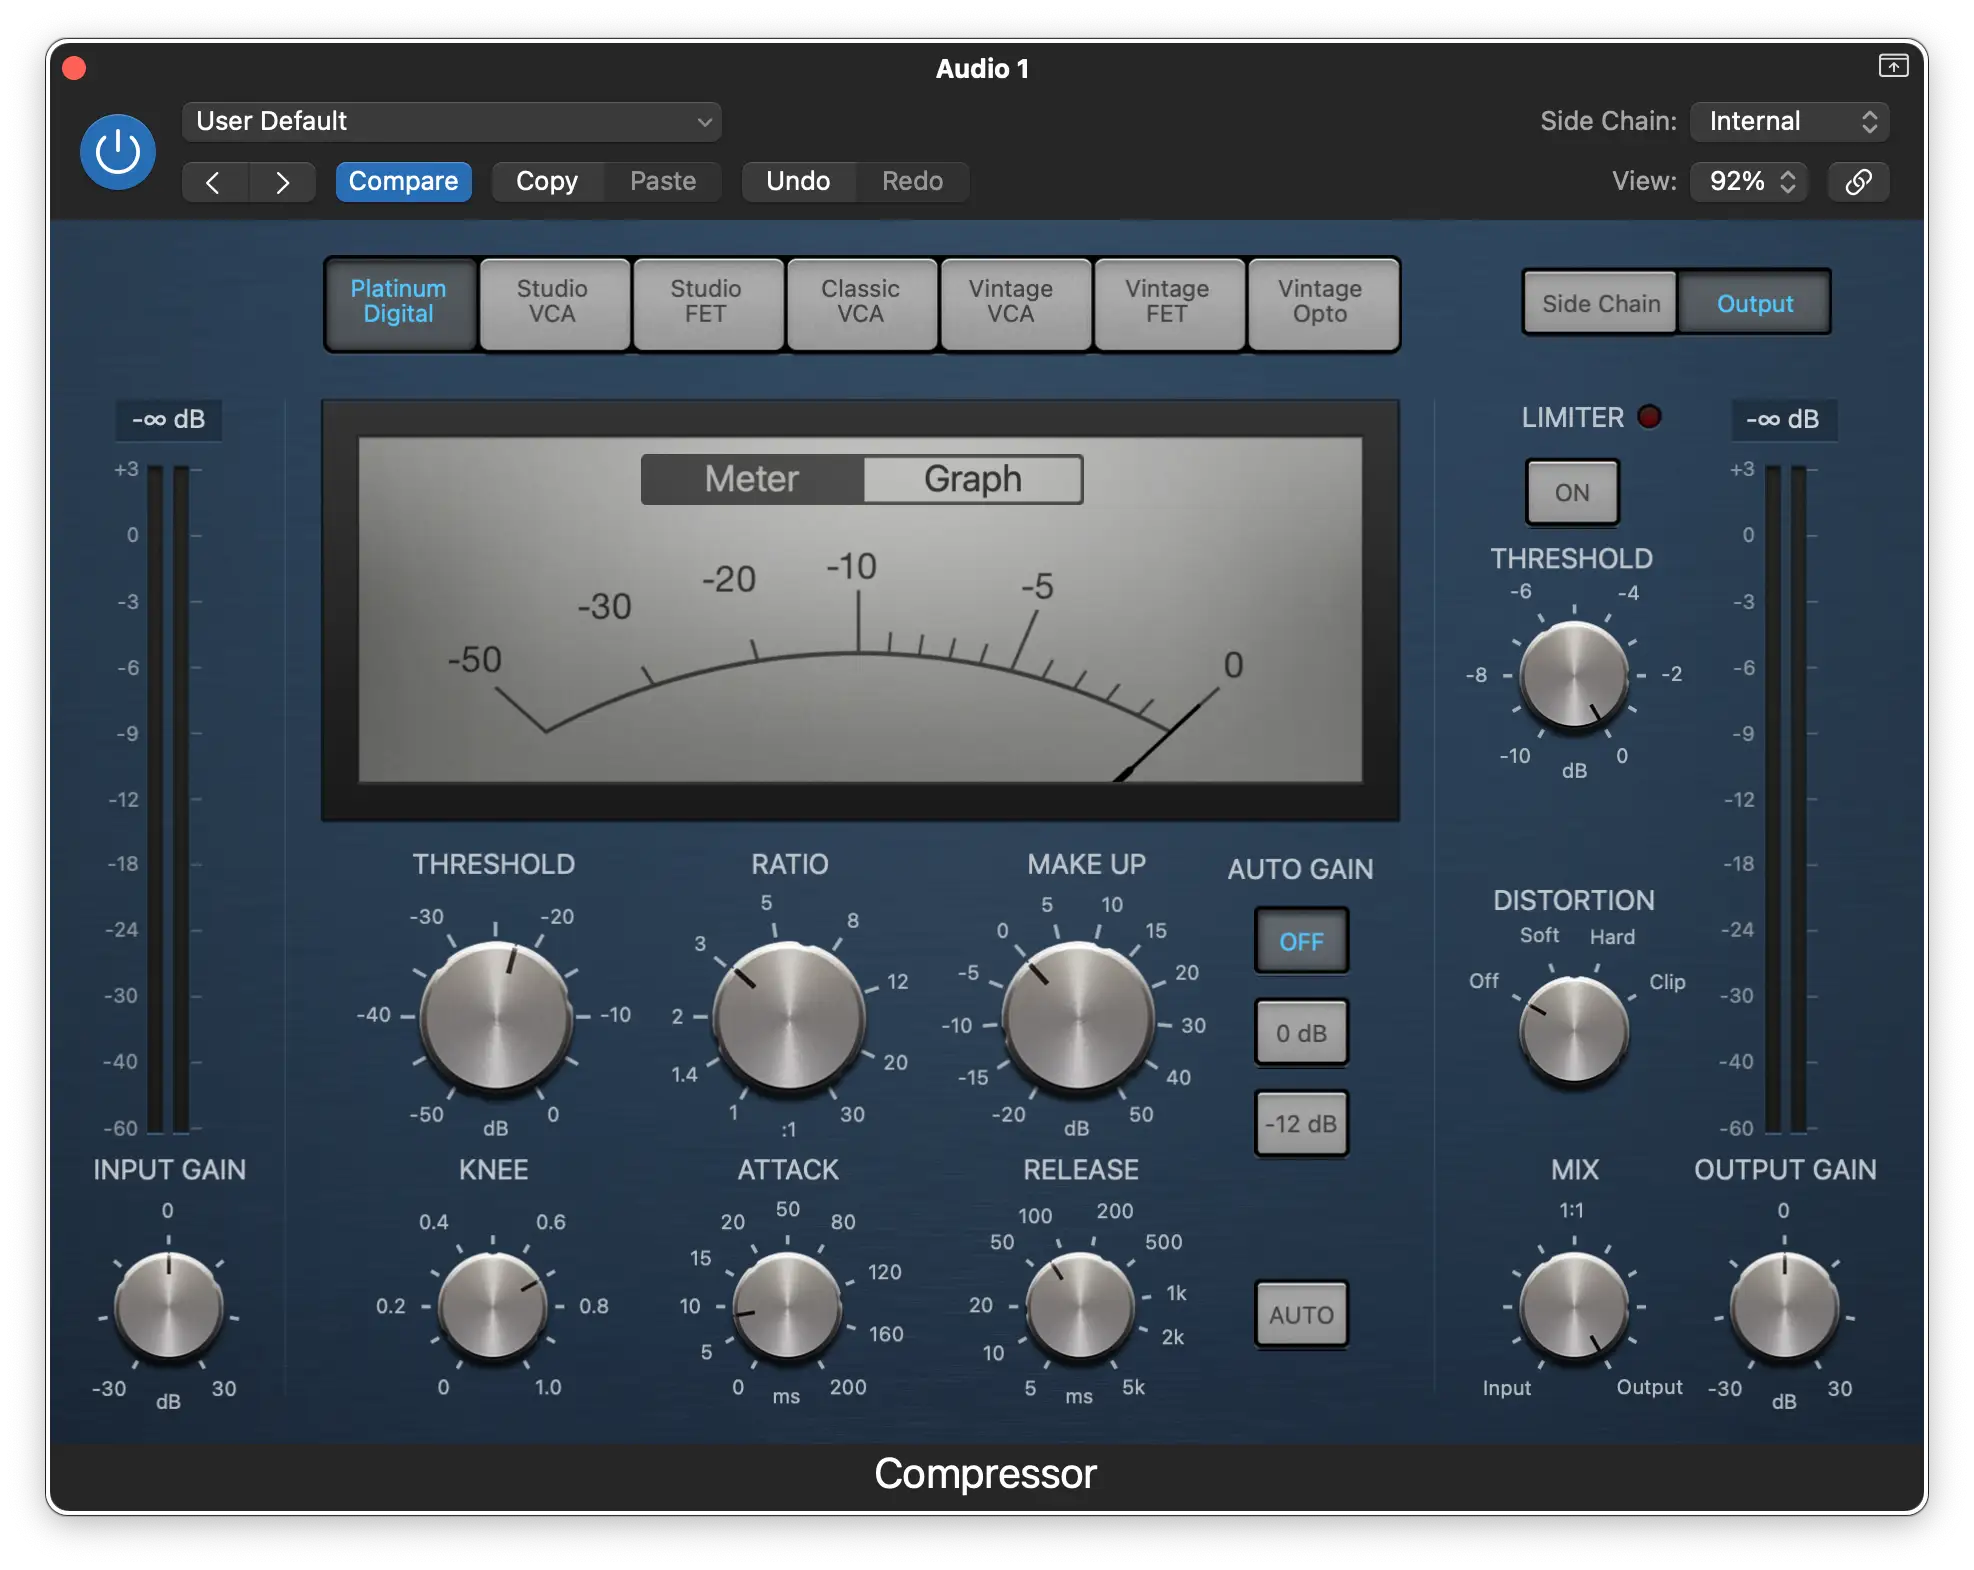
While it's important to know what all the controls on a compressor do , the ratio knob is perhaps the most important one.
Compressor Ratio Explained
While the mathematics behind this is dizzyingly complex, compression ratio can be described as how much the volume is reduced when a sound gets too loud.
A compressor doesn't start working until the input signal passes a threshold level. Once this happens, the compression ratio determines how much gain reduction the compressor applies.
Decoding Compressor Ratio
In audio, compressors usually express ratio in decibels (dB).
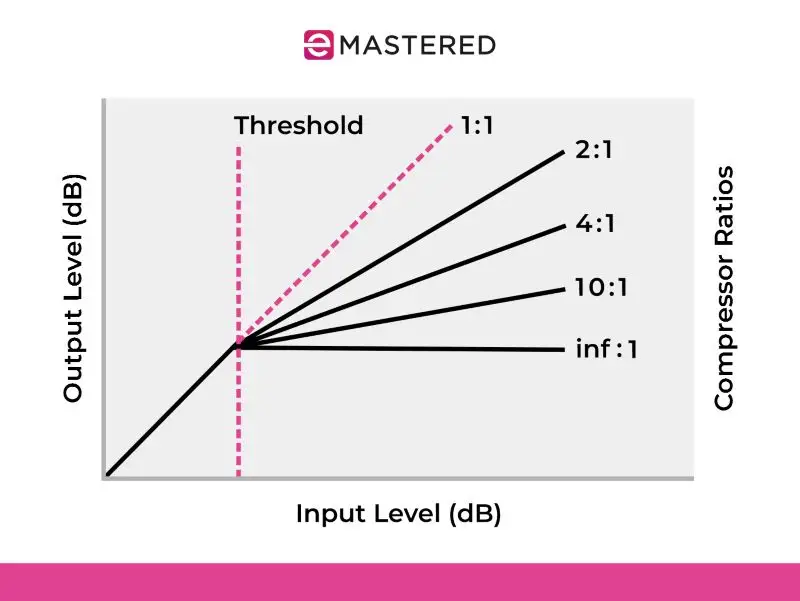
A ratio setting of 2:1 means that for every 2dB the input signal exceeds the compressor's threshold level, only 1dB of signal is let through. A ratio of 8:1 means the input signal must cross the threshold by 8dB for the output level to increase by 1dB.
Another way of thinking about it is as a fraction. A ratio of 1:1 (or 1/1) is a whole number, i.e. all of the signal will be let past the threshold.
A ratio knob set to 4:1 means only 1/4 of the signal that exceeds the threshold will be let through. At 10:1 the applied compression only allows 1/10th of the input signal past the threshold.
Check out the graph below for a visual representation.
Compressor Ratio Basics: How Ratio Affects Your Music
The ratio knob on a compressor has significant impact on how the compressor behaves.
At 1:1 there's no compression. The input and output levels remain the same, whatever the threshold level is set to.
A ratio of 1.5:1 applies subtle compression. The resulting sound is very transparent, with all the natural peaks and valleys being preserved.
A ratio of 2:1 applies light compression, with the natural dynamics being preserved and no noticeable changes to tone.
A ratio of 3:1 will apply gentle dynamic control. This setting offers good transient control while retaining a natural feel.
A setting of 4:1 applies moderate compression. It brings tighter control over transients and introduces changes to the punch clarity and presence of the tone.
Ratio settings of 8:1 result in much stronger tone shaping and dynamic control.
At 10:1 and above things get HEAVY! These kinds of settings will dramatically reduce dynamic range, and you'll begin losing detail and punch.
Anything above 20:1 make the compressor effectively act like a limiter, although it's not true limiting . Compressor ratios at this level will adversely affect the tone and punch.
When the ratio is set to an infinite ratio (∞:1) the compressor is applying what's known as brickwall limiting . Nothing exceeds the set threshold. Game over.
Basic Compressor Ratio Settings
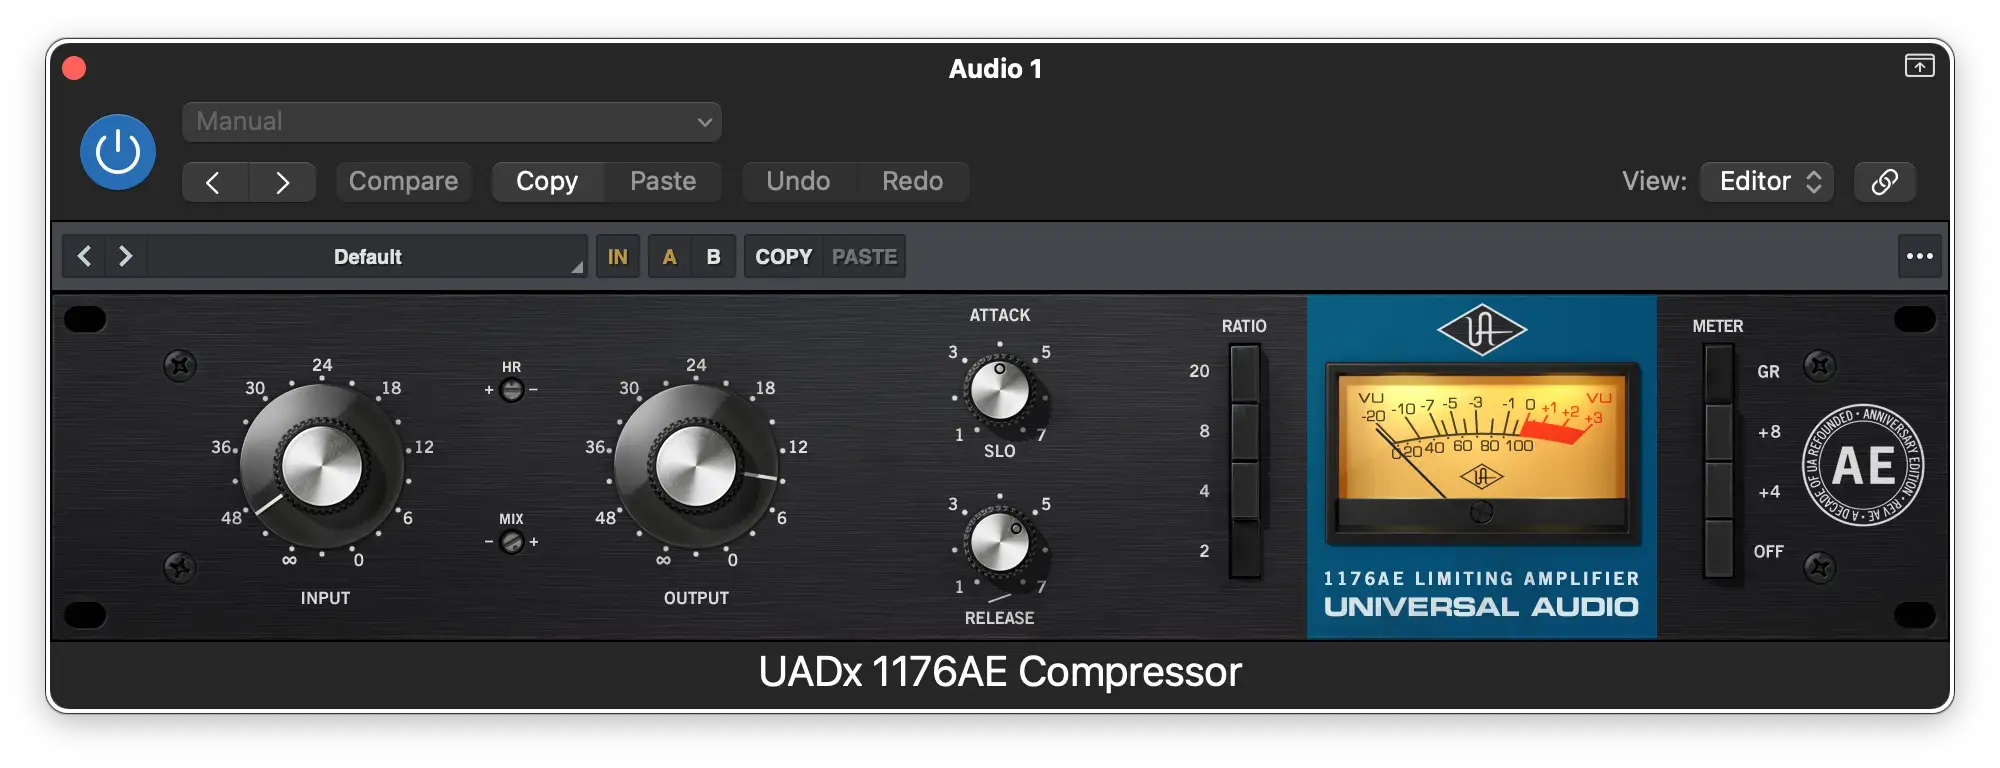
Depending on the model you're working with, you'll be able to dial in either very specific ratio settings, or choose from preselected settings. Either way here's some basic ratio settings available on most compressors.
Low Ratios (1.5:1 - 3:1) - Subtle and natural
Lower or moderate compressor ratios apply gentle dynamic control. Natural and transparent sounding, they're ideal to use when you want to preserve the natural peaks of the signal without making the compression sound obvious.
Lower ratios are best when used on acoustic or soft instruments, gently smoothing out volume inconsistencies while keeping the expressiveness in the performance intact.
Medium Ratios (4:1 - 8:1) - Balanced and Punchy
A ratio of 4:1 - 8:1 applies medium compression on a signal, causing it to more aggressively affect the tone punch and loudness.
Medium ratios are great for tightening up performances, while preserving the natural peaks to some degree, hence they're often used on drums, or lead vocals.
High Ratios (10:1 and above) - Heavy Compression
Higher ratios dramatically reduce the dynamic range of a signal to ensure a steady smooth output. These ratios are often used for the 'in yer face' voiceovers used on advertising or broadcasting to ensure the message will be heard whatever's happening in the background.
If overdone, higher ratios can cause the signal to lose punch and so are less useful in musical settings. Apply with caution!
Limiters (∞:1)
Rather than applying gain reduction, limiting prevents a signal from exceeding a dB ceiling. Limiters are used at the mastering stage to prevent digital clipping .
Common Mistakes
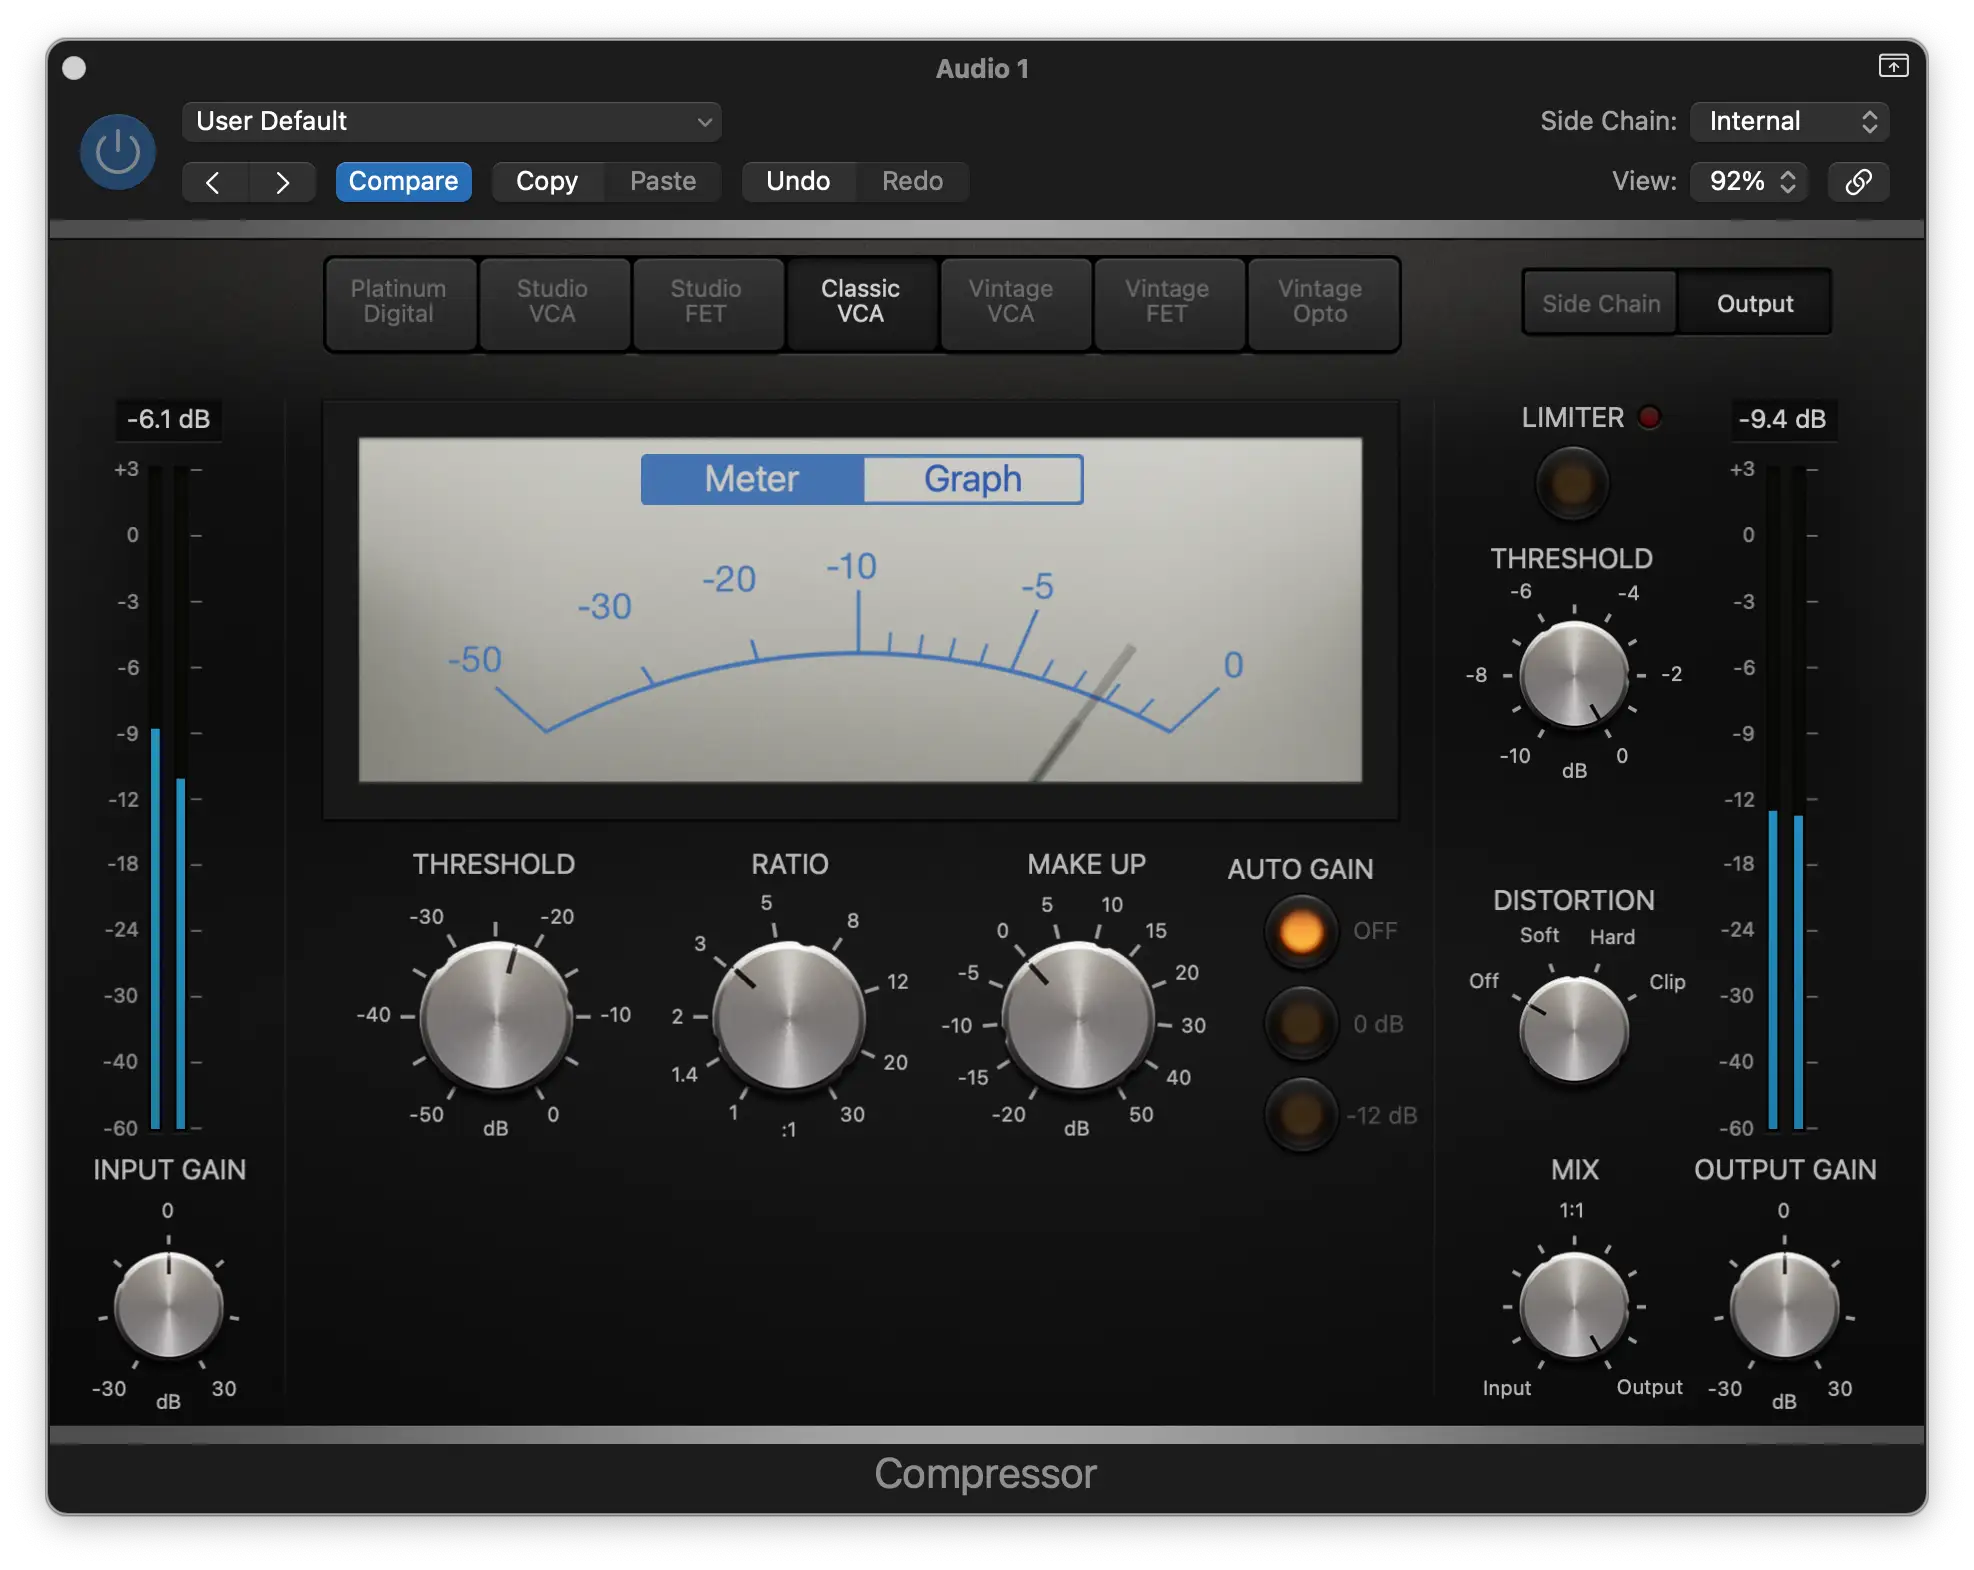
While compression is undoubtedly a powerful tool to use in music production, it's also very easy to balls things up. Here's some common mistakes, and how to fix them.
Overcompressing - Killing Dynamics
Using a ratio setting that's too high for the job will result in too much gain reduction and a flat, lifeless sound.
Fix: Start with a lower setting and gradually increase while listening to the track.
Undercompressing - Not Enough Control
On the other hand, if the ratio knob is set too low there'll be volume inconsistencies in the mix.
Fix: Choose a ratio that applies gentle transient control without losing the natural peaks and valleys.
Using the Same Ratio Across the Board
Not all sounds are created equal, and using the same ratio for every instrument isn't going to cut it.
Fix: Tailor the ratio to each instrument's characteristics.
Ignoring Other Settings
Compressor ratio works in tandem with the threshold level, and the attack and release controls. Ignoring these settings can result in choppy, unnatural compression.
Fix: Experiment with different settings so the compression breathes with the music.
How to Choose the Right Ratio Settings
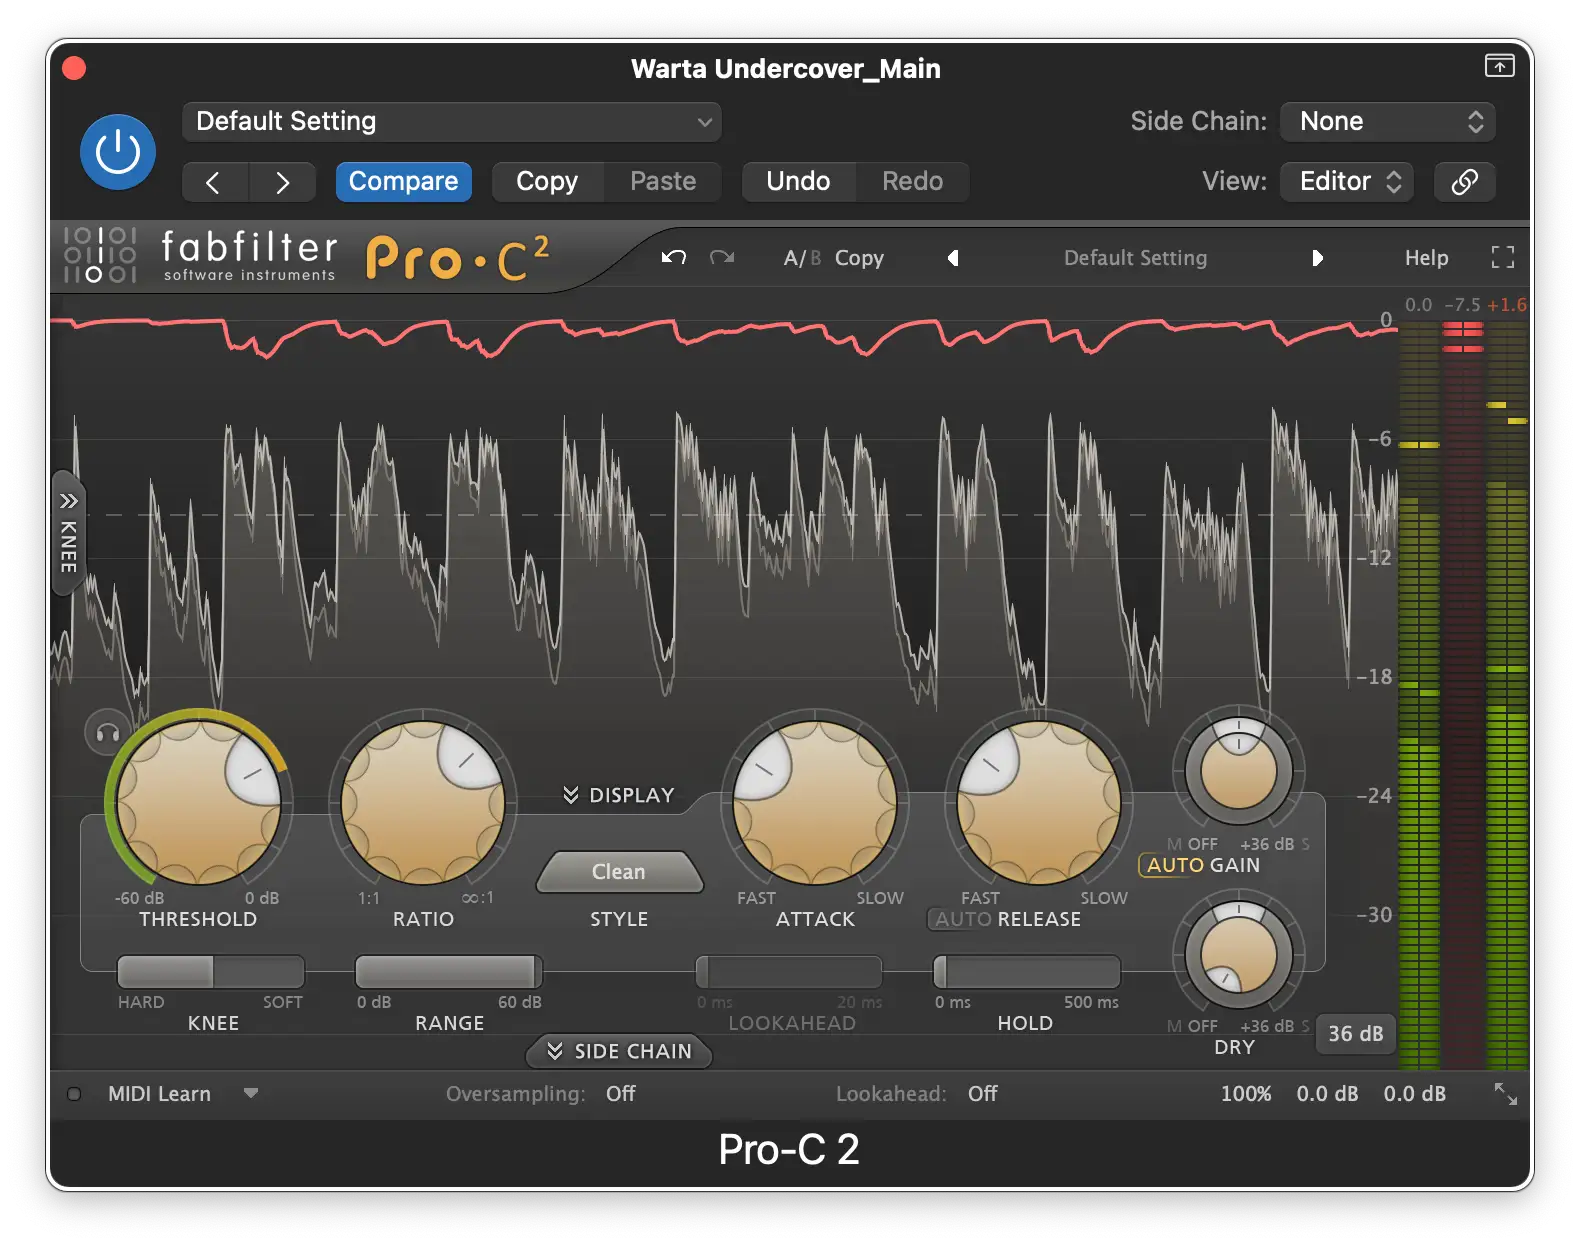
There's no one-size-fits-all approach for how to set a compressor ratio; it all depends on the source material you're working with and the effect you're after.
Audio engineer aficionado Bobby Owsinski suggests starting with a ratio of 4:1, with medium attack and release settings. Play around with the controls and listen to the resulting sound.
If you're new to compression I'd recommend focusing on just one compressor and toying with low, medium, and high ratios to begin with. Learn how different settings affect the sound of instruments, and you'll soon get a handle on the whole compression gain.
From there you can explore techniques such as serial compression , parallel compression , and sidechain compression .
But for now, go forth and compresseth the music!


