


The hi-hat; one of the smaller cymbals in a drum kit but a mighty one nonetheless. It's a standard piece of gear used in virtually all genres of music, from hip hop and rock, to jazz and EDM.
A lot of folks overlook our little friend when mixing, preferring the boom of the kick drum, or the crack of the snare. But a hihat plays a crucial part in any groove, and if it doesn't sound right, the track can flop.
Common hi-hat EQ challenges include an overly-aggressive hi-hat sound, thin-sounding hats, muddiness, sibilance, or unnecessary frequencies clogging up headroom in your mix.
We'll be discussing all these problems, and more in this article, along with other handy tips for getting your hi-hats sitting pretty. All this without ever touching a fader.
Let's goooooo!
Understanding the Frequency Range of Hi-Hats
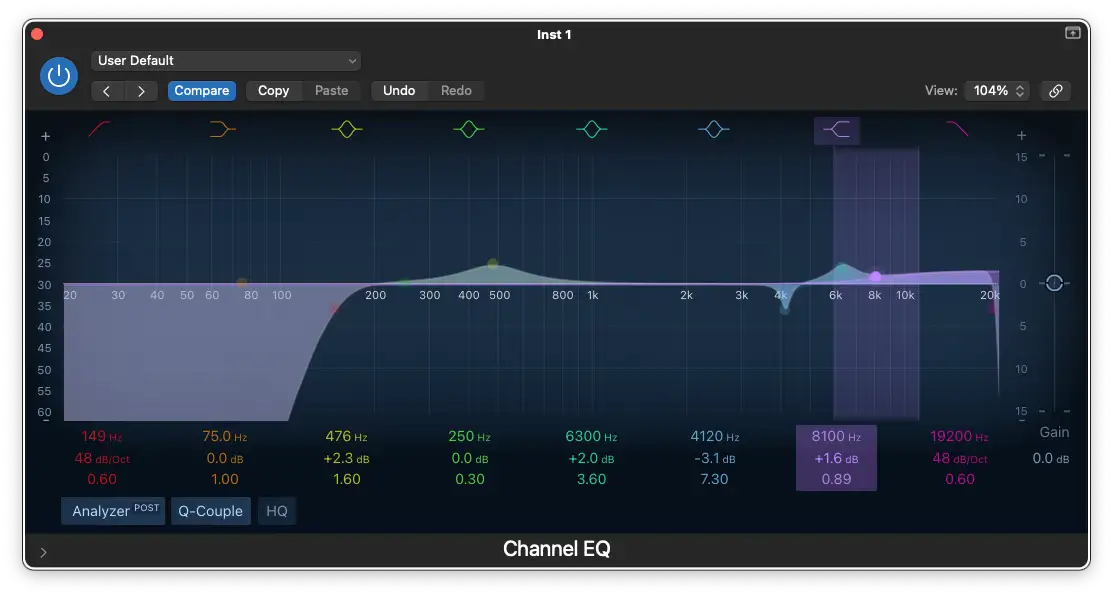
Hi-hats are a strange beast. While we normally associate them with high-end crispness, a hi-hat channel can in fact contain frequencies across the spectrum, from 20kHz at the top, down to 200Hz or below at the low end.
Lots of factors affect what's captured on the recording; the drums themselves, the player, the mic setup, the room, and the recording technique.
Understanding the key ranges of a hi hat in the frequency spectrum will help you shape its sound effectively.
Low frequencies (200-300 Hz):
While hi-hats don’t typically generate a lot of low-end content, it can still be present thanks to the stick hitting the hat itself, or if there is bleed into the hihat mic from other parts of the drum kit. Even if the frequencies aren't audible they can quickly muddy up a mix.
Setting up a low cut at around 150Hz can help reduce unwanted bottom end and clean up your mix.
Low Mid-Range (400 Hz - 1 kHz):
The mid-range is where the presence and character of a hi-hat live. Boosting here can bring out more body in hi-hats that are a little too thin, and conversely cutting here can clean up an overly thick hi hat sound.
High Mid-Range (1 kHz - 6 kHz):
At these higher frequencies you’ll find more of a hi-hat’s bite. Cutting here will tame a harsh hat sound.
High Frequencies (7 - 20 kHz):
At the high end of the frequency spectrum is the sizzle and sparkle of a hi-hat. Boosting frequencies around 6 - 8 kHz can add presence to a dull sounding hi-hat track.
Common Hi Hat EQ Problems and Fixes
EQ-ing hi-hats to form part of a balanced mix can be a trick to perform, since there's a fine line between presence and harshness. Here's some common hi hat EQ problems, and how to fix them.
Lacking Body
Some hi-hats can sound a bit weak or thin, especially if there's a lot going on with the other instruments.
To add more body, try adding a small boost around 300 - 500 Hz, but go easy as this can also introduce unwanted mud into the equation. If this is the case, try adding some subtle saturation or distortion to beef things up instead.
Too Harsh or Piercing
Aggressive hi-hats can often be a problem with sampled hi-hats (yes, they can need EQ-ing too!). Perhaps it's a marketing ploy, but sampled hats can sound a little too sparkly straight out of the box. The hihat sounds wonderful in isolation, but in the context of a mix it sounds rather poo, especially at high volumes.
To resolve this, use a narrow Q-band and start sweeping between 3 - 6 kHz with a boost to identify the offending frequency band. When you've found it, apply a cut of around 2-4 dB to smooth things out.
If the problem only occurs when the drummer is going nuts, try using a dynamic EQ to respond to the increased harshness when the hi hats get loud.
Too Bright or Sizzly
You can have too much of a good thing. Too much energy in the 10 - 15kHz range can lead to an overly bright high hat sound, which can be unpleasant on the ear.
Rather than trying to control this by aggressively cutting your highs, try using a gentle high shelf filter in this frequency range to control the excess shimmer. A de-esser can also be useful in this situation (I know, it's not EQ, but there's many ways to mix hi hats...).
Clashing With the Snare or Vocals
Hi-hats can sometimes share frequency space with the snare drum or the vocals, leading to masking or a cluttered mix.
In these situations, try a small cut in the hi hats 1 - 3 kHz range to help the other tracks cut through.
If it's vocal clarity you're after, consider employing a sidechain EQ to pull the hats back when the vocal is taking center stage.
Boxy or Muffly Sound
If you realize your hi hat track is suffering from a boxy sound, or muddiness, apply a gentle EQ cut around 300-600Hz to get a cleaner sound.
Don't over-do things here as this can lead to the hat losing its character. And nobody likes a hat without character.
Dull Hi Hats
If the hi hats aren't popping out of the mix the way you want them to, try a small boost around 6 - 9 kHz to bring out more sizzle. Bring those hi hats in closer without even touching a fader!
A Step by Step EQ Process for Hi Hats
EQ-ing a hi hat properly ensures it sounds good in the mix, cutting through and pushing the groove, without sounding harsh, or demanding more attention than it warrants.
Here's a step by step process to mix hi hats using only EQ, and create balance in a song.
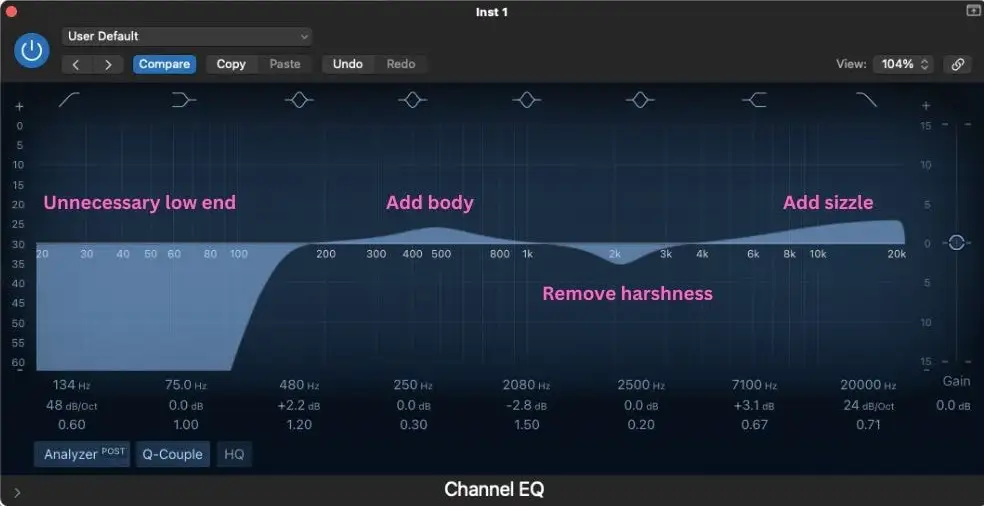
Step 1: Apply a Low and High Pass Filter
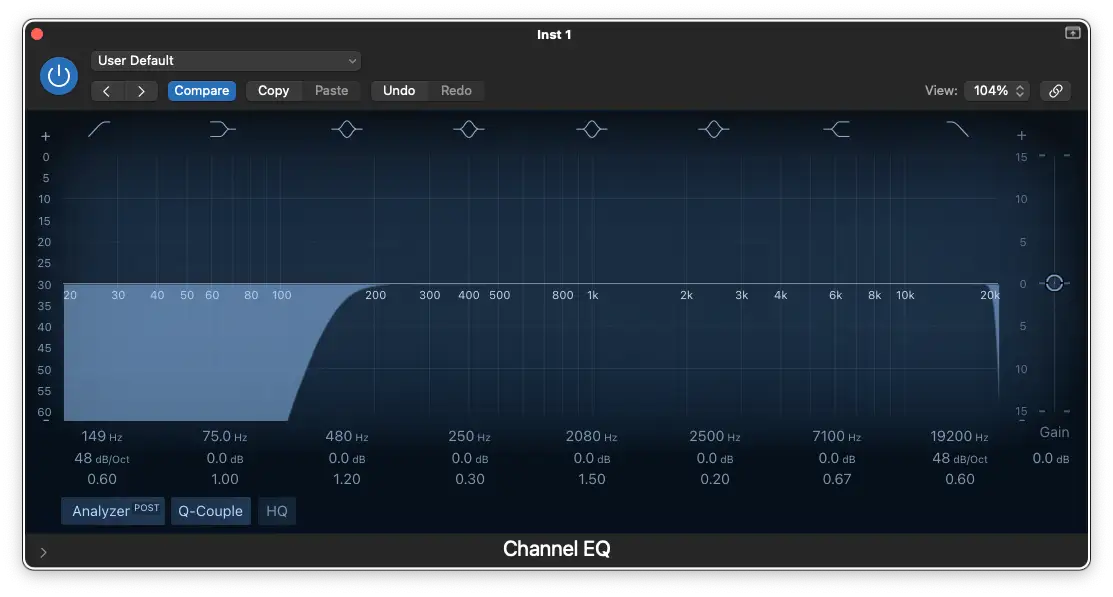
As discussed previously, hi-hats don't contain any useful low-end frequencies, but the hi-hat mic can still pick up unwanted rumble or low resonance from other parts of the drum kit and overheads during the recording process.
- Set up a high pass filter around 150 Hz. Be cautious with this if the drummer played the hats with a lot of body; a more subtle roll-off may sound better than a cut in these situations.
- To remove unnecessary high frequencies, also set up a high cut around 20 kHz. While these frequencies may not be heard, it will create space in the mix for the mastering process .
Step 2: Identify and Remove Harsh Frequencies
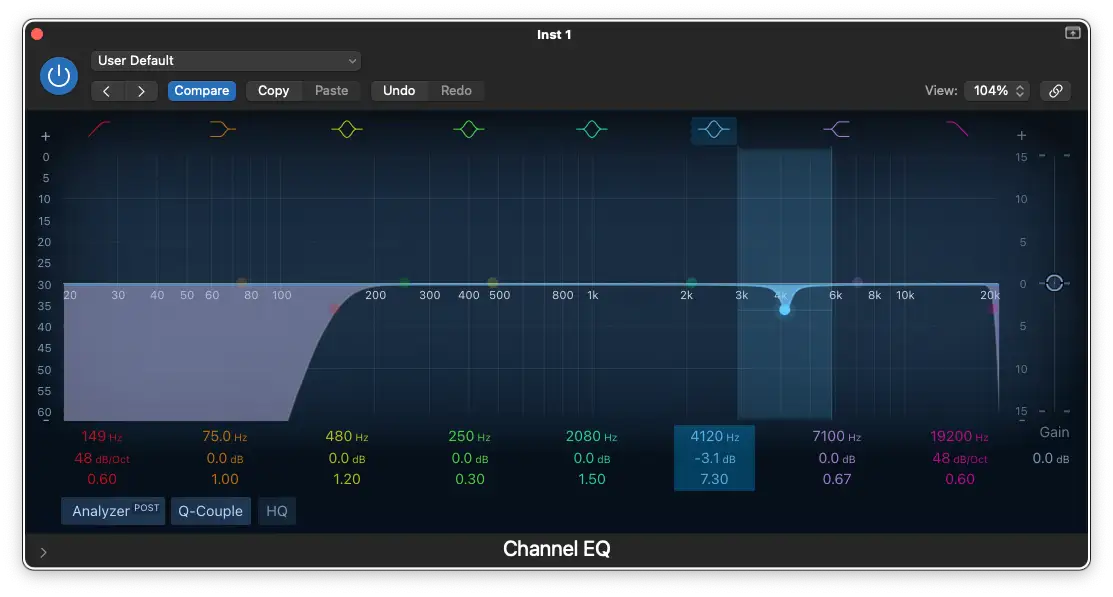
Hi-hats can sound harsh around the 4kHz area. To identify and tame these:
- Sweep a narrow Q boost between 3 - 6 kHz until you hear the harshest frequencies.
- Once you've identified them apply a small cut (around 2-4dB) with a narrow Q.
- If the harshness varies in intensity, try using a dynamic EQ to smooth things out.
Step 3: Balance the Body and Presence
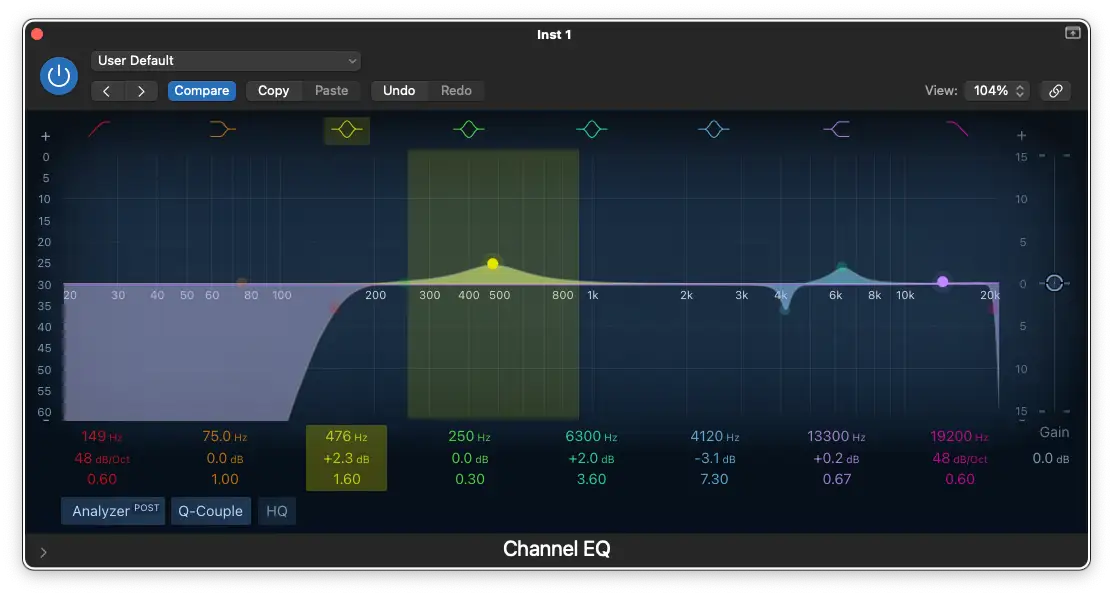
As you mix hi hats you may find them sounding a bit thin, or too boxy.
- Adding a small boost between 300 - 600 Hz on your EQ plug in can add body to the sound.
- If there's too much body, make a cut in this area.
- To add more presence to the sound, try a small boost around 6kHz.
You don't want to drastically change the sound of the hats, just clean things up to help them sit with the overall drum sound.
Step 4: Enhance the Air and Shine
To give your hats a polished, airy feel, apply a gentle high shelf boost around 7 - 10 kHz. Adjust as needed to ensure they don't sound overly bright.
Step 5: Dynamic EQ and Sidechain Techniques
Hi-hats can share the same frequency spectrum as other drum parts, such as the snare and cymbals, or with the vocal. To avoid masking:
- Use a dynamic EQ to reduce harsh frequencies only when they become overpowering, rather than cutting them statically.
- Sidechain the hi-hat EQ plug in to the snare or lead vocal to create space dynamically.
Step 6: Fine-Tuning in Context
Remember to use context when you're mixing; listen to the whole mix rather than just the hi-hat.
- It can be a good idea to find a reference track that has the hi-hat sound you're after. A/B your song to the reference as you adjust and experiment.
- Bypass the EQ to see if you've actually improved the sound, or if you're over-processing things.
- Mute the hihat track from time to time to see what it adds to the song.
- Take a break! Giving your ears a few minutes of rest will make it easier to hear any harshness or ringing.
Additional Tips and Tricks (That Don't Use EQ)
While this article is about how to EQ hi hats, sometimes EQ isn't the answer! Here's some other tricks that will help you on your quest to find the perfect hi hat mix .
- Start by choosing the right hi-hats for the job. Depending on the genre, you may want lighter or heavier hi-hats.
- Make sure you're using the right mics and the right placement for the recording process.
- Experiment with different sticks to get a different tone. The closer you can get to the right sounds before you start recording, the less processing you'll have to do while mixing.
- Be aware of any spill into the hihat or other drum mics, such as the toms or overheads.
- If you're working with programmed hi-hat cymbals, add variation with velocity changes and subtle swing. This can help the pattern sit more naturally with the rest of the drums.
- If the hi hat still lacks some oomph, parallel compression or a transient shaper may help thicken the sound.
- For additional power, try adding a white noise sample programmed to the rhythm of the hi hat. Add some reverb to the white noise to add some sparkle to the high end.
- Be careful not to over-process things. Some engineers don't EQ hi hats at all!
Conclusion
As with most things mixing, there's never really a universal solution for how to do things the right way. Every hi hat, whether recorded in a room, or plucked from a sample pack, is unique. When you're mixing it's important to use your ears as you try different approaches.
And of course, when something sounds good to you, stick with it!


