Mastering is an essential step in creating professional audio. After all, it's the final step in the audio production process, allowing sound engineers to give tracks a final polish before sending off to the radio.
However, many beginners struggle to create their first mastering signal chain. Luckily, the mastering process isn't all that complicated-- It just requires some key tools and plenty of practice. Below, we'll detail a basic mastering chain so that you can help your mix sound amazing.
What Is Mastering?
You'll need to thoroughly understand the goals of mastering in order to properly enhance your tracks. Generally speaking, the mastering process aims to produce a more balanced, enhanced version of your final mix that's ready to be played back on radio, along with any other outlets. A sound engineer utilizes tools like stereo imaging, multiband compression , and a dynamic EQ to make subtle but important changes so that a song can sound its best when tested on a variety of audio outputs and playback devices.
Mastering is usually a more technical process than mixing where you aren't making as many creative decisions. Instead, the mastering engineer uses his or her mastering chains to elevate the sound pre-established in a well balanced mix. A properly mastered song will have more or less even distribution while analyzed through a frequency spectrum, and generally sounds good when listened to on streaming services, on car radios, in club stereos, etc.
What Is A Mastering Signal Chain?
Even if you plan on handing your mixes off to a mastering engineer or to software like Emastered , it's a good idea to have a basic understanding of how the process works to inform your mix. A mastering signal chain is simply a way to categorize the order of mastering plugins within an engineer's mastering session. Signal chains can vary in order from one engineer to another, but generally, they contain the same type of essential mastering chain plugins.
How To Build Your Mastering Signal Chain: A Step by Step Guide
Are you ready to create your own mastering chain in your DAW? Grab your mastering plugins and let's get to work!
- Gain Staging
- EQ Clean Up
- Multiband and Glue Compression
- Tonal Enhancement
- Stereo Imaging
- Limiting
- Metering
1. Make sure you have a good foundation for your signal chain with gain staging
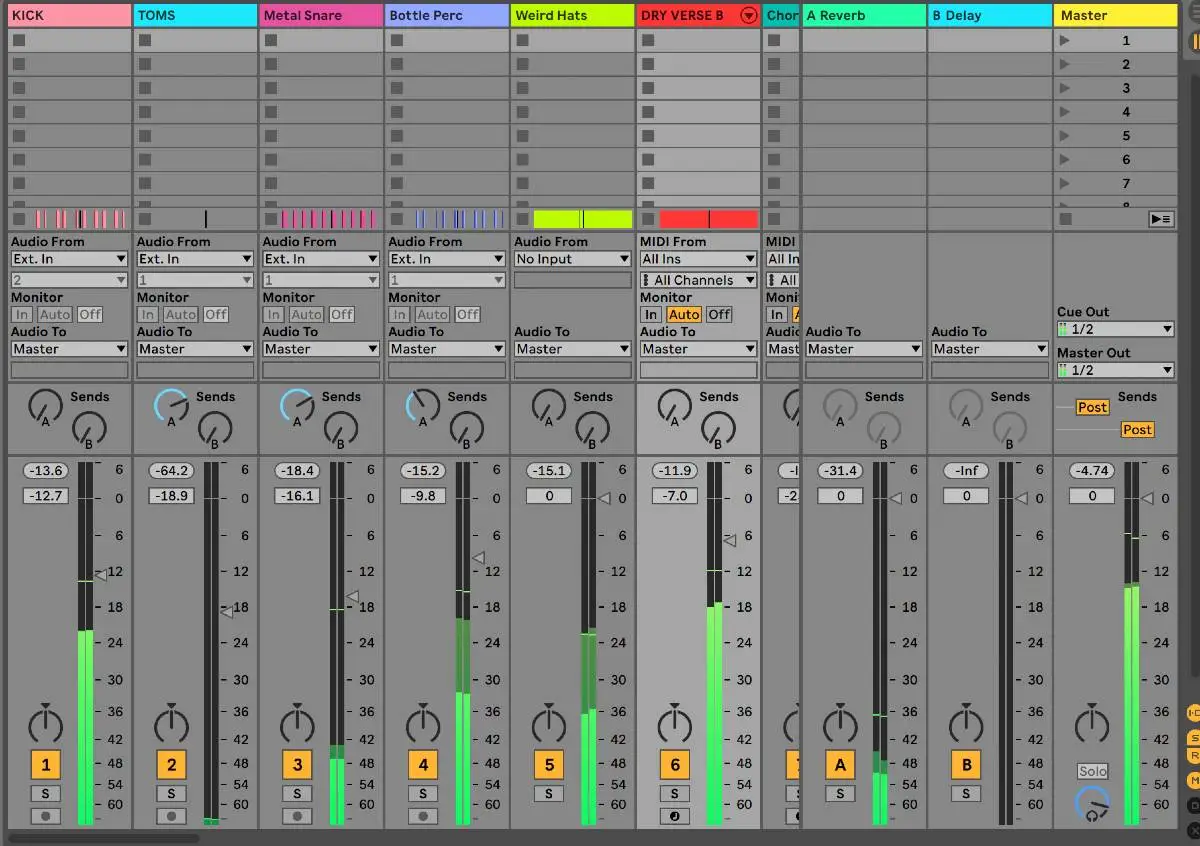
Before starting to add your mastering chain plugins, it's important to keep gain staging in mind . While this term can sound confusing, it's basically a way of monitoring audio output levels to avoid developing nasty distortion throughout the audio production process. Your mix shouldn't be clipping or producing unwanted distortion, which typically means that it's overall amplitude shouldn't surpass 0 dB in the digital realm.
With that in mind, remember that mastering involves more compression and more aggressive limiting, so it's vital to give yourself or your mastering engineer what's called headroom. Ideally, your loudness meters should read anywhere between -18 and -3 dB before sending off your sound for mastering. Without taking the time to avoid clipping in your mix, it's impossible to carry out professional mastering. If you're having difficulty analyzing your true peak meters or loudness meters, using a gain staging plugin on your master buss can make it easier for you to see which high, mid or low frequencies need to be reduced.
It can also be helpful for mastering engineers to request reference tracks from the artist or producer. This way, they can actively compare their master to the desired goal. The best mastering is informed, adaptable mastering that adapts to the needs of the music, rather than blindly committing to the same settings and plugin chain mix after mix.

2. EQ Clean Up
While placement of your EQ throughout your mastering chain is subjective (as it is with any plugin), it's important to EQ your master to produce the most even level of tonal balance possible. Any changes made with your EQ should serve to even out the frequency ranges in your mix without compromising the powerful sound and dynamics created in your mix.
These changes should be fairly subtle - If you're having to EQ out more than 3 decibels of high frequencies, mid frequencies, or low frequencies, it's probably a sign that there's a problem with the mix. In fact, offending frequencies should be addressed in the mix as much as possible since mastering primarily serves to amplify the choices made in the mixing process , rather than to work around it.
It's also possible that your master bus will have multiple EQs throughout the mastering chain order. For example, a harmonic distortion plugin may bring out a desired sound in a natural way for one part of the frequency spectrum, but create problem frequencies in another part of the frequency response. So, to mitigate this, you may need to use an EQ after the harmonic distortion plugin, even if you have already used an EQ previously.
As you might've noticed, there's no set in stone rules with mastering, only general principles to inform the process. Your technique should be largely individual with each song.
In this stage of the process, you might also use tools such as a de-esser to help clean up any unnecessary high frequencies. Again, you'll want to be subtle here - Compressing high frequencies too harshly with a de-esser can lead to over-compressing a mix, causing you to sacrifice dynamics in your sound. Above all, trust your ears and your meters to determine problem spots while processing effects.
3. Multiband and Glue Compression
A lot of the art of mastering can be traced back to compression. Whether that's dynamic parallel compression , glue compression, or compression to produce subtle, harmonic distortion, it's all about bringing down the loudest parts of a track and amplifying the lesser heard section of a mix in order to help you create a sense of more volume that's consistent throughout a track.
Your compression settings should be tuned so that you're given a more consistent sound without sacrificing too many of your dynamics. It's also wise to use different types of compression. For example, a glue compressor can be used to help "gel" the individual parts more together whereas a multiband compressor can amplify certain sections of the frequency spectrum. Keep in mind that streaming services often add a degree of compression to songs for a more consistent listening experience, so it may be wise to adjust according to this rule.
4. Tonal Enhancement
You might also find that certain compressors emulate a tube sound, add color to your mix, or produce tape emulation through saturation. These more creative compressors can also be used to bring out the best parts of a track, though everything should be used sparingly to avoid obliterating the overall sound. Sometimes, adding harmonic distortion isn't necessary, but the best mastering engineers know how to add a little extra spice when needed.
5. Stereo Imaging
While this step is optional, many times a mastering engineer will use an imaging plugin to increase the perceived stereo width of a sound. Stereo expansion can help music feel more immersive and all encompassing, though you'll want to be careful to avoid unintentionally developing phase issues. Using a correlation meter can help you quickly identify these problem points.
On the other side of the coin, some engineers might want to limit the stereo field to help a song exist in a very specific sonic space. Regardless, you'll want to check your mono compatibility to make sure that phase problems are caught before sending out the master.
6. Limiting
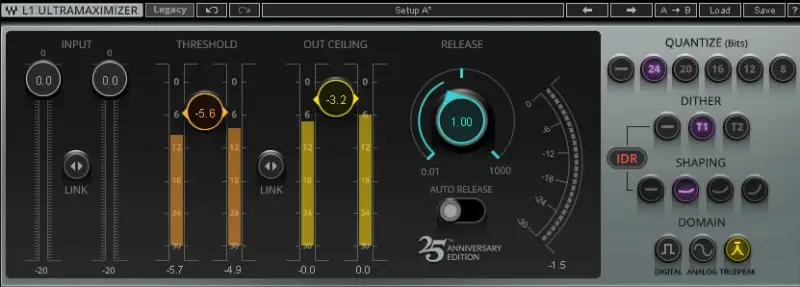
The final part of mastering processing is limiting. You can think of a limiter as an ultra-strong compressor, and the best mastering professionals know that these powerful tools should be used lightly and carefully on a track. When limiting, you should aim for about 2-3 dB of gain reduction. However, different genres of music may lend themselves towards a more or less compressed sound, so make sure you're up to date on the standards for any particular track. Your track should sound consistent and enhanced without losing dynamic power (You'll notice that this is very similar to the processing approach applied to compressors.).

7. Metering
The last step of mastering is to check your master to ensure that it adheres to all necessary standards for playback outlets. You'll need your track to sit anywhere between -16 and -20 LUFS . You can also use true peak meters to determine whether or not your track will clip when played on analog gear vs. digitally. It's also a good idea to check the correlation meters of your master. If the song is more towards -1 than +1, unfortunately, you have some past issues to go back and address.
You'll want to test your master on playback through both digital and physical outputs to catch any outstanding sonic mistakes. Once you've completed this stem, you've successfully completed your first master!
Remember that the best mastering practices adhere to the needs of the music . Processing cannot be boiled down to one objective method, since it's impossible to categorize all mixes in music into the same sonic space. Focus on creating balance and enhancing every mix you work on while mastering music.
Mastering FAQs
If you're still having a tough time wrapping your head around building a mastering chain, here is a quick set of commonly asked questions and answers to improve your understanding.
What should be on a mastering chain?
Just like mixing, mastering can be highly subjective. With that in mind, mastering chains usually have a couple of plugin groups in common: This includes compressors, EQs, limiters, and potentially stereo imaging plugins and other creative tools like exciters. Plugins aren’t the only important aspect of the chain, it’s also key to figure out a preferred plugin order.
Where does exciter go in mastering chain?
This is a matter of personal preference, but many engineers prefer to use this creative, oftentimes optional tool towards the end of the signaling chain. Remember that exciters can also be used in the mixing process on individual stems rather than on the full mix.
Should you compress or EQ first?
The question of compression or EQ first is highly subjective and depends on the context of the mix. That being said, it may make sense to use a subtractive EQ first , since any harsh frequencies that are compressed will only be amplified. Though, it’s not uncommon for EQs to come before and after a compressor depending on the situation.
Where do you put the limiter on a chain?
A limiter should be the last step within your mastering chain. You can think of a limiter as an ultra-powerful compressor. Therefore, a limiter should be used sparingly so that your mix is amplified, but still dynamic. You’ll also need to keep an eye on your levels so that you can deliver your master properly to streaming platforms.
When should I use an exciter?
An exciter is a plugin that adds subtle harmonic distortion to a mix in order to bring a part or section of the frequency spectrum more forward. You don’t necessarily need to use an exciter in your mastering chain, but it may be wise to use it before any EQs incase the exciter leads to any unwanted frequencies.
What plugins should I use for mastering?
The specific plugins you use in mastering are a matter of personal preference. That being said, you’ll want to use compressors, EQs, potentially saturators, stereo widening tools, and limiters. Most basic versions of mastering plugins come free with almost all popular DAWs .
A song's master is only as good as the mastering signal chain and the engineer behind it. Hopefully, this step-by-step guide makes it easier for you to make your own tracks sound good and informs your designs throughout the music production process. Happy mastering!


