

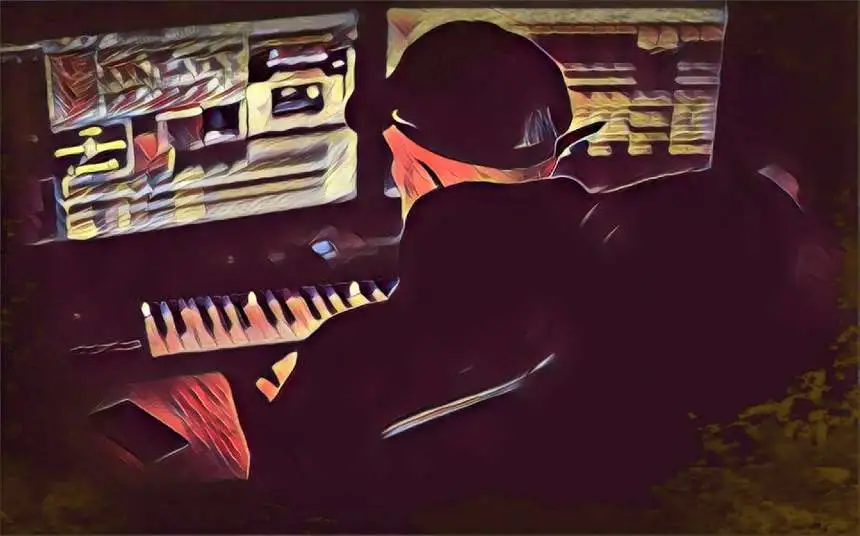
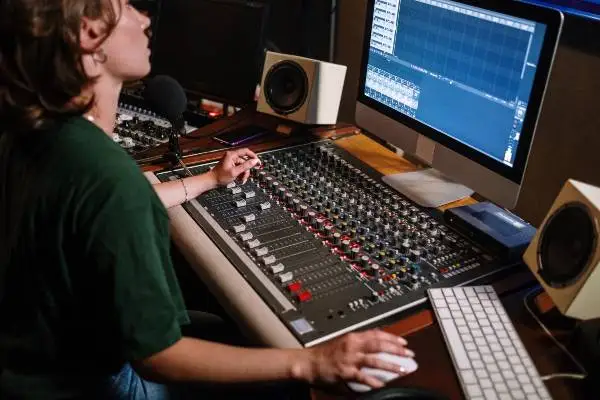
Whether you are new or well-vested in music production, reverb and delay come first in mind when you're mixing. These two effects are used in a vast majority of music genres, as they give songs a new dimension. If you heard about mixing in 3D on some popular DAWs , then know that reverb and delay are mainly what made it possible.
What's the difference between reverb and delay? When to use each one of them? How to use them both? These are questions that many of us overlook sometimes, yet it is important to answer them in order to mix with purpose.
Before we get into the reverb vs. delay part, we'd like to discuss both of these time-based audio effects . We will cover where they come together, and what sets them apart.
We aim to give you knowledge that will help you decide which of these two effects best suit a mixing situation, and how to make the best of them when using one or both at the same time.
Let's dive in.
What is Reverb?
Reverb is the aftermath of the original signal echoing so fast that said echoes lay on top of each other, mainly due to the proximity of surfaces they reflect on. These surfaces are so close that we can't hear each echo distinctively, producing reverberations of sound.
Many reverb types exist depending on important parameters that give us flexibility in shaping this effect.
Let's have a look at them.
Reverb parameters
Mastering the reverb effect is only possible when you understand its parameters. The knobs on your reverb pedal and dials on your reverb plugin are there to give you more control when applying it.
There are various settings to consider when adding reverb:
- Size: It's important to keep in mind that you are trying to generate the illusion of a specific space using reverb. The size setting lets you choose what room size you want to emulate, and where you want your listener to be sitting when listening to your song. A room? A concert hall? A church? You decide.
- Early reflection: This parameter gives you control over the volume of the first reflections. Producers generally set a decaying volume behavior from one reflection to the next.
- Attack: This parameter defines how long it takes for the effect to gain intensity. It can be very helpful when different track effects collide with each other.
- Pre-delay: This is a feedback setting that refers to the time between the original audio signal and its first reverberation. The more of it you add, the more a reverberation becomes a distinct echo .
- Decay: Commonly referred to as reverb time, it is the time a reflection stays in the mix before it vanishes. The bigger the decay value you put in, the longer the reverberation will last.
- Diffusion: Think of it as reverb density. It gives you control over which direction the reverberations take after they reflect on a surface. A higher diffusion produces a thicker reverb sound where all reflections merge, while a lower diffusion results in thinner and more distinct reverberations.
- Mix : When you add reverb, you will most likely find a knob with a "wet/dry mix" sign on it. That's your mix parameter. It allows you to control the amount of wet signal (sound with reverb), and dry signal (sound without reverb) in your final sound.
Types of Reverbs
To get a full comprehension of reverberation types, we need to separate them into three categories. Acoustic, Mechanical, and Digital.
Acoustic reverbs
Back in the days of analog production, the only way to recreate reverb at will was through complex room settings. The goal was to provide the perfect acoustic space to generate different types of reverb. The size, shape, and material of the walls all played a role in creating different types of reverb.
Room reverb
Room reverbs emulate an intimate reverberation experience where we feel like we are sitting in a bedroom or living room. It has a decay tail around 0.75 seconds, and pretty loud early reflections.
Like any small room, it has thick density reverberations that add warmth and color to the track. It will do wonders for your guitar sound.
Chamber reverb
It refers to the chamber reverberations created by studios that have the budget and space to dedicate a large room for engineering it. It is very similar to room reverberations, but with less coloration and warmth to allow more sound transparency.
Studios opted for this type because they preferred thicker decay tails and thinner early repetitions.
Hall reverb
Short for concert hall reverberations, this type exists in big spaces designed to produce a pleasing acoustic experience. It has a dense decay tail of approximately 2 seconds and generally has some pre-delay built-in so we can hear the reflections a bit after the original sound.
It is mainly used for orchestras and singers/songwriters type of music.
Cathedral reverb
This type is a longer and wetter hall reverberation with long tails (around 10 seconds). As its name states, it is the exact reverberations you hear in a cathedral.
Light on the first reflections with more energy in the build-up, it is mainly used for choirs and slow melodic songs.
Ambiance reverb
This type is mainly composed of early reflections that stay very similar to the original output. With a very short decay tail (around 0.5 seconds), it disappears so quickly that listeners won't even notice it. This type will work great on your kick drum or on your song's chorus .
It is mainly put on a bus to push a group of instruments or even the whole song through it, with the main purpose of bringing all instruments together. You want to use it to give the illusion that all tracks were recorded in the same space.
Mechanical reverbs
Mechanical reverbs allowed producers to recreate the effect without the necessity of room, or wall equipment.
Plate reverb
Produced by vibrating a metal sheet and recording the result. The decay time can be short, medium, or long, and the early repetitions are usually high.
Plate reverbs add an eerie dark atmosphere to the sound, and are usually made to add a melancholic feel to a song.
Spring reverb
Produced by vibrating springs the same way as plate reverberations. The difference is that they only have short to medium decay time, and have a more metallic dark atmospheric feel to them.
Digital reverbs
With DAWs came to us the ability to tweak knobs at will, and create new types of reverberations to enhance our music.
Gated reverb
Digitally produced by using a noise gate to cut the decay tail before it vanishes, creating a longer decay time. It is very similar to room or chamber reverberations but lasts longer.
This type was very popular in the 1980's pop music.
Shimmer reverb
Created by passing it through one or multiple shifters, shimmer reverberations are usually pretty bright. You can take any type of reverb you create and then shift it up an octave to add persistence to the higher frequencies.
This type was very popular in the 1990's dance music for the sparkly and brilliant feel it adds to sounds.
Reverse reverb
A very creative type where the tail is reversed in time so that it rises instead of decaying in volume. It is usually placed before the sound source instead of after, to create a brilliant build in intensity. Think of the drops you hear in dubstep or trap music, the crescendo effect before a drop is exactly that.
When to use reverb?
Whether recording or playing live, adding reverb creates more space in your mix by providing persistence to the original sound. When mixing in DAWs, this effect creates the illusion of a room and transports the listeners in the exact soundscape you want them to be listening in. It is also used to create an immersion in the mix by bringing everything together.
The creativity in using reverb is limitless. You can create so many thrilling and special experiences for the listeners with it. But the most important purpose of this audio effect is to add depth to your mix and make your sound three-dimensional. It creates distance between the listening ear and the sounds included in your project.
Things to keep in mind when using reverb
- Purpose: First thing to ask yourself is what are you trying to achieve with it? Where exactly are you taking your song? If considered thoroughly, you won't spend hours deciding which type is better.
- Balance: When listening to your sounds, you should practice hearing the reverbs subtleties. Too many reverberations can make things muddy, and too little is a waste of plugins.
- Space: Before even going for the plugin, take a moment to imagine the space you are trying to emulate. The size, shape, and context you want to create for your sounds should be kept in mind.
- No reverbs is no crime: Some tracks or instruments can be better without reverb, just keep your ears open for what feels good.
- Combining: Try to also think about what might go well with the type you used. Distorting it or phasing it can work some magic .
What is Delay?
Delay is a time-based audio effect that stores the original output and plays it back later to the listener in the form of feedback. It reproduces the reflection of sound on a far-hard surface. The further away from the surface, the more time it takes for the feedback to reach our ears.
Many types of delays exist due to different sets of parameters that emulate different spaces with different distances from the reflecting surface.
Let's have a look at them.
Delay parameters
Here are the most important delay settings you need to consider in deciding which type will best work for you:
- Time: Refers to the time it takes for the effect to kick in, and the time between each reflection. It carries information on how far the hard surface is from the output. The higher the delay time, the longer it takes for each reflection to come back.
- Sync: An important parameter if you're looking to sync the delay's repetition to the BPM of your project.
- Feedback : This one will define the duration of your reflections after the original note. It is generally measured in percentages. A 100% feedback will generate a long delay loop, while 0% will generate a short delay loop. The best amount is when it feels like the reflections decay naturally.
- Low/High cut: This allows you to add either a low or high filter to the effect's frequencies. It does a great job adding an analog feel to your mix.
- Mix wet/dry: It lets you control the amount of delayed signal you want to send to the original output. To get a subtle delay, you need to add just the right amount of wet signal.
- Width: This parameter widens your delayed signal across the stereo field, giving it a sense of being in a large space. It works great with stereo delays like the ping-pong delay.
Combining different settings on delay plugins will generate different types of delay.
Types of delay
Here are the most popular types you'll most likely encounter in the music industry:
Slapback delay
A single quick and punchy echo comes back right after the original output. With a delay time in the range of 40 to 120 milliseconds, it feeds back to reinforce the note on which it is applied. This type of delay works great on electric guitars.
Doubling delay
A one-shot echo that comes back right after the original signal, but with a shorter delay time (30 to 50 milliseconds). Its main purpose is to double your signal.
Tape delay
You can find the exact replica of an analog tape delay on any delay plugins nowadays. The principle is the same: one tape plays the output, while the second one records the playback and stores it to play afterward.
Looping delay
A never-ending loop of delay that doesn't have any decaying property. If not adjusted, this delay could loop forever.
Modulated delay types (Chorus/Phaser/Flangers)
These types differ from the others due to their altering properties. They do store the original output, but only to play it back altered.
Chorus produces a typical delay effect, but before sending it back to the source it alters the reflection's frequencies. Flangers do the same but with a shorter delay time. And finally, a Phaser is similar to a Flanger but uses an all-pass filter to create a swooshy sound, that comes right on top of the original output.
When to use delay?
Delay has a large creative potential too. It can add depth and warmth to your vocals , or add cool dynamics to your guitar solo. Yet its most important purpose is to open up your mix. If your mix is muddy because of reverb, try adding some delay.
Delay is generally present in fast-paced and rhythmic songs.
Things to keep in mind when using delay
- Tempo: Keep in mind your song's tempo when adding delay. This audio effect plays with the dynamics of a song, and if not synced it might generate an unpleasant experience for the listener.
- Pan: Your delay can be panned from one side to the other to create more of an immersive 3D experience.
- Fill your empty spaces: Delay is a great filler when it comes to empty spaces in your song. You can add it to introduce a chorus, or to fill space between two separate lyrics .
- Subtlety: Subtle layering of echoes is one of the most brilliant things in mixing. That is if you know exactly where you want your echoes to generate, and you make sure they don't take the front seat in your mix.
- Experiment: Don't be afraid to try and fail. Mix different delays together, add one on top or after the other. There is no secret formula, it all depends on the project you are working on.
Using Reverb and Delay together
Reverb and delay can really go well together when mixed with purpose, and we can't stress the importance of purpose enough. Since both audio effects usually occupy the same space in a mix, the key to using them together is order. If you put delay before reverb, you will get more distinct reverberations, and if you reverse that then your delay might sound a bit muddy. It all depends on what you want.
Conclusion: You are the Boss!
Now that you know how to control your reverb and delay effects, the ball is in your hand. There are limitless combinations of these two audio effects in music, and hopefully next time you won't think in terms of reverb vs. delay, but more in terms of reverb and delay.
The key is subtlety. Whether you are playing live music or recording your ideas, choosing between reverb or delay depends on the context. Your context.


