


Mixing. The art of combining multiple sound sources into one glorious stereo file, to be admired by the world at large.
It's a tricky thing though. We all want our songs to sound like they were mixed by Bob Clearmountain or Jacob Hanson, but oftentimes the reality is that our mixes fall short of the high mark we've set for them. Or worse; they suck.
If you've ever found yourself in a similar boat, this article is for you. Packed with a treasure-trove of tips and tricks to take your audio mixing chops to the next level, there's something for everyone, whether you're a complete beginner to music production, or you're looking to take your mixing game to the next level.
Ready? Let's fix it in the mix!
The Art of the Mix
Mixing is a many-faced beast. Part balancing act, part creative sound-sculpting, and part problem solving, the ultimate goal is to convey the message the song carries through its music and lyrics, and capture the emotion expressed by the artist during the recording process.
To do this, a mixing engineer has to take into account things like:
- balancing levels
- managing the dynamic range of all elements
- EQ-ing and frequency balance
- panning and stereo imaging
- creative use of effects
- fixing problem areas in the recording
All these considerations are taken into account, and when paired with well-honed mixing techniques; achieve a sound that meets industry standards.
We'll take a look at each of these areas one by one but first, a word from our sponsor...
Mixing is Not Mastering
Mastering is a topic worthy of it's own article (and indeed, there are articles a-plenty), but it's worth mentioning here.
On the one hand, don't expect a half-baked mix to suddenly become exceptional at the mastering stage. That's now how mastering works. You need to put some elbow grease into the mixing process.
On the other hand, when mixing, it's important to leave enough headroom for the mastering engineer to do their mysterious work.
In other words, mix with the end goal in mind but leave some room for magic sprinkles to happen.
Onward!
General Mixing Techniques
Before we head into specific areas like EQ, panning, and compression, there's some general mixing process workflow techniques that can help your mixes go from zero to hero.
Tip 1: Be Prepared
Before you even touch a fader , it's worth making sure you're all set up to mix. This means gathering any resources you need for the actual mix (including reference tracks - see below), organizing your DAW session so everything is correctly labelled, and making your physical workspace comfortable.
Tip 2: Small is Beautiful
Whenever you adjust anything - fader, EQ, compressor settings - always err on the side of small adjustments. You're working with multiple tracks, so any small adjustments will add up and contribute to the overall sound.
Similarly, just because you can do something, doesn't mean you should. Your trusty PC might be able to handle multiple plug ins on every track, but is that what the music really needs?
Tip 3: Listen in Context
Whenever you're working on individual tracks, be sure to have the rest of the mix playing so you can get a sense of how the changes fit with the overall mix.
If you need to hear what you're working on more clearly, lower the volume of the other tracks temporarily, rather than soloing the track in question.
There's no point spending ages perfecting a bass sound that sounds great on it's own, only to discover it doesn't work with the mix as a whole.
Tip 4: Listen with Care
While we're on the subject of listening, be sure to keep your monitoring volume at a sensible level. This will not only protect your hearing and prevent ear fatigue , but also prevent inaccurate sound perception.
Tip 5: Listen on Different Systems
Be sure to listen to your mix on a different playback system to make sure the sound translates across different speakers. Sure, we can't all afford multiple monitoring set-ups in our studios, but you can throw a quick bounce onto your phone, play it through a car stereo, or simply play it back using your laptop speakers.

Tip 6: Take a Break
Your brain and your ears will need a break from time to time. This is true both during the mixing session - taking frequent short breaks to let your ears reset - but also once you have a good first pass on the mix.
We're only human, and if you spend too long trying to perfect your mix you'll end up suffering from the law of diminishing returns. So once you're happy with a first pass, take a day or two before you return for notes. Speaking of which...
Tip 7: Make Notes
Now that you've taken a break, put aside some time to sit down and listen to the mix. Really hear what's going on. Pay attention to all the different elements and make notes of what needs changing.
This kind of focused listening and note-taking has the duel advantage of giving you a 'big picture' view of the mix, as well as speeding up your workflow by having a set list of things to work on when you get back to knob-twiddling.
Tip 8: Use Reference Tracks
Having a reference track loaded up in your session is a powerful tool. References can provide a nice model to build your mix on, help you make choices about where to place instruments, and how to treat them.
Choose a song that aligns with your own in terms of genre and style, and make sure it runs directly to the master bus without being affected by any processing.
If you mix a lot in the same genre, consider putting together a folder of songs for referencing.
One note about references: they'll generally be mastered, so don't attempt to make your song reach the same level. Instead, drop the reference track by about -6dB to leave that all-important headroom in your own mix.
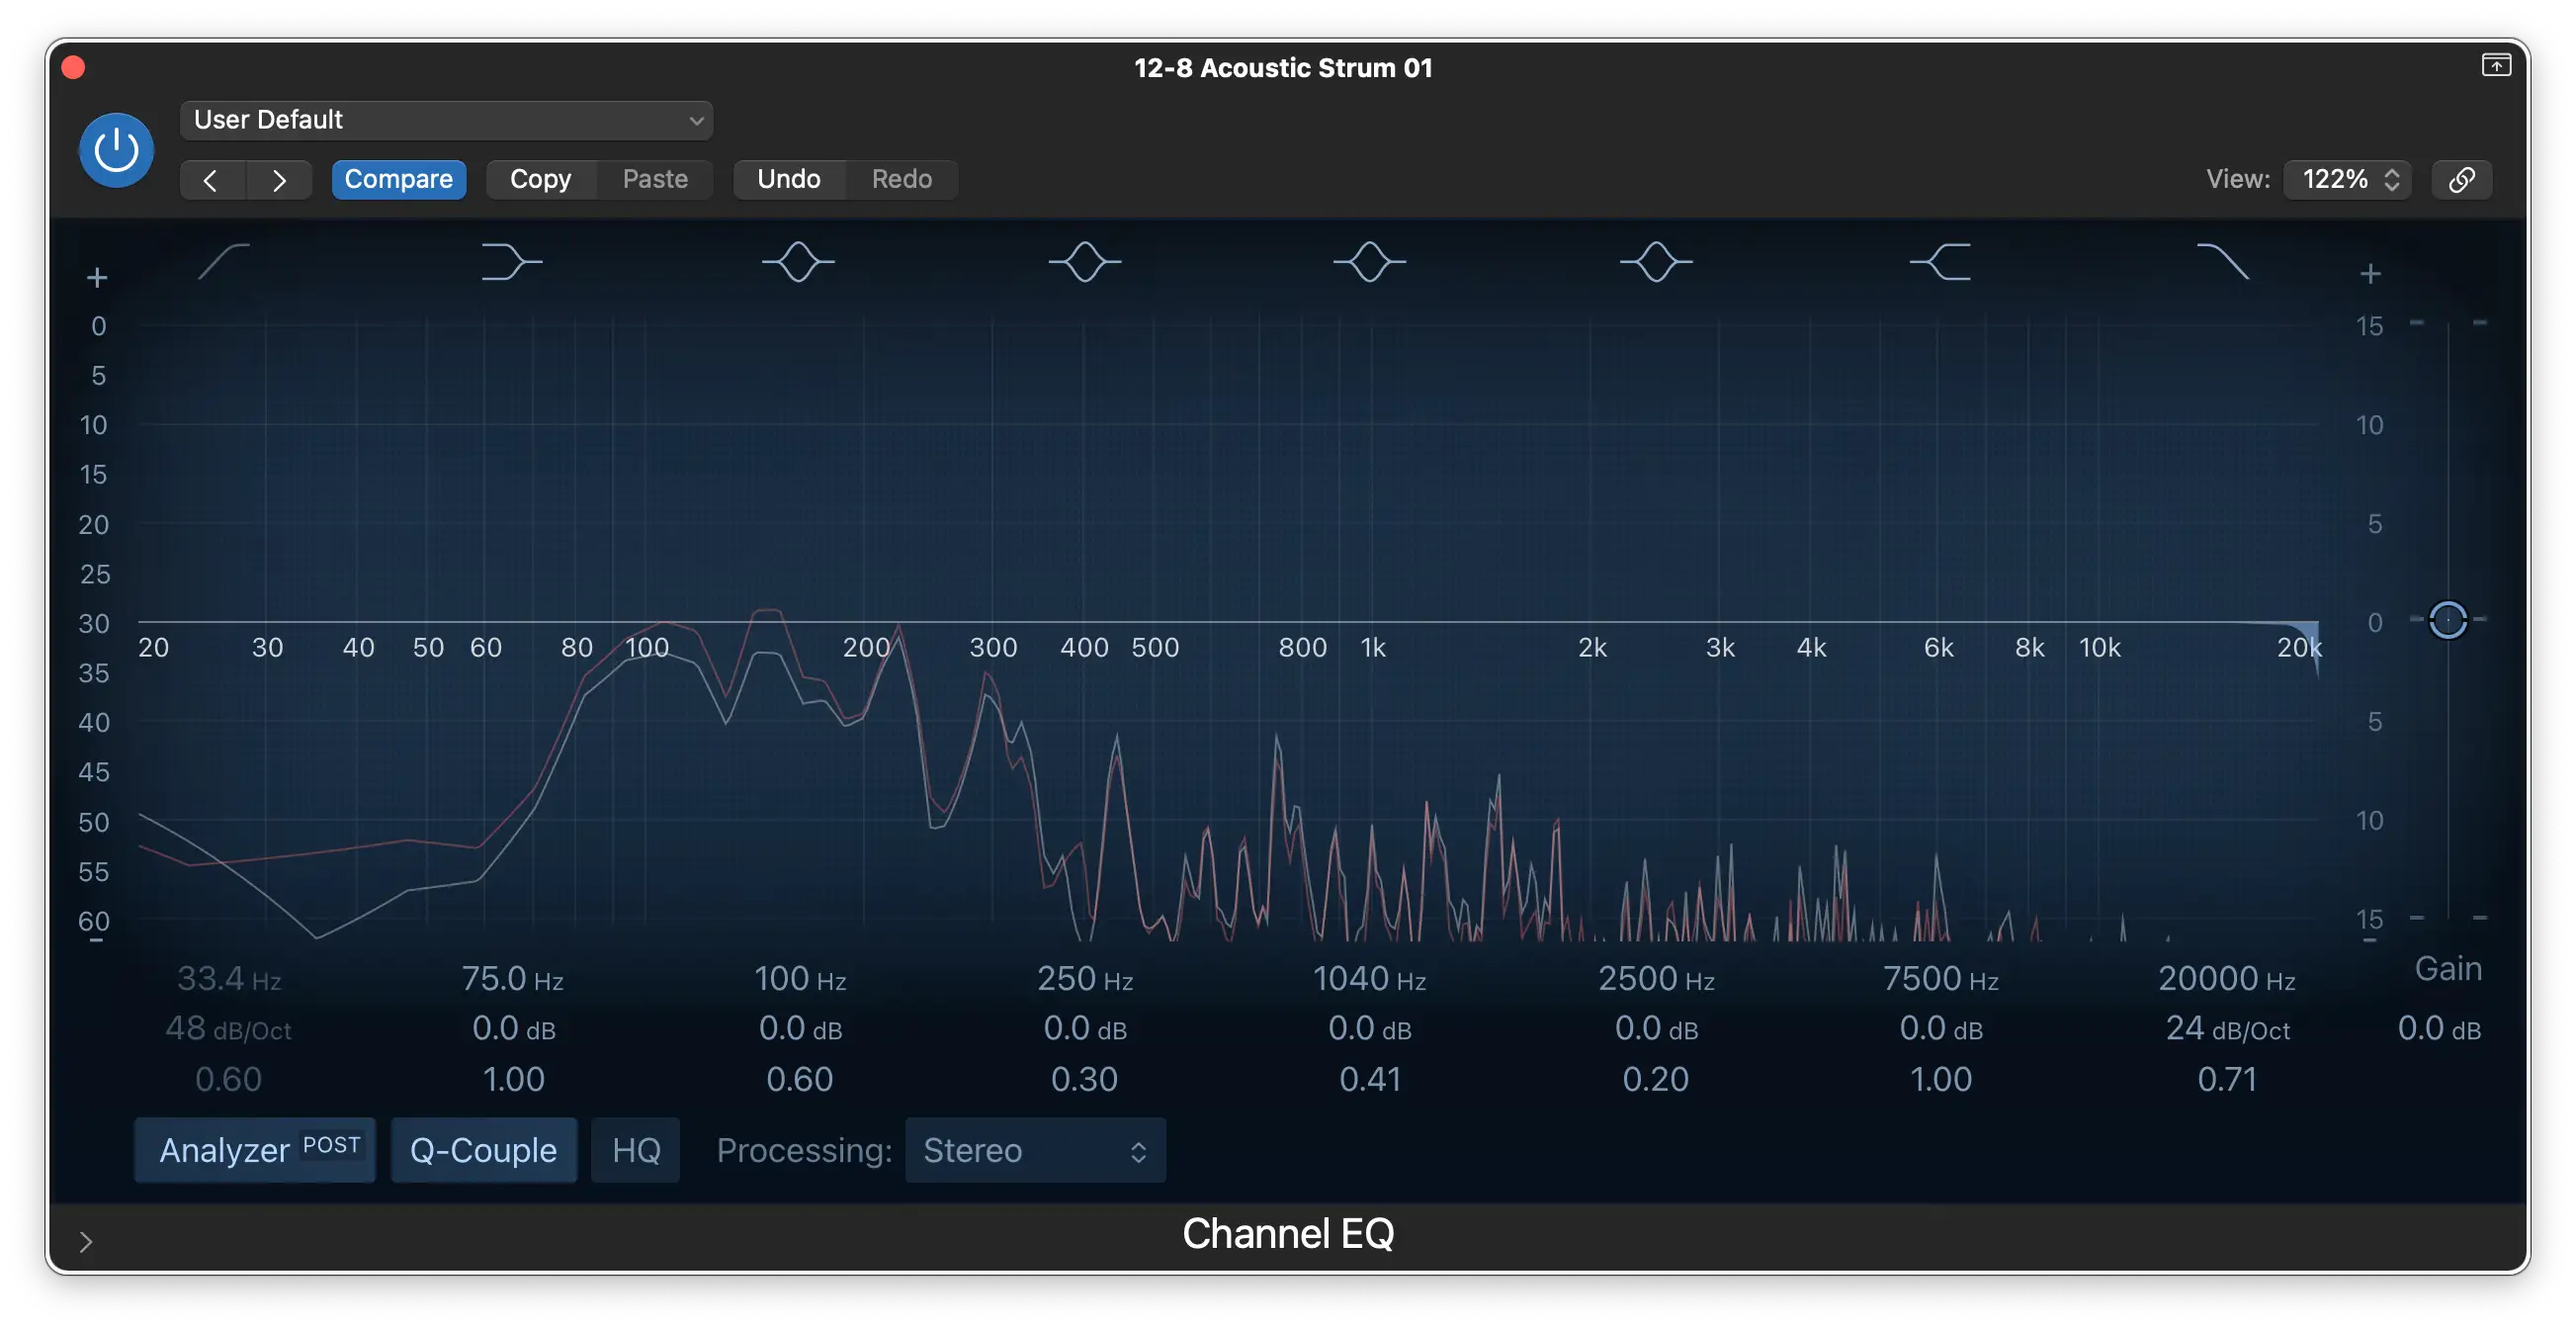
EQ & Frequency Balance
One of the cornerstones of mixing is using EQ to manage all the competing aspects of the frequency spectrum present in a song. Learn how to do this and you'll immediately make your mix sound better.
Tip 9: Use High Pass Filters
There's often a lot of unnecessary low end frequency content happening in tracks, and this takes up space in your mix. The more tracks you have, the more cluttered this frequency range will become.
These barely audible frequencies can be easily cut out by applying a sharp low cut (or high pass filter) to the track.
Instruments and sounds that are predominantly based around lower frequencies can also benefit from having some mud cut out of them. Kick drums for instance tend to have their 'boom' in the sub bass region of 40-80Hz, so it won't hurt to cut anything below 20Hz.
Tip 10: Check for Competing Frequencies
It's not uncommon for different sounds to share the same frequencies - lead instruments and vocals for instance. These competing frequencies can make it hard to achieve clarity in a mix.
Ideally, this can be mitigated at the arrangement stage by choosing instruments and sounds that occupy different parts of the frequency spectrum.
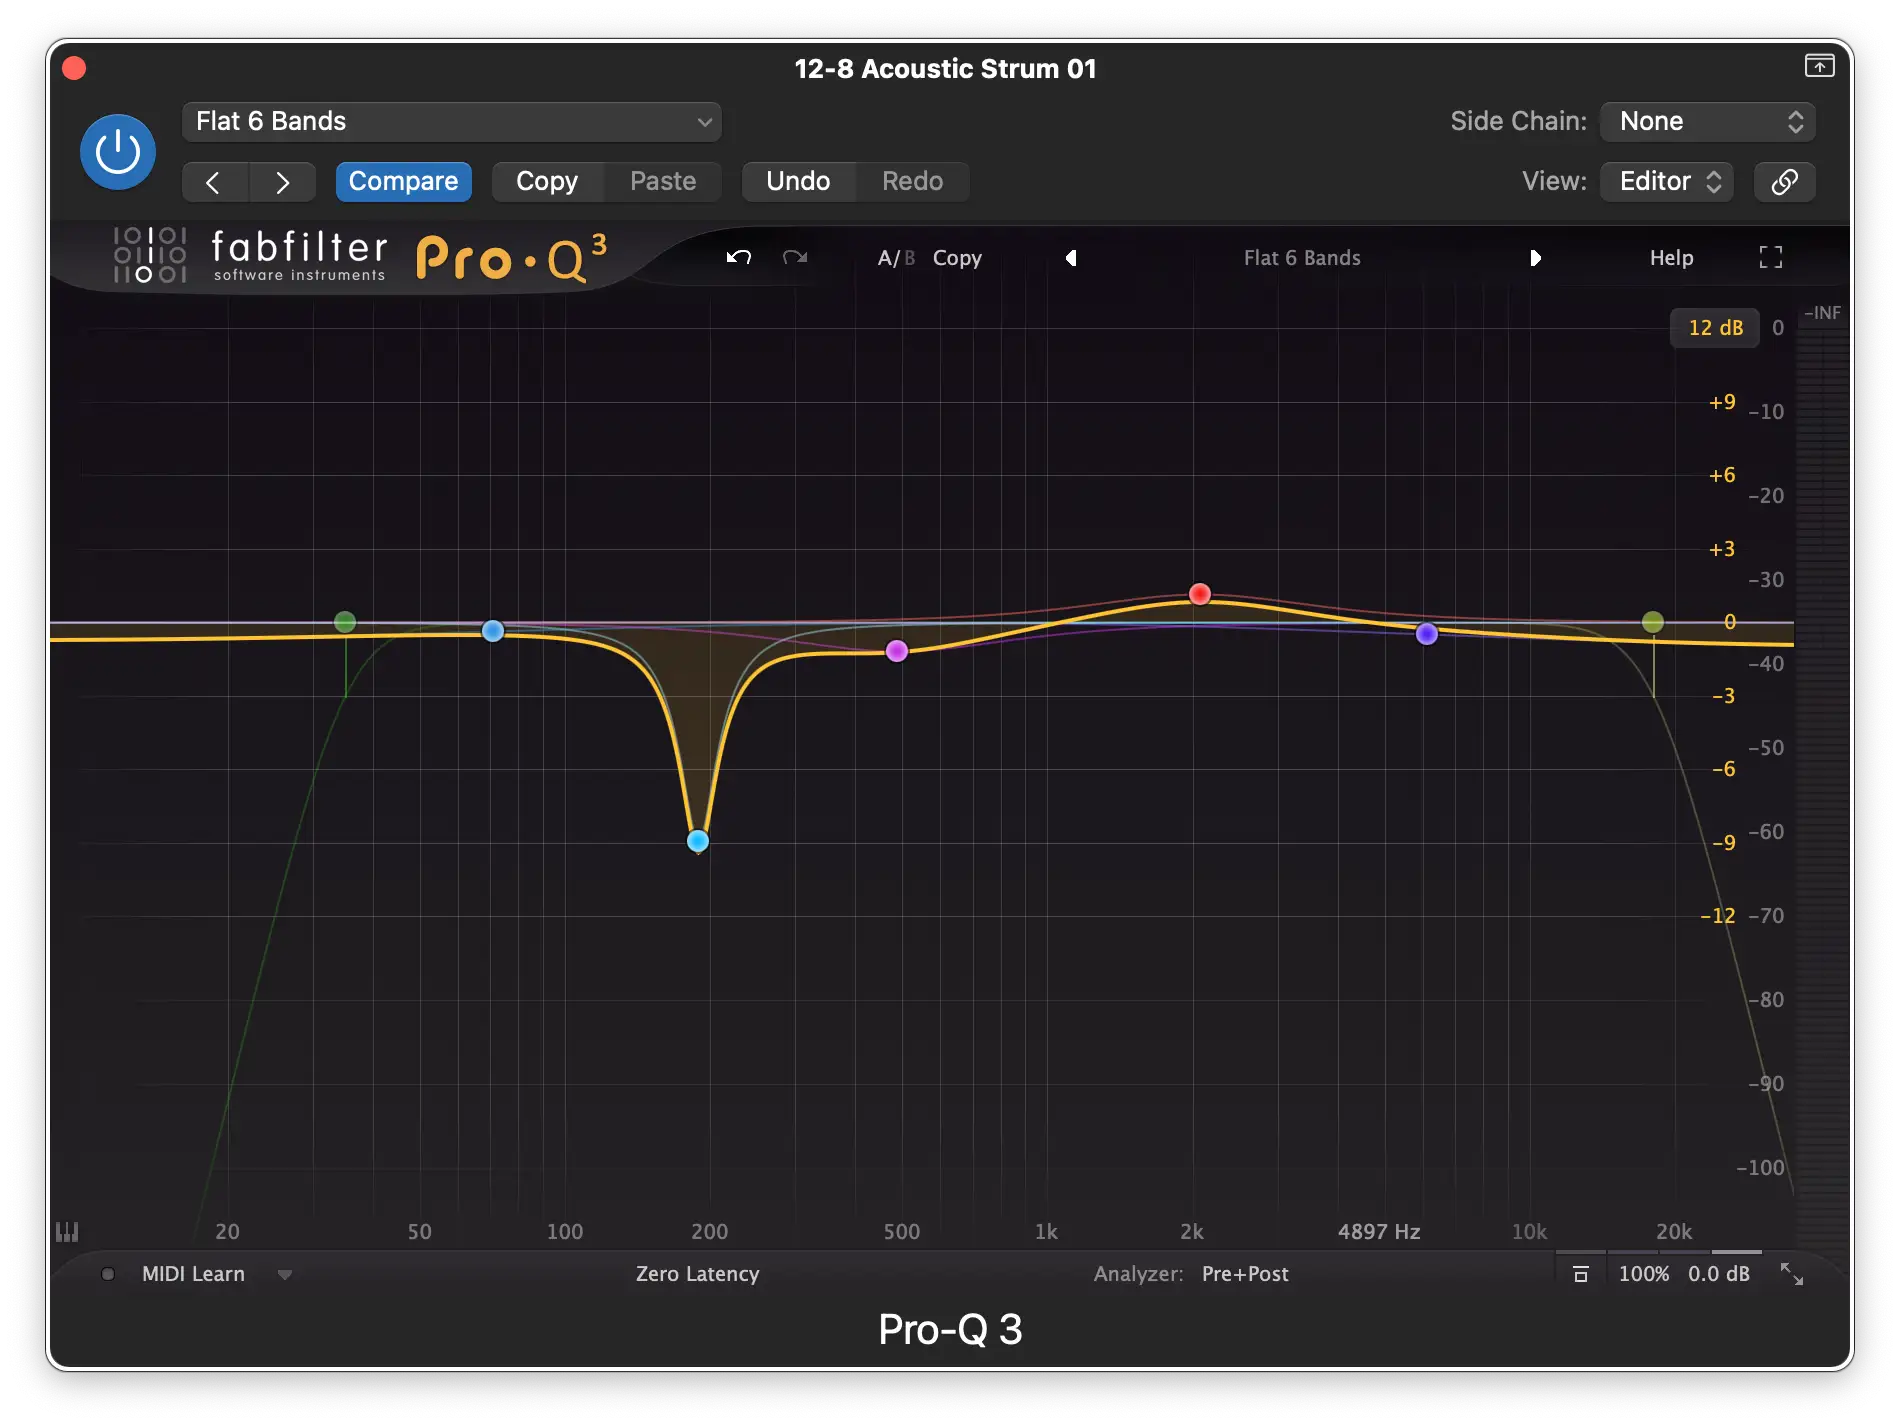
But if you end up with instruments competing for the same frequency range, identify the key frequencies that make up the core of each sound, and make a slight cut to the other frequencies.
By reducing the less-necessary frequency content of a sound you'll be highlighting the important frequencies that gives it character, helping differentiate between sounds.
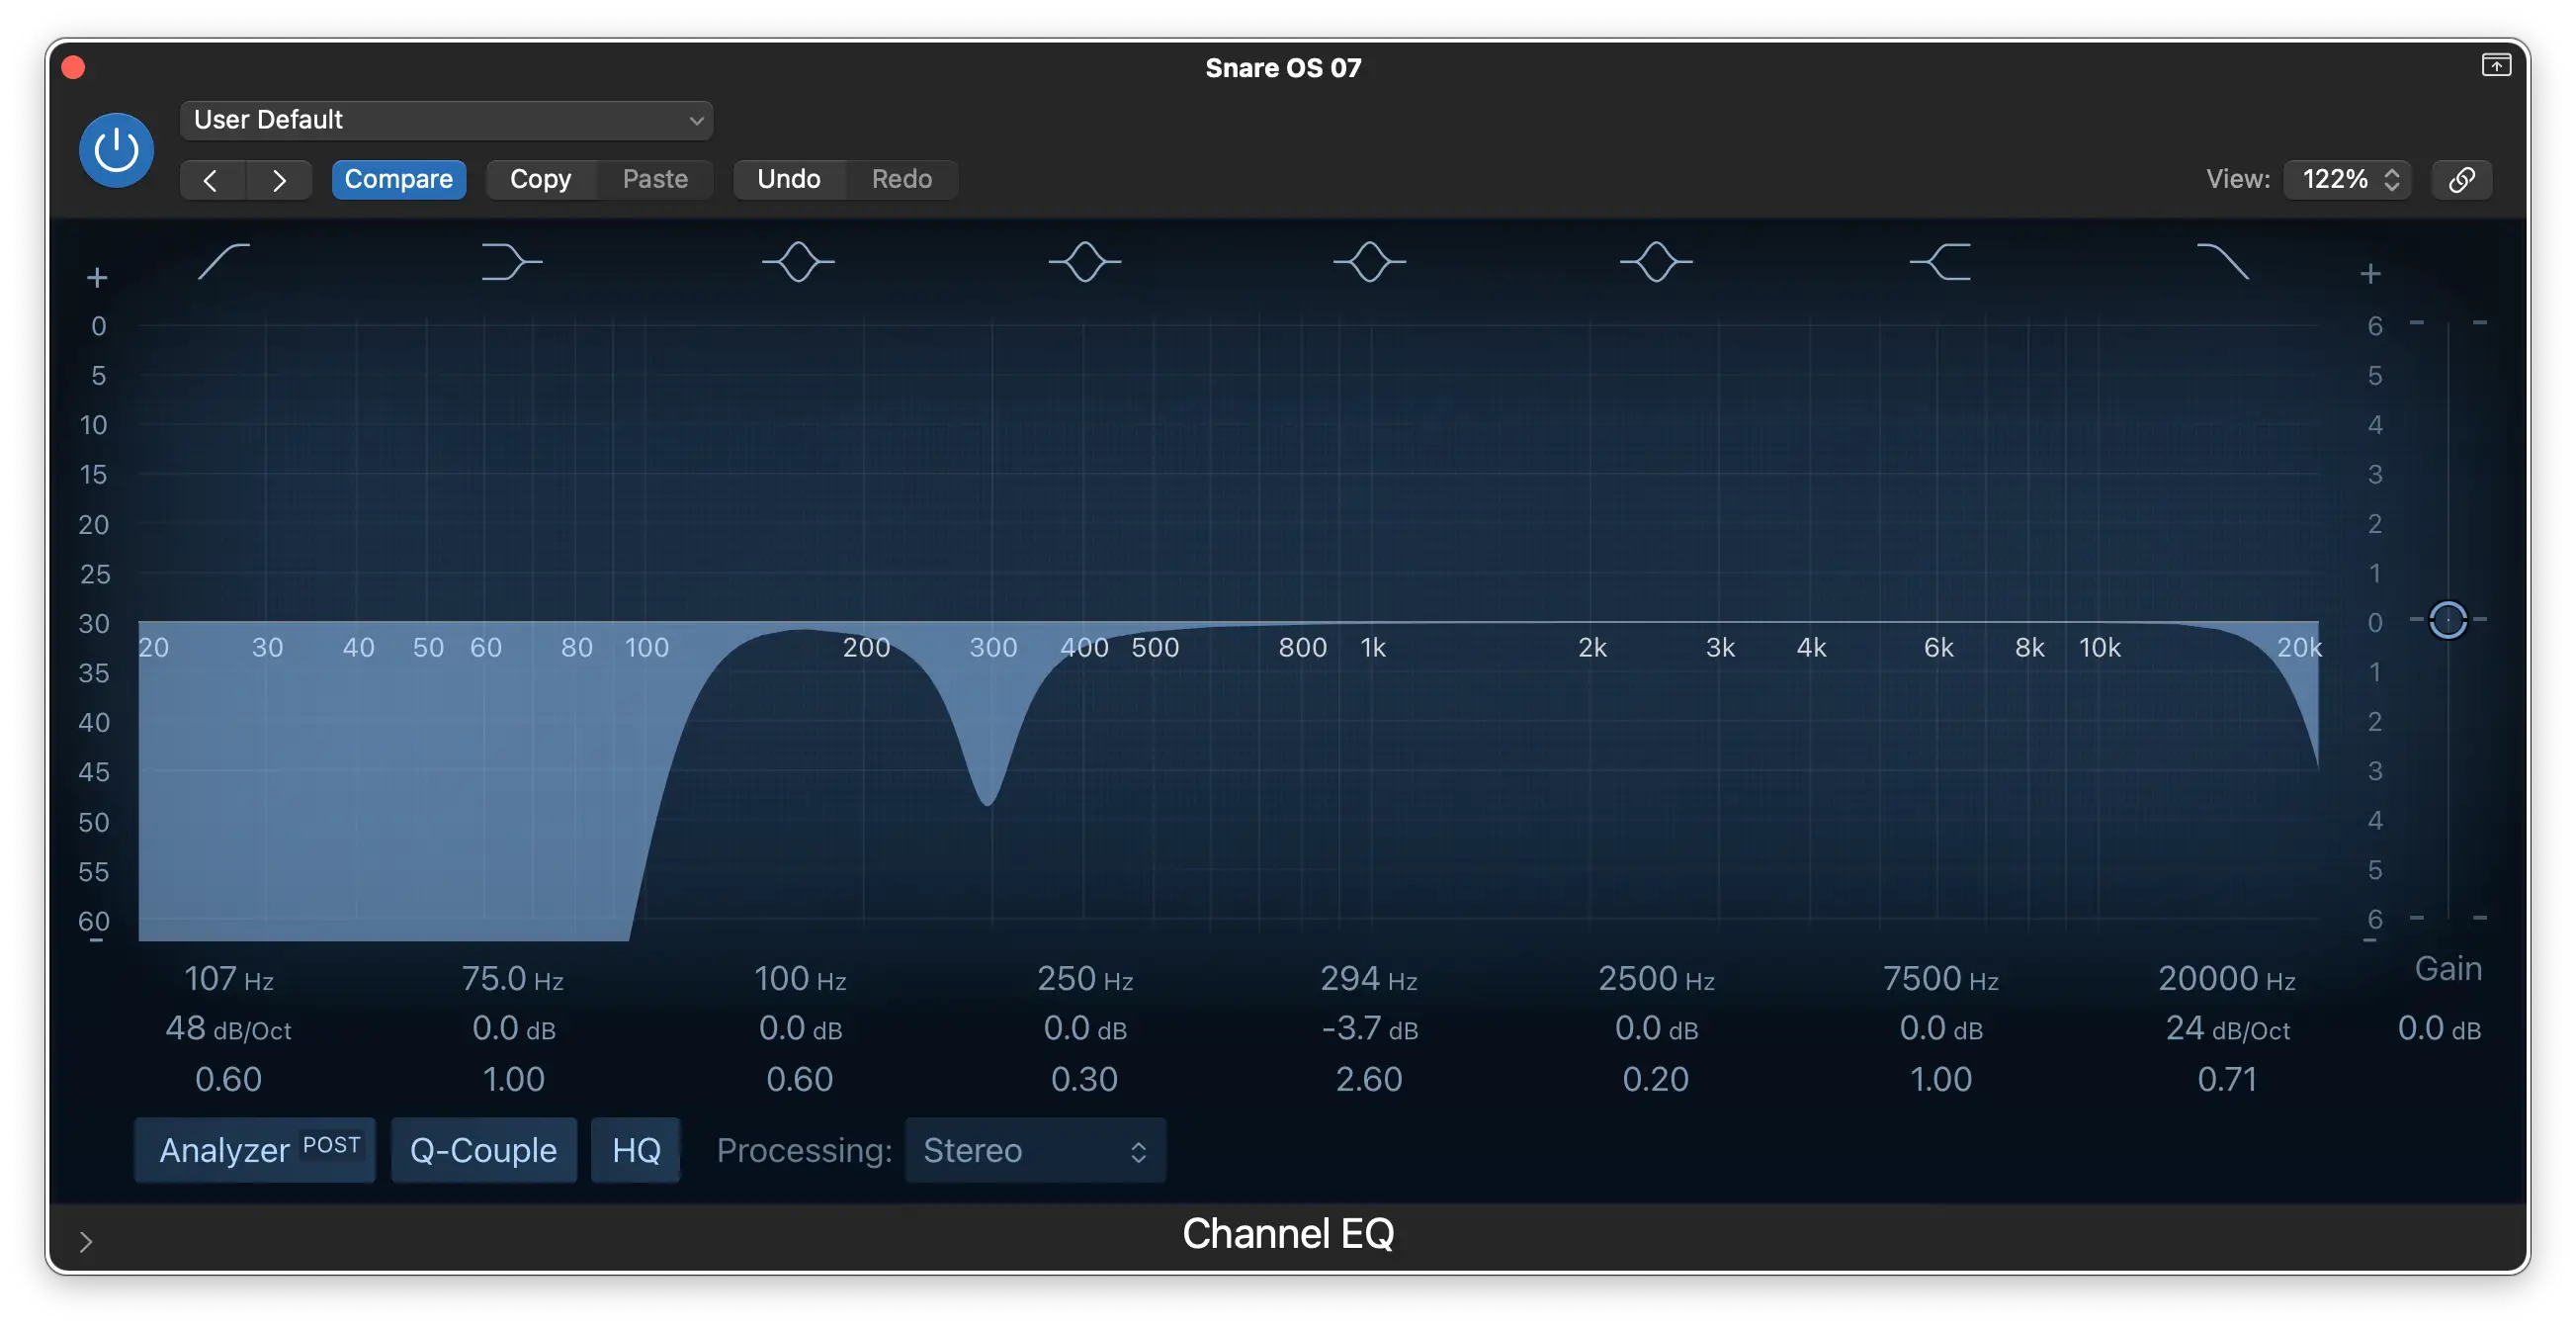
Tip 11: Cut More Than You Boost
Whenever you're EQing a sound it's wise to cut frequencies you don't want (or want less of), rather than boosting the ones you want to hear more clearly.
Let's say you have a boxy sounding snare drum; there's a build up of low-mids around 200-500Hz and it's making the snare not sound as bright as you'd like it to be.
You could apply a high shelf boost to make the higher frequencies snap a bit more, but that's just masking the problem. Boosting also means you're increasing the overall level of the signal, which could cause headroom issues further down the signal chain.
Better to find the boxy frequencies and apply a cut, thereby removing the problem and preserving headroom.
Compression Techniques
Compressors are essential tools in managing the dynamic range of individual tracks or the entire mix. They can also be used to create space, shape the tone, or add some grit.

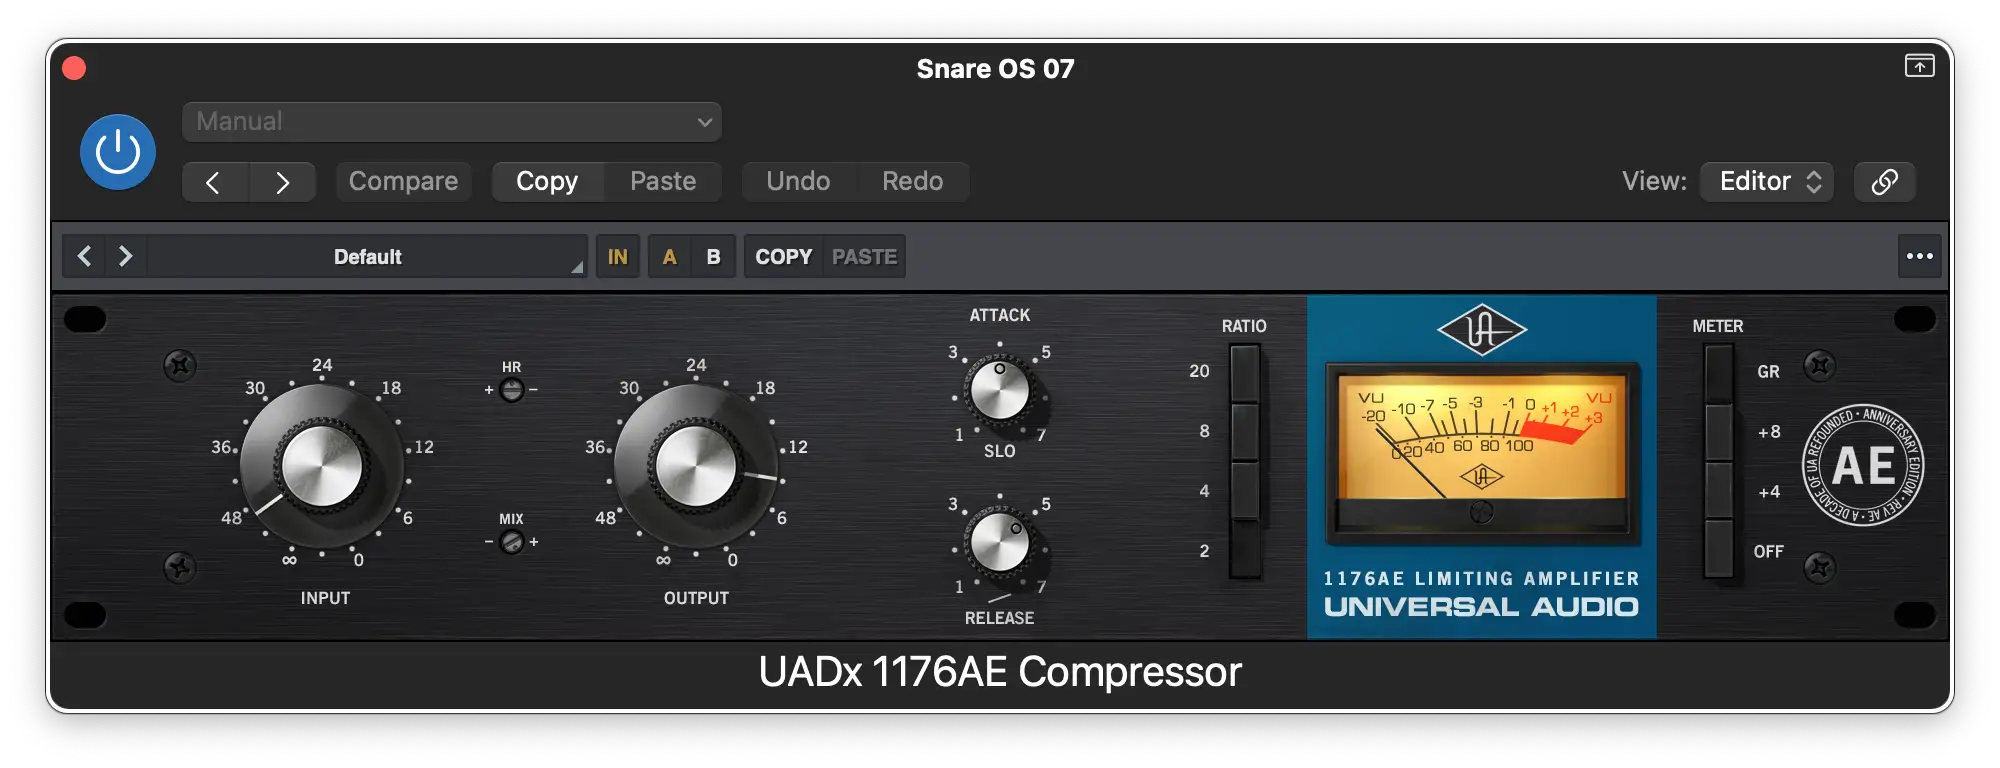
Tip 12: Control, Don't Kill
Using a compressor effectively is all about taming the peaks of a signal without sucking the life out of it . Aim for a moderate ratio when compressing (3:1 or 4:1), and use a medium attack setting to let the initial transients through and so preserve the quality of the sound.
Using this kind of moderate setting on vocals or drums can help smooth things out while still keeping the energy going. That said, if you want to go harder...
Tip 13: Punch it Up With Parallel Compression
Parallel compression is the process of blending a heavily compressed version of a signal with the original, and is a common technique to use on drums.
Because the processed signal is on it's own fader you can play with the balance between the two signals to suit your taste.
Tip 14: Create Space with Side-Chain Compression
A side chain compressor can help create space in a mix by ducking some elements when another sound plays. A typical use for this is ducking the bass every time a kick drum hits, thereby giving both low-end instruments space in the mix.
You can also use side-chain compression on reverb returns to keep it out of the way of the vocals.
Tip 15: Use Mix Bus Compression
Try adding a light touch of compression on the mix bus prior to the mastering stage. It can add punch to the mix, and glue the individual tracks together.
When doing this, go easy. An over-compressed track is hard to listen to, so aim for 1-2dB of gain reduction. And remember to leave enough headroom for mastering!
Tip 16: Think About the Dynamic Range of Your Song
Every song, even a song by Nickelback, has a dynamic range - the difference between the quietest and loudest parts.
How you handle this will depend on the genre and style of the song you're working on, and to some extent, the context of where the song will be heard (e.g. in quiet environments versus louder ones).
For instance, jazz and classical music typically have a wide dynamic range that needs to be preserved to keep the 'live' feel of the music.
On the other hand an EDM banger will have a smaller dynamic range and will benefit from a heavier hand when it comes to processing.
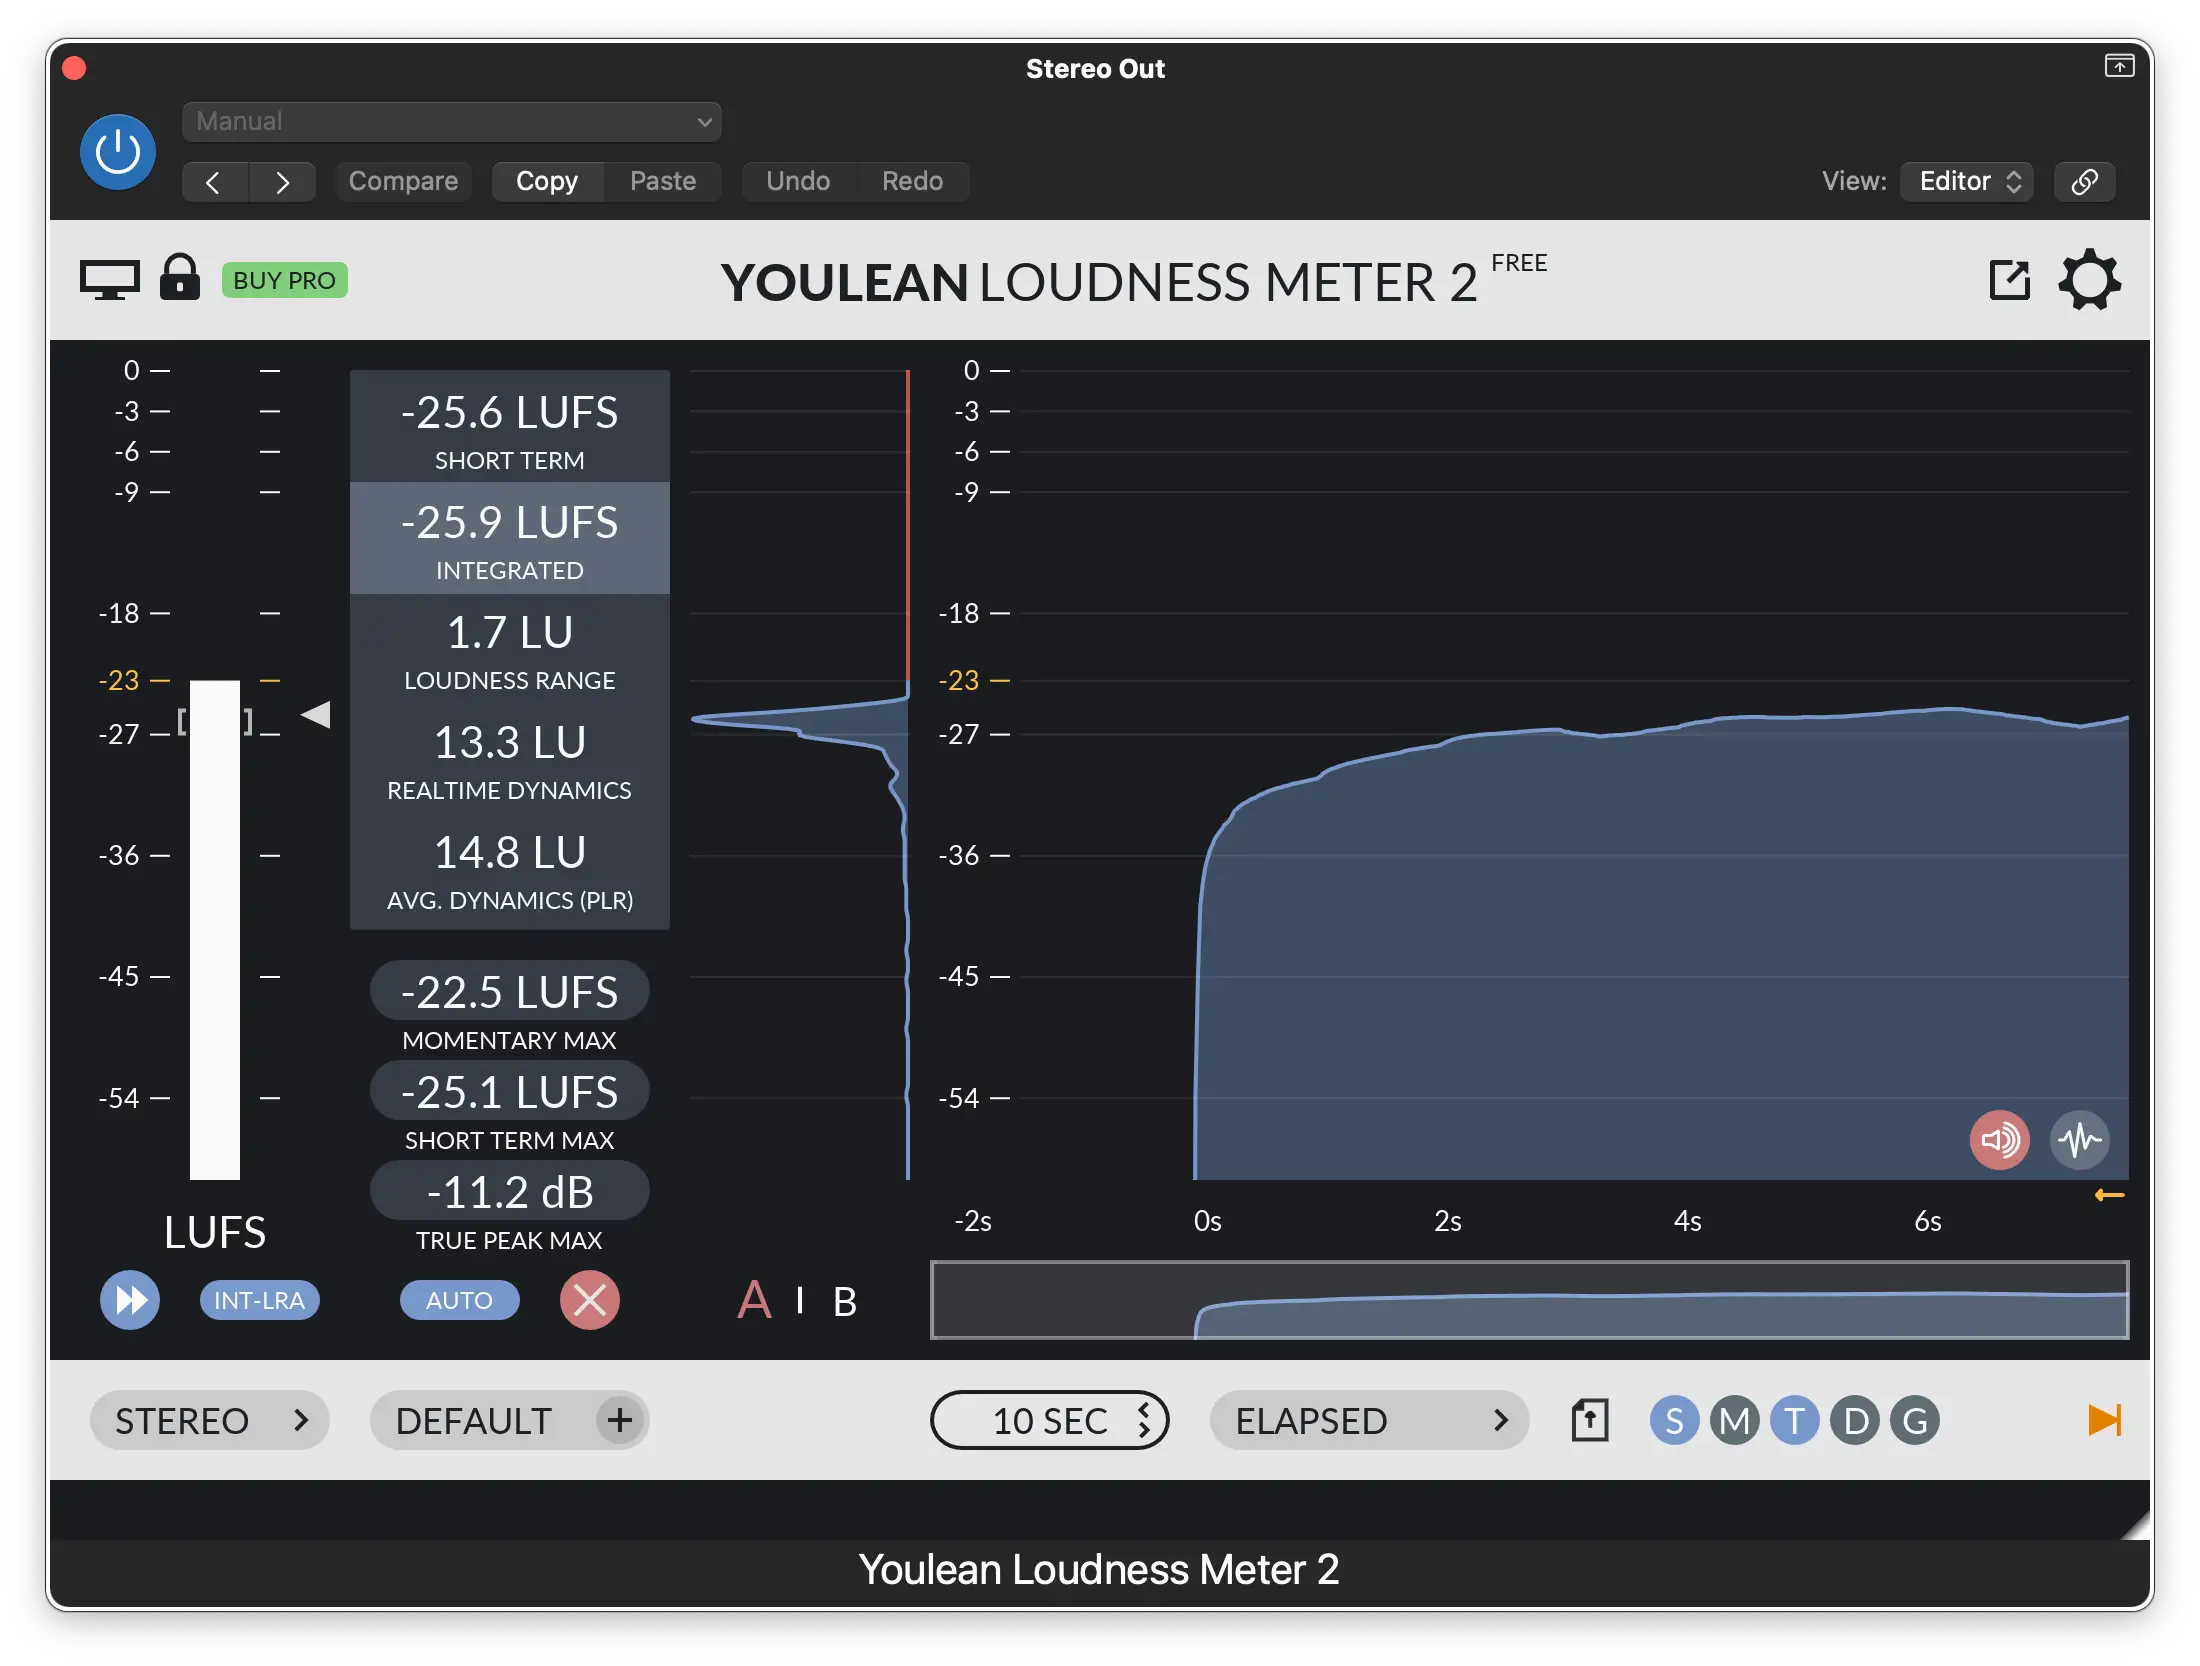
Tip 17: Use a Visual Metering System
To help monitor the dynamic range of your mix, consider using a loudness meter that gives visual feedback as to what's happening.
Running your reference track through this meter will give you an indication of the dynamic range you're aiming for.
Panning & Stereo Imaging
Unless you're purposely mixing to mono, making use of the full stereo field can bring enhanced clarity to your mixes.
Tip 18: Keep Important Parts Front & Center
Where to place instruments in the virtual space of your mix is really down to you, but some instruments should always be kept dead center. These include:
- Vocals
- Kick and snare drum
- Bass
- Other low-end sounds
Choose what other elements in your mix should be kept at the center, and use that to inform your panning decisions.
Tip 19: Use Panning to Separate Similar Elements
Instruments with overlapping frequency ranges can muddy up a mix if they occupy the same space in the stereo field. Panning can help them stand apart.
Tip 20: Keep Things Balanced
When you do choose to pan instruments, whether it's hard panning (entirely to the left or right), or soft panning, make sure things are kept in balance. Too much on one side will make the stereo image wonky, and a wonky image does not make a good mix.

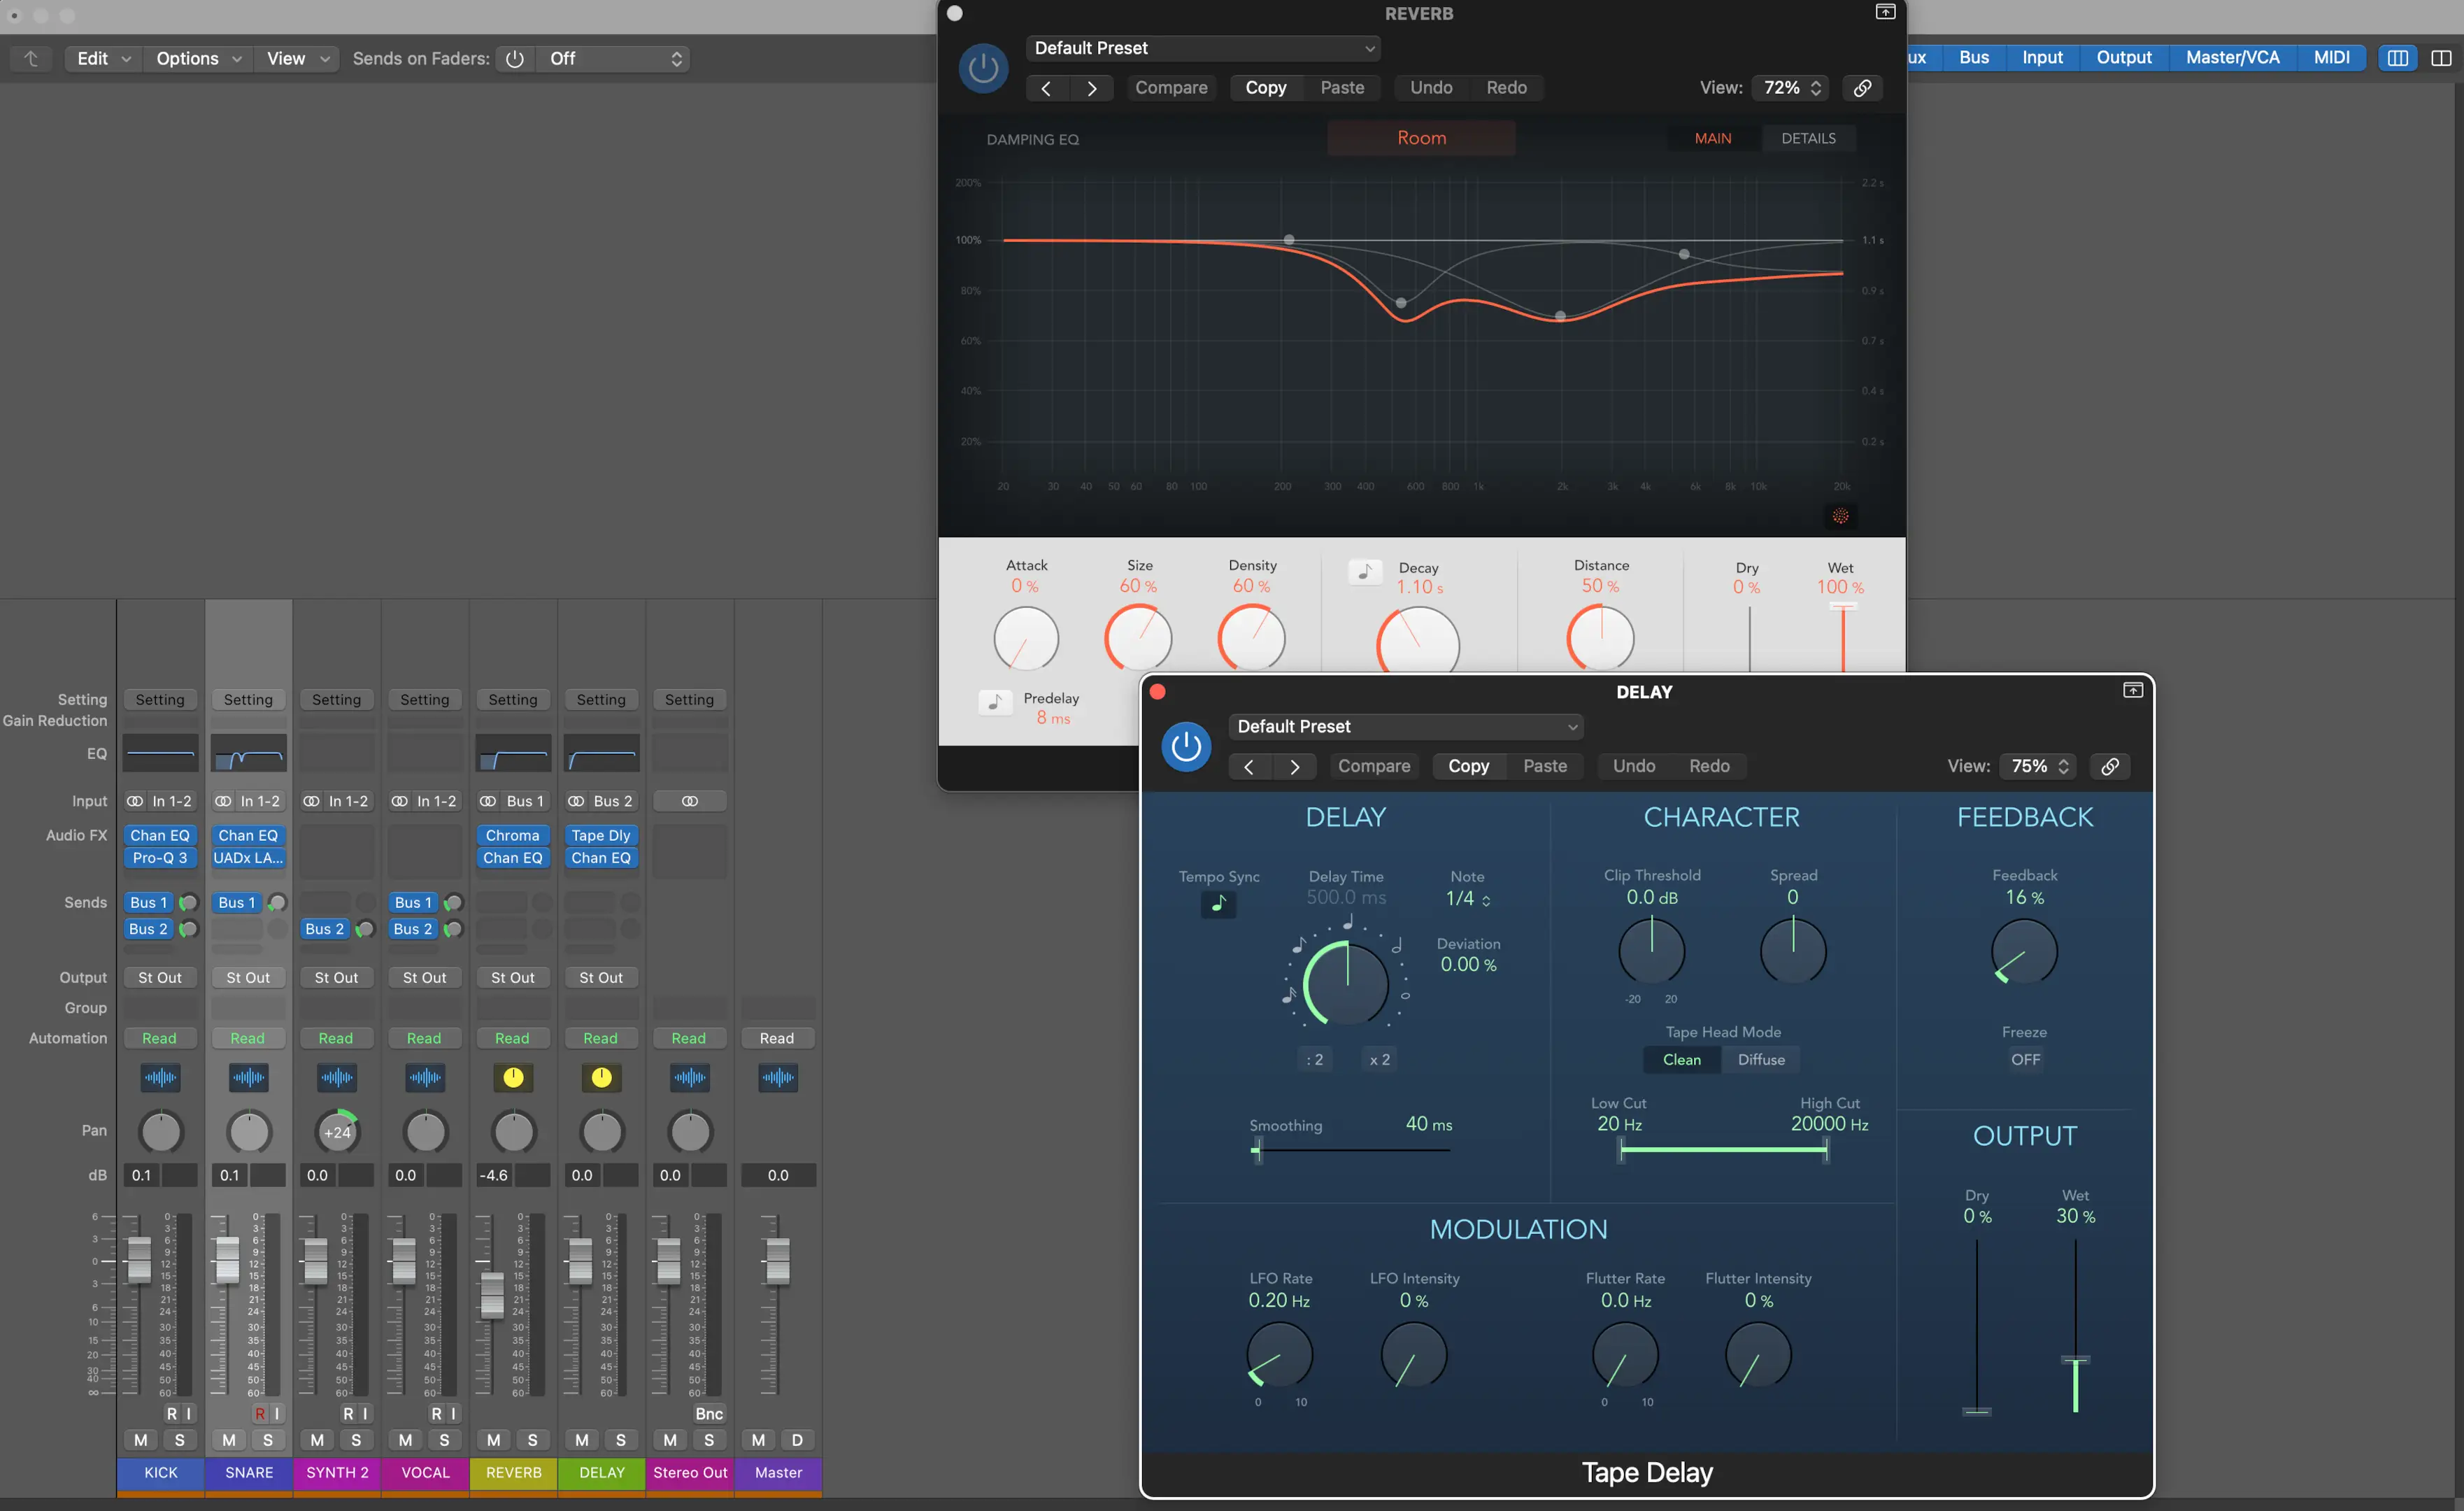
EFFECTS
Effects are invaluable in music production. Whether you're using reverb to create a virtual space for different sounds to live in, or employing delay for a sense of movement, keep these tips in mind for a better mix.
Tip 21: Use a Send/Return for Effects
Unless the effect is crucial for sonic makeup of the sound, always use an aux send/return for audio effects. This gives you more control over the balance between the wet and dry signal.
Aux sends are also a great way to conserve CPU power when using power-hungry effects like reverb.
Tip 22: EQ Your Effects
Another benefit of using an aux send for effects is the ability to process the resulting sound. Inserting an EQ on a reverb return can help control muddy frequencies in the effected signal.
Tip 23: Less is More. Always
Unless your goal is to create a washed out sound, less is generally more. Try raising the level on an effects return to where you think it sounds good, then back off a couple of dB.
Automation
One of the common mistakes made by newbies to music production is not making full use of automation . Most DAWs offer the ability to control literally any parameter of a track or plugin via automation, so make use of it!
Tip 24: Automate volume
You may find certain moments when a track needs a little boost - like a singer at the end of a phrase. Use volume automation on the offending track to ride the fader rather than relying solely on compression to level out the signal.
Tip 25: Automate Effects Sends & Parameters
Effects like reverb and delay don't need to be static. Play around with how much of a signal is sent to an effect at key moments, like boosting the delay at the end of a guitar lick.
You can also automate any parameter of an effect plugin, such as the frequency of an EQ band, feedback on a delay, or reverb time. Keeping effect parameters in a state of flux can help create movement in your music, and keep you mix sounding fresh.

Mixing Tools & Software
Most DAWs ship with all the basic tools you need to create a great mix. Don't fall prey to the assumption that buying this bit of kit or that plugin will automatically make your mix sound better. It won't. A plug-in is only as good as the engineer using it.
That said, here's some bits and pieces that can make your mixing life sweeter.
Softube Saturation Knob
This tidy (and free!) little plugin from Softube doesn't use much CPU and is great for adding grit to tracks, or providing some gentle saturation across an entire mix.
Youlean Loudness Meter

This excellent and handy plug in from Youlean enables you to see the perceived loudness of a mix. It's low on CPU usage, accurate, and most importantly, free!
Fab Filter Pro-Q 4
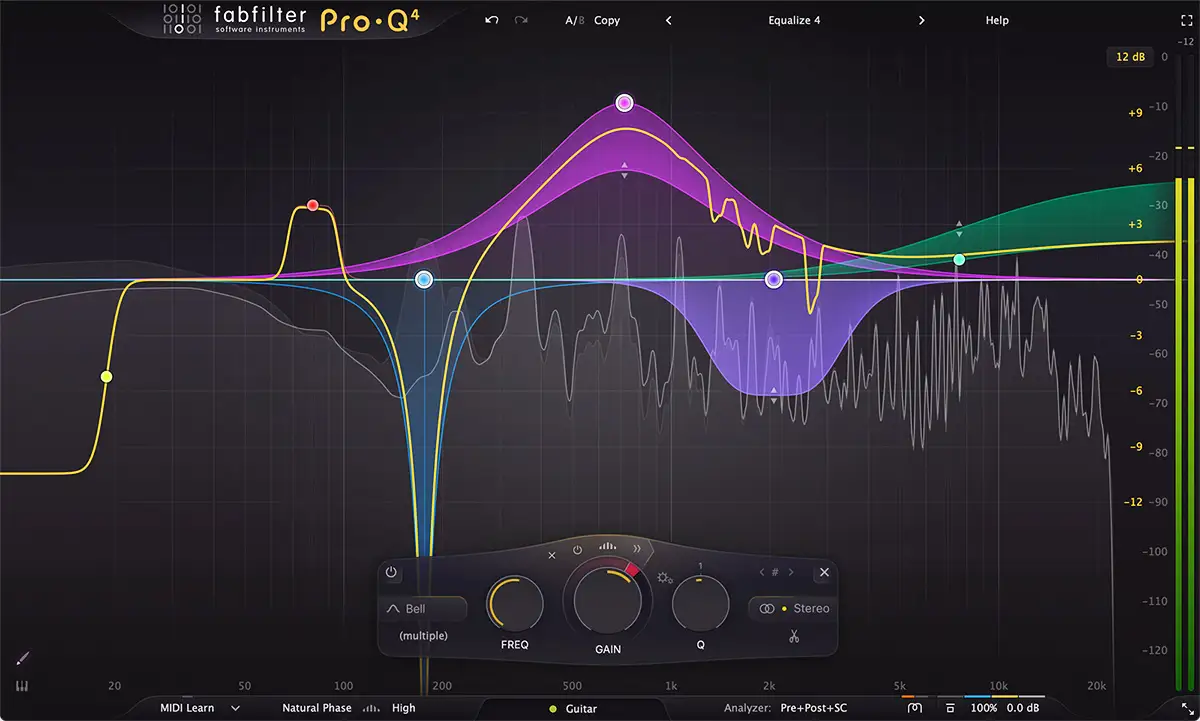
This excellent EQ plug-in from FabFilter will handle literally any EQ task you throw at it. Whether you're making surgical corrections with a natural phase EQ, or using a linear phase dynamic EQ for broad control, Pro-Q4 is intuitive to use and yields excellent results.
Conclusion
Mixing is tricky. Finding a balance between all the different elements that make up a track, and achieving the sound you're aiming for takes practice. It's a lifelong journey of listening, learning, using your ears, and trusting your judgement.
If you're ever uncertain about how to go about doing something, be sure to check out our massive library of articles for advice.
Now go forth and mixeth the music!


