

Contrary to what some may believe, You don’t need a professional recording studio to produce high quality audio. You simply don’t need to spend thousands of dollars on new equipment.
However, learning how to build your own home recording studio can be a challenge. There are some things you do need to get, but luckily there are plenty of affordable (and free) options if you know where to look.
Below, we'll walk you through the process of building your own home recording studio from scratch so that you can start music recording without ever having to leave the house. This complete home studio setup guide will cover the different types of recording studios, what studio equipment you need to get started, and how to avoid common mistakes while you build a home recording. Let's go ahead and get started!
What Differentiates a Home Studio From a Professional Studio?
A home studio and professional recording studio have a few key differences, but that doesn't necessarily mean one is guaranteed to produce a higher quality sound than the other. Generally speaking, professional studios are much more generalized to multiple types of recording needs including vocal recording , beatmaking , instrument tracking, mixing , mastering , and even scoring.
The beauty of a home recording studio is that you're able to personalize the ideal room for your recording needs. Professional recording spaces typically invest more in sound treatment which may make them a better space to record when compared to the average home recording set up.
That being said, if you know what you're doing, you can make amazing tracks out of a home recording studio. The difference between mediocre home studio setups is the design of an engineer's listening position relative to his or her gear, quality of recording equipment, and the experience of whoever's in the control room.
Types of Home Studios
Remember that your home recording studio should ultimately be catered to you. This means that you don't necessarily have to fill all of the positions and flexibility provided by a professional recording studio. To do this, first determine what you want to use your home recording studio for. Here are some of the more common types of home recording setups to take into consideration:
Beatmaking
If you're a producer and you're simply looking for a space to create beats without vocal recordings, then certain aspects of the recording process won't matter as much like acoustic treatment. Instead, you'll likely want a reliable midi controller, studio monitors, your DAW and potentially an audio interface.
Bass traps might be helpful for absorbing sound so that you don't disturb your neighbors, but they're not necessarily needed since you're just creating a space to produce beats. Make sure you keep your monitor speakers, beat hardware, and midi controllers clean and organized to maximize your workflow.
Instrument or Vocal Tracking
Instrument or vocal tracking requires a space with excellent acoustic treatment. The goal is to represent the recorded sound as accurately as possible. In which case, you'll also need reliable mic cable options, mic stands, different microphone options , and extra channels for recording more than one audio source at once.
Make sure that your space is also comfortable for other musicians to relax and be creative in. You might also need music stands along with a space for guests to comfortably sit during downtime throughout a studio session.
Demo Cutting
Demo cutting is the art of making a rough outline of your song before having it re-recorded, mixed, and mastered. If you're using your studio to jot down ideas, there's no need to invest in the highest quality audio gear you can find.
You'll still need basic recording tools like an audio interface, mic cables, pop filters , microphone stands, and potentially a midi keyboard to help outline the beat of a song. However, since you're recording only a draft, you don't need to find the best large diaphragm condenser microphone available - Instead, create a setup that allows you to get ideas out on paper as soon as possible.
Full Mixing Studio
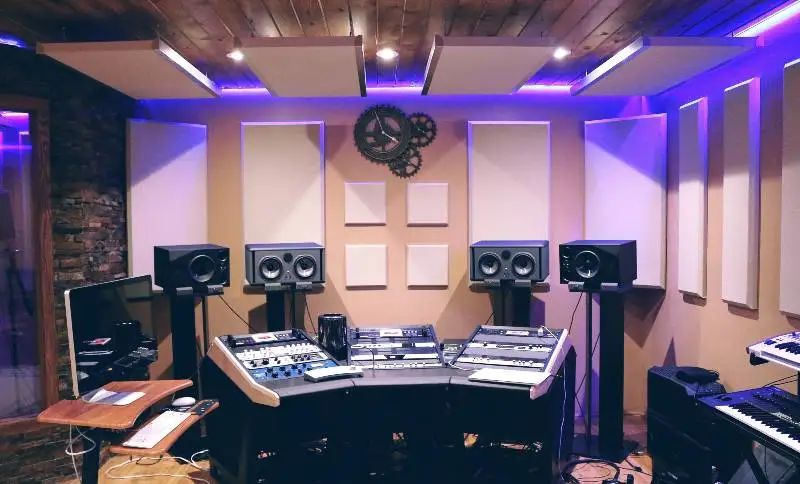
A home mixing studio is the most complex home studio type and the most similar to a traditional professional studio. In these spaces, proper acoustic treatment is paramount. You'll need to make sure that you have equipment that reflects the entire frequency spectrum as accurately as possible.
This includes more expensive a equipment like near field monitors, sound proofing technology, more channels for a variety of gear, and digital converters for any hardware pieces. On top of this, you'll need the basic gear set up with mic stands, monitor stands, different microphone options, frequency response monitors, pop filters, etc. These studios are the most difficult to create properly.
Choosing The Perfect Room for Your Home Studio
When it comes to finding the right room for your home studio, you'll want to select a space that has the most "dead" air. By that, we mean that you want to reduce the amount of perceived reflective surfaces in your recordings as in accordance with acoustic treatment.
A properly treated studio shouldn't have an "echo" when you clap your hands or make sound. The room sound should be isolated and contained, since this will give you the most control in terms of manipulating your recordings.
Avoid rooms that have windows, or lots of hollow openings in which sound could easily escape. It's just as paramount to envision a proper listening position for mixing and mastering. Ideally, the studio monitors should be in an equilateral triangle position from the engineer. Acoustic panelling is important to increase the broadband absorption between parallel walls where sound can easily bounce from the front wall to the back wall creating tainted recordings.
Acoustics and Soundproofing
You can have all the nice equipment in the world, but if your recording space has terrible sound, it’s going to be super difficult to create great music. That’s why you definitely want to consider treating your room with things like bass traps, acoustic panels, and diffusers.
In an untreated room, your live instruments won’t sound as good as they could. Plus, the mix you hear coming out of the monitors won’t be accurate and your mix will probably be off.
That’s why we wrote a whole guide on how to acoustically treat your room .
9 Essential Pieces of Recording Equipment For Your Home Studio
I use the word “need” loosely here. I often point out that an 18-year-old produced one of Kendrick Lamar’s songs completely on an iPhone. So if you have no money, you still have an entire recording setup in your pocket.
But, if you’re thinking about getting a nice little home-studio setup, there are some pieces of equipment and software you should get.
- Laptop / Desktop
- Digital Audio Workstation
- Microphone
- Audio Interface
- Monitors and Headphones
- Desk and Office Chair
- Beatmaking Hardware
- Additional Instruments
- Mastering Software
1. Laptop / Desktop
The first thing you need you probably already have. Whether you have a music production laptop or a desktop, an HP or an Apple, you’re all set.
If you don’t have one though, you can get a Microsoft-run laptop for about $600. That may sound like a lot of money, and I agree it is. But it’s an investment that will last years (if you take care of it) and it should end up paying for itself.
Apple computers are a bit more expensive (about $1,000), but they do come preloaded with GarageBand, a super awesome free digital audio workstation (DAW).
Speaking of DAWs, that’s the next thing you’ll need.
2. Digital Audio Workstation (DAW)
A Digital Audio Workstation (DAW) is the piece of software you use to record music. And don’t think you have to spend a whole paycheck on a new one - there are plenty of affordable and free DAWs out there. We wrote a whole blog post on DAWs and how to use them , but we’ll summarize some of it here.
Apple computers come with a DAW called GarageBand built into them. It’s one of the best DAWs for beginner producers . It’s easy to use, it has great-sounding virtual instruments, and it gives you access to a ton of professional-level effects.
There’s also Ableton Live, which is popular with DJs because it’s a DAW that is also built for live performance. It has a playback mode that allows crossfades, warping, and a bunch of other features that DJs love. It comes in three versions: Intro (basic version), Standard (some but not all features), and Suite (full version with everything Ableton Live offers).
FL Studio is another popular DAW , especially with producers who like to make beats. FL actually started as a drum sequencer, slowly growing into a fully-featured piece of recording software. They say its drag-and-drop feature is super easy to use, which is good news if you’re new to DAWs in general. It, too, has three versions with varying degrees of features: Fruity, Producer, and Signature.
If you like GarageBand but want a little more, Logic Pro X is Apple’s answer for you. Because Apple owns and runs it, it’s not available on Windows computers, but it’s still one of the most loved DAWs. Like GarageBand, Logic has a huge library of sounds and loops for you to use, a bunch of plugins, and it also comes with Apple support.
However, if you can’t afford an Apple computer there are plenty of Microsoft-friendly DAWs .
My favorite is Reaper , which can pretty much do everything the expensive DAWs can do but with a simple interface and a much more appealing price tag. You can get the full version for free, but they ask you to buy a license depending on how much money you make from music and how you’ll be using it.
Pro Tools also has a free DAW called Pro Tools First that you should check out. It looks like an especially good option if you plan to upgrade to the full version of Pro Tools at some point.
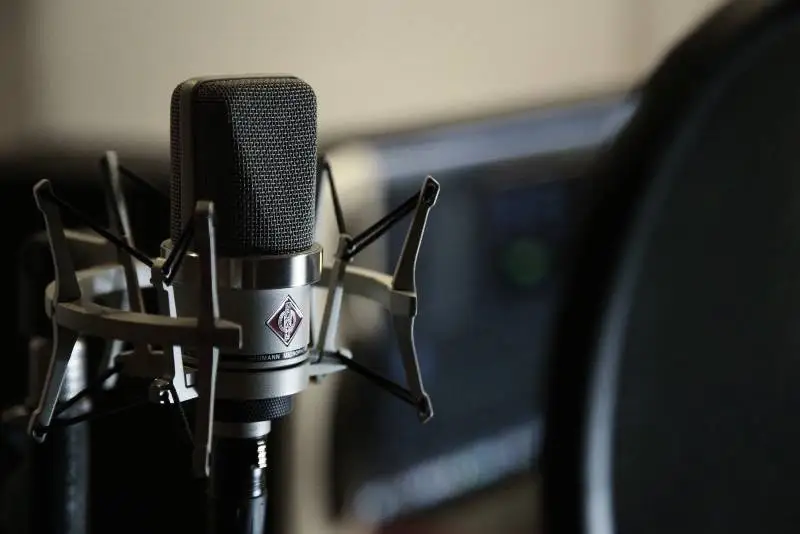
3. Microphone (Mic Stand, XLR Cable)
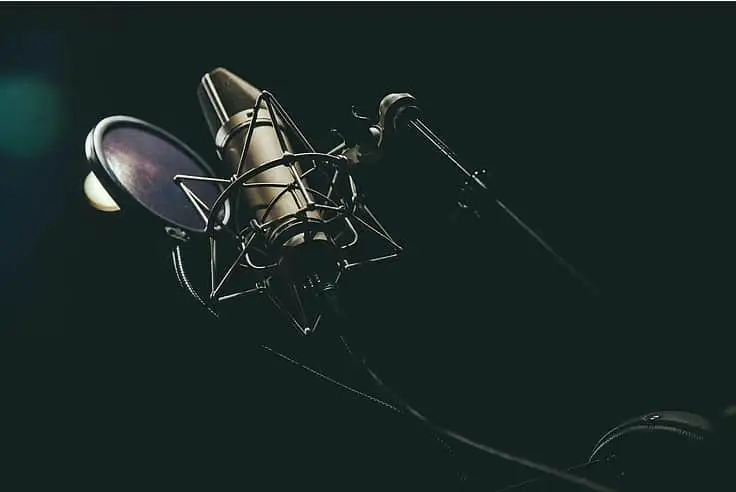
Next, you’ll need a microphone, unless you produce electronic music. But if you’re working with any sort of live instrument, you’ll need a mic, a mic stand, an XLR cable, and a pop filter if you’ll be recording vocals. Thankfully, a quality pop filter won't run you more than a couple of bucks, so it's worth picking up one of these tools to improve your overall home studio setup.
Here are the mics I’d suggest checking out:
- The Shure SM58 (the standard for dynamic mics)
- The Audio-Technica AT2035 (I own this one and love it)
- The MXL 990 (it’s got great reviews).
With these mics, you’ll also need an audio interface (more on that below). But if you’d rather not spend the extra money, you can pick up a USB microphone, which (you guessed it) plugs right into your computer’s USB port. For a quality USB mic, I’d recommend looking at the Rode Podcaster.
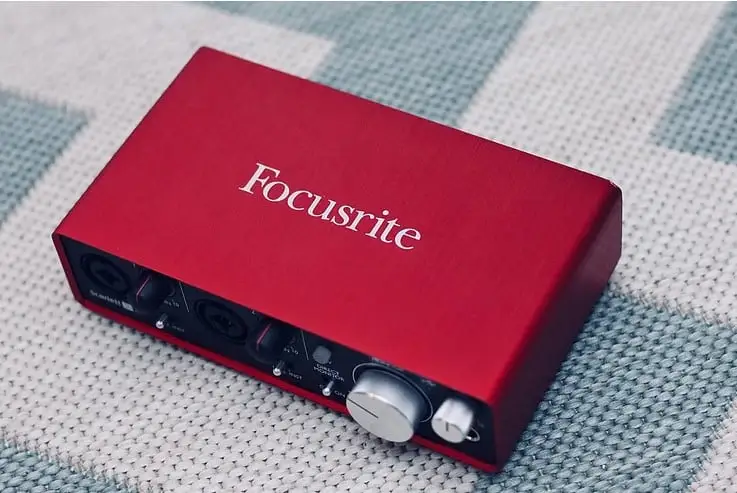
4. Audio Interface
Alright, so now that you have a mic, you need somewhere to plug it in. Enter the audio interface. This piece of equipment plugs into your computer (usually via USB, but can also be Thunderbolt or Firewire) and then you plug your mic or instruments into the interface.
Pretty simple.
And you can pick one up for under $200. I use the Focusrite Scarlett 2i2 and recommend it as the perfect audio interface for home producers. But you can also look at the PreSonus AudioBox or the Focusrite Scarlett Solo.
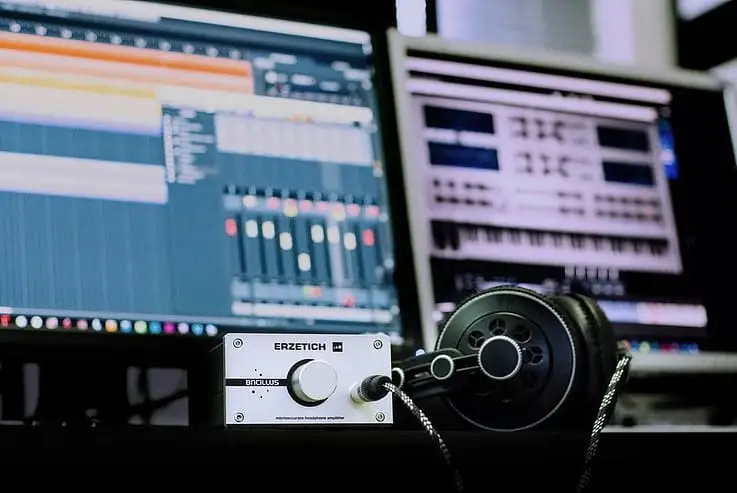
5. Studio Monitors And Headphones
It’s also very important to get a good pair of headphones and monitors (studio speakers). While we’re all familiar with headphones, there are two specific types of headphones we need to cover: closed-back headphones and open-back headphones.
Closed-back headphones are good for recording because they offer sound isolation. That way, you can use them for live monitoring while you track and the sound from the headphones won’t bleed into your recording. The only thing is that the more isolation you have, the lower the sound quality.
For a nice pair of closed-back headphones, I use and highly recommend the Sennheiser HD280PRO headphones.
And when you’re mixing, you want the best sound quality possible. That’s why you should either use studio monitors or open-back headphones, preferably you’d switch between the two.
6. Desk And Office Chair
The focal point of your studio is going to be your workstation - your desk and your chair. So it only makes sense that you choose carefully. And you don’t have to spend a ton of money on these. You can find both at your local thrift store if you have to.
Just make sure the desk is sturdy enough to hold all your equipment - it would be preferable to have a high desk that puts the computer at a higher level. If not, you can put your computer on top of something to raise it up, like a wooden crate (what I use).
The desk chair also needs to be comfy. You’ll hopefully be spending a lot of time in it, so you shouldn’t be thinking about your comfort when you’re in the music-making zone.
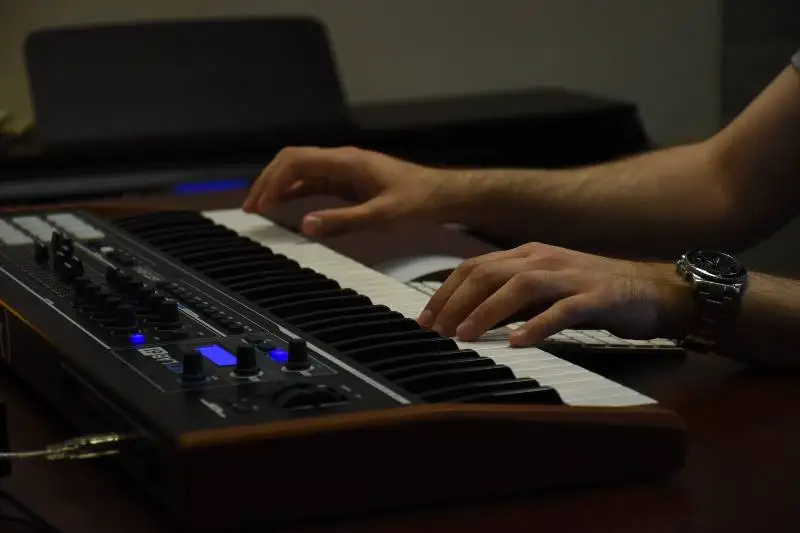
7. Beatmaking Hardware
In addition to your basic home recording studio setup, it might be wise to have some hardware equipment you can use outside of your digital audio interface. This way, you can make beats on the go, or practice your music production chops even when you're away from your home recording studio.
At the very least, investing in basic tools like a midi controller will help elevate your decent home studio to a more professional level. Invest in studio gear that makes your home recording studio setup more efficient overall.
8. Additional Instruments
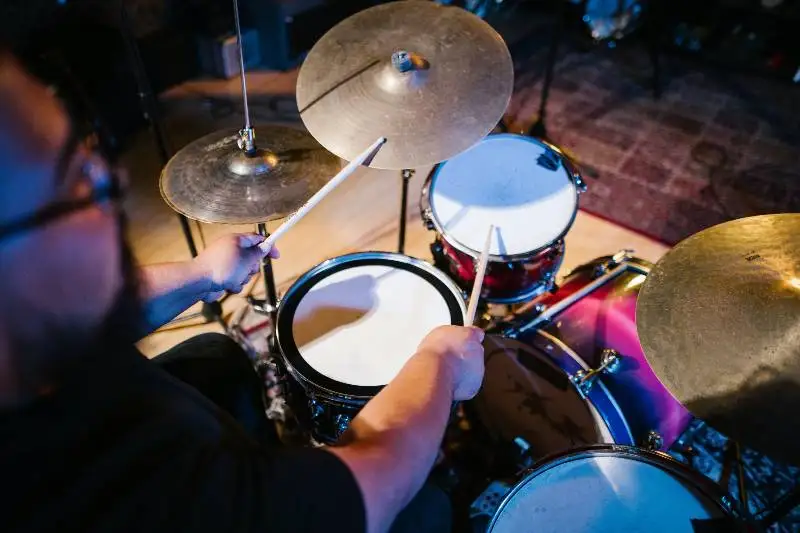
If you're an instrumentalist yourself or plan on hosting session musicians in your home recording studio, it's a good idea to have a couple of tangible instruments as a part of your home recording studio equipment supply. This could include a couple of guitars, a drum kit, even a hardware piano.
Only invest in what makes the most sense for your home recording studio. Make sure your audio interfaces can accommodate the instruments you choose. You'll also want to have plenty of audio cables for each instrument ready to go.
9. Mastering Software
Now that you’re ready to get your studio set up and your songs tracked on your new equipment, there’s one last step to consider: mastering.
After recording, editing, and mixing, you’ll want to master your tracks so they meet industry standards. eMastered has developed a surprisingly good automated mastering software. You can get online access to it and master an unlimited number of songs.
How to Improve Your Home Recording Studio
Undoubtedly, the most important things to think about while building your home recording studio are building the right room to produce great recordings, investing in the right recording equipment, and honing your skills as an engineer.
That being said, there are some tips to keep in mind that can make the difference between your first home studio setup and a more refined one. Once you've built a recording studio you're happy with, here are some the ways in which you can take your home recording space to the next level.
Keep Things Organized
It may seem like a small detail, but keeping your audio equipment artfully organized improves your workflow and gives you more credibility as a "pro studio" when shown to clients. You'll want to make sure that your mic cables are properly wrapped and stored after each session, and that you regularly dust off your audio equipment for instance.
Make sure your equipment is stored properly and put away after every use. A mic stand can easily tip over, so your microphones should be stored in their proper case after a recording session. Condenser and ribbon microphones especially are prone to damage. A little extra clean up can save you a lot of time and money in the long run.
Make Sure Your Home Recording Setup is Inspiring
No one wants to lay down audio tracks in a setting without a warm or inspiring vibe. Make sure that your studio is designed so that clients and session musicians feel at ease while they record vocals or lay down a particular section of a song. This could include adding lights, pieces of art that don't interfere with your studio's acoustic treatment, or simply taking the time to keep things clean.
Ask For Feedback
Remember that building a solid home recording studio is an ever-evolving process. In order to improve your home recording setup, why not ask other trusted engineers for feedback on the listening experience, equipment quality, and overall recording experience of your studio. Consultation is certainly worth the investment especially if you're trying to create a noticeable difference between you and other studio competitors.
Common Mistakes to Avoid While Recording At Home
Learning how to craft a functional home studio is a constant learning process. With that in mind, here are some common mistakes to avoid while setting up your home recording studio.
Not Spending Enough Time on Layout
Layout isn't just paramount to optimal mixing, it also can make or break the acoustics or your studio. A huge difference between a novice and experienced engineer is the ability to make sound shine in just about any environment. Spend time getting to know the individual parameters of each room is much more important than picking out the most alluring, expensive piece of equipment you can find.
Neglecting Acoustic Treatment
If you plan on live recording or mixing in your home studio, you need acoustic treatment. Keep in mind that it's not just for your own sonic needs-- Acoustic treatment also keeps your sound contained so that you're not butting heads with the neighbors, which is important especially if you plan on running sessions out of your space.
Buying Equipment You Don't Need
Invest in equipment as you go. There's no need to buy something you're not sure your use, even if it's touted as a great piece of gear. Instead, pour more hours into developing your craft as an artist. This is inevitably more valuable in long run, and hopefully, your developed skills will make it easy for to afford your desired gear in the future.
Underestimating The Power of Atmosphere
Your studio doesn't just need to sound good, it needs to look and feel good too. Make sure that your space is inspiring, clean, and creates a warm environment that invites artists to create. There's nothing more impactful than a first impression of a space.
At the end of the day, don't forget that your studio space should ultimately be designed to serve you. That means investing in the right equipment, which isn't necessarily the "best" equipment. That means spending time thinking about what set up is going to give you the most ideal performance based on what and how you like to record.
As you build the studio of your dreams, don't forget to enjoy the process! Our equipment continues to evolve as we do, so you're likely to grow with your studio setup over the years. Have fun building a space that inspires you and invites you to create.


