

So you want to record your new song…but you’ve never actually done that before. What does it take to make that happen? Admittedly, learning how to record music can feel incredibly daunting.
Luckily, all you need is some basic recording equipment, a bedroom, and a desire to learn something new. In today's modern age, a standard recording studio simply isn't necessary. In this post, I’ll go through the step-by-step process for recording a song from scratch. We'll also briefly discuss the full music production process so that you can begin recording great songs from home.
How To Record Music In 4 Steps
Step 1: Gather Your Tools
Step 2: Record Your Vocals
Step 3: Start Editing Your Recordings
Step 4: Proceed to Mixing And Mastering
1. Gather Your Tools
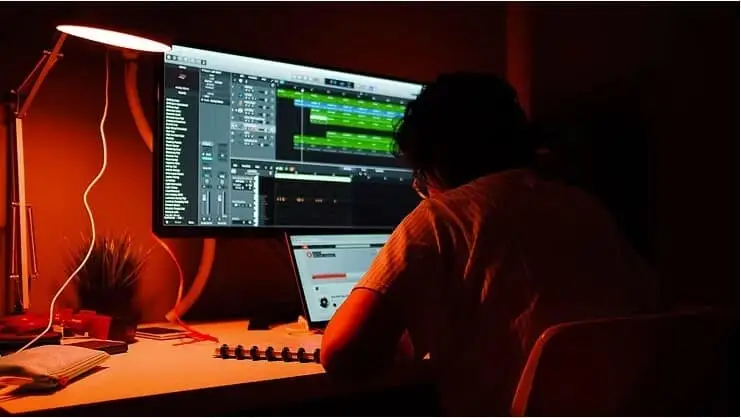
Oftentimes, your sound quality is only as good as your recording equipment and tools. Before you hit record, you'll want to make sure your home recording studio has everything it needs to craft an entire song from start to finish.
Equipment
For the purpose of this article, I’ll assume you have the recording equipment necessary. With that in mind, a basic set up requires a digital audio workstation, microphone, and headphones of some kind. If you're using a desktop computer or laptop for music production , you might need to also invest in a good audio interface .
If you don't have software tools or a DAW at your disposal, don't fret! Technology has advanced to where you can easily create music on your phone or other device. With that in mind, a more professional home studio usually utilizes a computer for the recording process.
Start on your phone if you can't afford a full setup just yet. You'll still learn tons of valuable information about the music production process that will help you put your recording studio to good use in the future. Other equipment to consider includes sound treatment devices, a pop filter , and additional instruments to spruce up your recordings.
Creating A Backing Track
Once you've gathered all of the equipment you need to record vocals , you need to create a backing track or at the very least, a click track to record your vocals over. This track can be considered a demo instrumental version of your song, so don't worry about it being perfect. The track just needs to have enough tracks and sonic elements to guide you while playing a live instrument or tracking vocals. Here's a basic guideline of instruments you might want to consider including in your backing track:
Start With The Drums
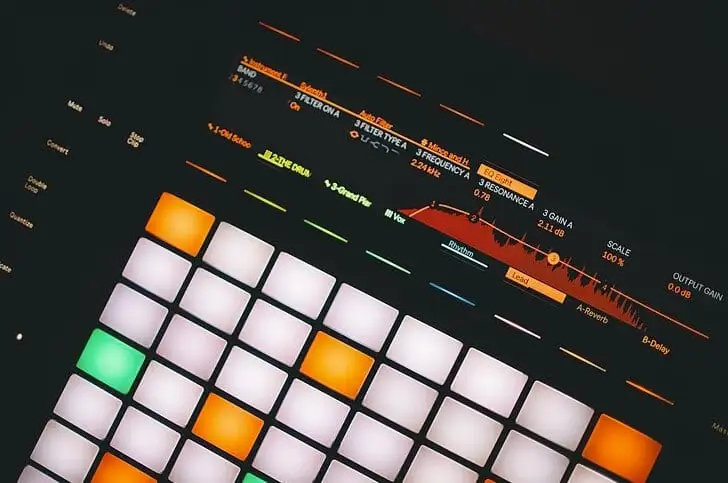
I like to start with the drums because they act like a beefed-up metronome, something you should always record with. Having a back-beat to whatever you’re going to record not only helps you stay on time, it helps you figure out where you’ll emphasize the rhythm . You can create a different rhythm section, for example, in the chorus and verse to help your vocals flow more coherently.
Before you create your beat , it’s very important to decide on a BPM. Because once you start recording, changing the tempo can screw up the whole song.
So after you’ve set the tempo, here’s what you can do:
- Create a new virtual instrument track.
- Select a virtual drum plugin , like DRUM PRO (free) or Addictive Drums (affordable).
- Make a simple beat using a MIDI controller , musical typing (may have a delay), or by using the mouse to add the different parts of the beat.
- Create four bars of the beat and loop it to the end of the song.
That last step is just for keeping you on time - you can edit the beat later.
Make sure the kick matches what you imagine the bass will be doing and the snare is hitting wherever it fits your song (upbeat/downbeat/etc.). You can also make the process easier on yourself by using a pre recorded drum loop. This could simply serve as a placeholder if you'd like to edit your drums after recording the lead vocals.
Record Your Main Instrument
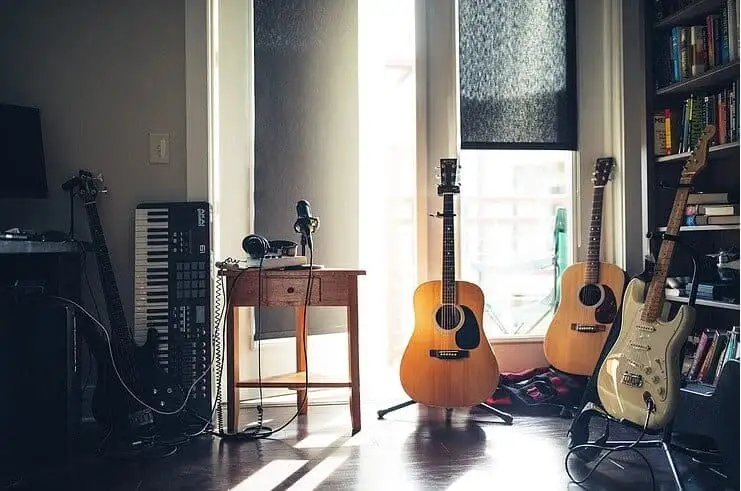
Next, you’ll want to record your main instrument - guitar, piano, theremin, whatever. This will probably be the instrument on which you wrote the song. For me, it’s acoustic guitar, so that’s what I typically go to after setting the beat.
Because you’ve already set your rhythm, recording your main instrument shouldn’t be too difficult. But if there’s one thing I’ve learned, it’s that this part of the process is super important. The rest of the song may rely on your performance and voicing of this instrument, so take your time with this stage.
Here’s how to do this:
- Create a new track and arm it for recording.
- If it’s a keyboard or an electric guitar, simply plug in the cable that runs from your instrument into the audio interface.
- If it’s an acoustic guitar, set up your mic first - the XLR cable goes from the mic into the interface. Place the mic about 6-12 inches away from your guitar, pointed at about the 12th fret. That’s usually where it sounds best, but you can move the mic around to see what you think sounds good for your taste.
- Whatever the instrument, keep an eye on the gain (either on the interface or in your DAW) and make sure you’re not peaking (the red part of the input level).
You don’t need to even get close to peaking - you can always boost the sound later. It’s more about the quality of the sound rather than the loudness. It's a great idea to record more than one track of your guitar, piano, etc. This was, you'll have multiple takes to choose from when it comes time to refine your tracks.
Lay Down The Bass
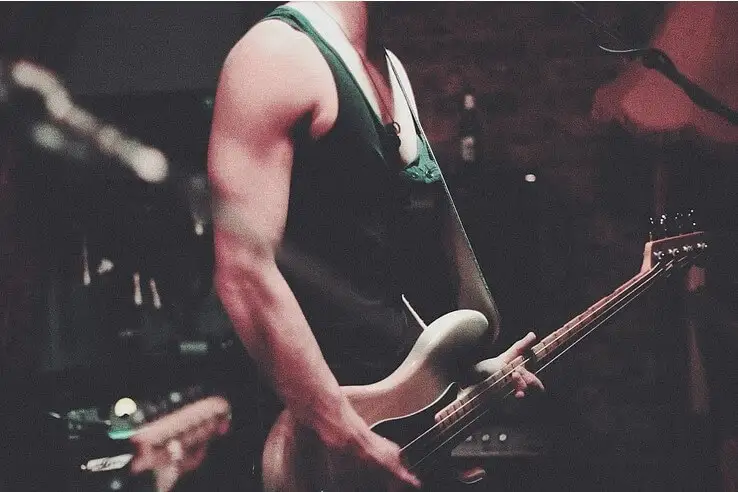
Now you’ll want to bring in the bass, whether that’s a bass guitar, a bassy synth, or an upright bass. You need something to fill out the lower frequencies and give the song some umph. The bass needs to be tight with the kick drum - tighter than a pair of Bee Gees jeggings. The kick and bass should be dancing together through the whole song. A rhythmic instrument like the bass may be enough on its own to keep you on tempo , which is why it's so important to include in your backing track, even above other instruments.
Here’s how to track the bass:
- Create a new track and arm it for recording.
- Plug the cable that runs from the bass into your audio interface. If there’s a Line/Instrument switch on the interface, make sure it’s on Instrument.
- Just as you did with your main instrument, keep an eye on the gain to ensure it doesn’t get close to peaking.
See What Virtual Instruments Fit
Now you can see what virtual instruments fit the song. These can be ambient synths, a horn section, or even an orchestra. Whatever you choose, it’s all MIDI, which is very easy to manipulate and adjust to your song. You can simply drag-and-drop the different notes to where they need to be. You don’t even need to know how to play the piano.
To add a virtual instrument:
- Create a new virtual instrument track and arm it for recording.
- Go through your virtual instruments and pick a sound that you think fits.
- Start adding melodies and chords with a MIDI controller, musical typing, or by adding the notes with your mouse.
Keep in mind that this is just one way to approach building your backing track for audio recording. There's nothing wrong with omitting a step or following the steps out of order. As long as your process gives you enough audio to record your singing over it, you're in a great place.
2. Record Your Vocals: Time To Sing!
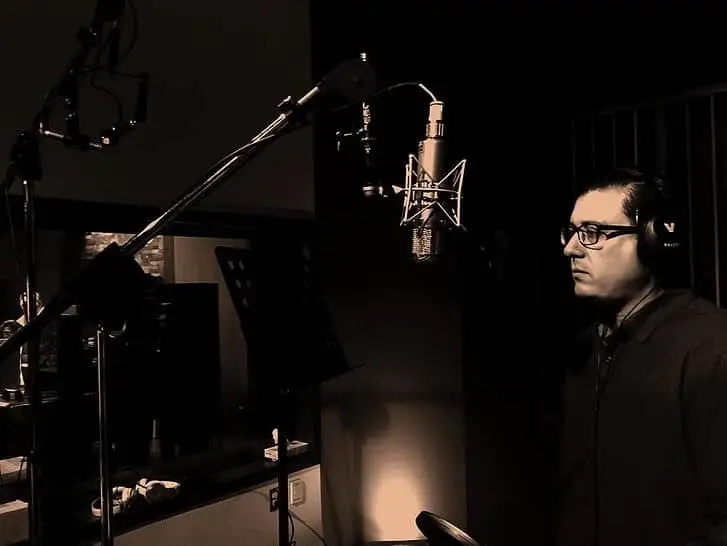
If you’ll be adding vocals, this is when you want to set up your mic for singing. Here’s how to record vocals, from setup to recording:
- Position the mic so it’s pointing roughly at the lower part of your mouth.
- Attach the pop filter so that it’s about six inches away from the mic, then your mouth should be about six inches away from the pop filter.
- Create a new track and arm it for recording.
- Test the gain levels to ensure your vocals won’t peak. When doing this, sing the loudest part of the song and make sure you’re gain level isn’t hitting the red - keep it in the green. This will allow you to sing without worrying about being too loud during your vocal takes.
It’s best to have as little natural reverb as possible. The place you record vocals should have dead air meaning that you don't hear any natural sound reflections, echoes or reverbs when singing. It’s better that you have complete control over the reverb when editing and mixing than to have natural reverb in the recording, which you cannot remove. Once your microphone is appropriately set up, you'll want to move on to producing recorded tracks.
Record Your Melodies
To start, lay down your lead vocal line. This is the main melody of the song, or the series of notes that someone would sing along to. A great song has a strong melody and therefore, a strong main vocal. You can program your DAW to play out a series of beeps before you start playing and recording your track. This will ensure that your main vocal aligns perfectly within your digital audio software.
When recording vocals, you'll want to get multiple tracks on each melody. Some artists prefer to break their songs down into sections and record each section multiple times before moving onto the next one. Musicians all have their own way of recording sound within the studio, so try to find what works for you. Capture as many takes as you can with different tones and performance types so that you have plenty of sounds to choose from during the editing process.
Record Any Vocal Layers Or Harmonies
After nailing down the main melody, you'll want to record any supporting melodies, doubles, or backing vocals you'd like to have within your session. Musicians naturally get better at being able to hear and picture these additional vocal layers over time, so don't be too hard on yourself if you don't have any ideas just yet. It's not uncommon for a studio session to have 20 different tracks of just vocal layers. You can always go back and record more harmonies after you've produced the song.
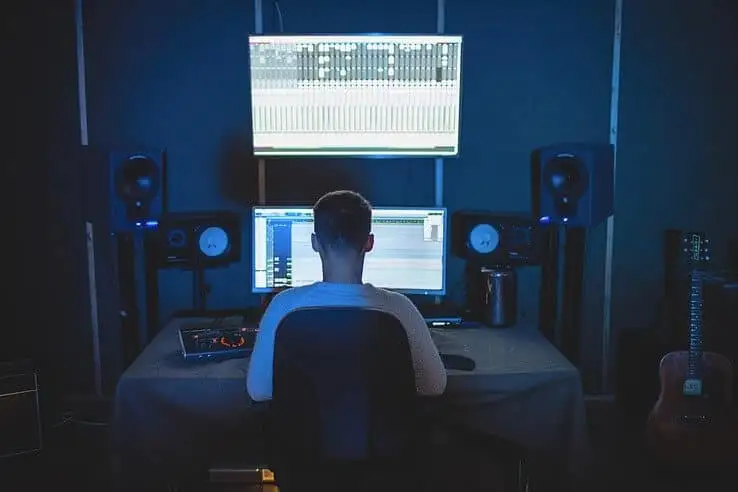
3. Start Editing Your Recordings
Now that everything is recorded (congrats!), it’s time to start fine-tuning your production. This is when you triple-check that everything is on time and the arrangement works. DAWs make it super easy to move recorded items around and line them up with each other.
Note that it's natural to feel somewhat uneasy hearing your voice playback the first couple of times - try to be as objective as possible while evaluating your tracks and make sure they are well-labeled and organized within your DAW. It's a good idea to backup any recordings on a separate hard drive or online as well.
You’ll also want to comp your takes, which means combining the best takes from each part of the song for any given instrument. So you can listen to your vocals line-by-line and pick the best take for each line. And you can do this for any instrument. To do this, you can cut the item wherever there’s a break in the recording.
Let’s use the vocals as an example: you can cut the audio file wherever you take a breath, which will make it easier to blend (aka crossfade) the comp’d takes together. The point is to make a cut and use a crossfade so it sounds natural - the listener shouldn’t know that you used a crossfade.
It's helpful to break down each vocal or instrument to individual tracks at this stage in the process. You'll want to keep an ear out for any unnecessary noise in your tracks, and cut them out or re-record as needed.
This way, your mixing or mastering engineer will have clear cut vocal and instrument takes to work with, making it easier for them to focus on enhancing your audio rather than wasting time on organizing your tracks. If you're unhappy with any aspect of your audio, this is the time to go back and rerecord. While it can be frustrating to re-record a single note or phrase, it's much easier to record a better take than to try and fix it during the mixing process.
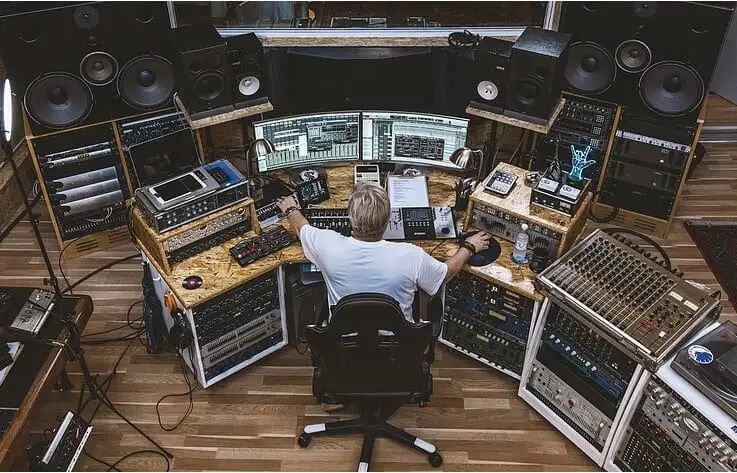
4. Proceed to Mixing And Mastering
Once your track is recorded and edited, you’ll enter the mixing phase and then the mastering phase. We wrote a completely separate post on mixing and master individually, so I won’t go into much detail here.
But mixing is where you or your mixing engineer polish up your already well-recorded song. It involves panning , setting the volumes, using EQ , compression , and other audio effects . Mixing engineers also add in finishing touches, work on balancing frequencies, and focus on stereo widening a track.
Then the final (and maybe most important) step is mastering. This is one of the main things that separates an amateur-sounding recording from a professional-sounding recording. It will polish up the polished-up mix and make it loud enough to meet industry standards. Mastering professionals are experts in maximizing loudness of tracks so that the end song is as powerful as it can be.
It’s the final stage that does your song recording justice. These finishing touches make a world of a difference.
And if you hire a mastering engineer, you may end up paying $100 per song or more. Fortunately, eMastered can professionally master an unlimited number of your songs for an affordable monthly price.
Automated mastering has saved me loads of money while still giving me songs that stand up tall next to other songs on pretty much any Spotify playlist.
How to Record Music: FAQs
Are you still having difficulty grasping home recording? Here are some commonly asked questions and answers so that you can deepen your understanding of the recording process.
How much does it cost to professionally record a song?
Professionally recording a song can cost anywhere from $100 to thousands of dollars depending on the complexity of a track and its parts. The cost of recording depends on the engineer’s experience, rates, equipment, and the individual components of your composition.
Where can I record a song for free?
You can record a song for free from home as long as you have a DAW and a microphone. It’s possible that a skilled friend or collaborator may be willing to lend their time or equipment for free, but you should generally expect that you’ll need to pay to professionally record your song outside of your own home studio.
Can you record music with your phone?
You can record music with your phone! While it won’t be the same quality as a professionally-recorded track, it can still be passable depending on the direction of your song. For example, Steve Lacy records a lot of his music on his phone and is still highly regarded within the music industry.
Are recording studios dying?
Recording studios aren’t necessarily dying, but the barrier to record your own music is. With the right equipment and set up, you can produce studio-quality recordings from home. Recording studios will still be around, but you don’t necessarily need to go to one to complete a song.
Which app is best to record songs?
Thankfully, there are plenty of apps to make music while on the go. Some of the most popular options are Garageband and PocketBand. Any app that gets you excited about recording music is the best option for your individual needs.
How long does it take to record a song?
Recording a song varies greatly depending on the singer or instrumentalist’s performance. It could take a couple of minutes, or many, many hours. Songs that have multiple vocal layers and more complexities are going to take up more recording time.
Can I record music at home without equipment?
Thanks to the presence of smartphones, you can record music virtually anywhere without needing equipment. That being said, even investing in an affordable USB condenser microphone can make a huge difference in your recordings. If you’re serious about making music, it’s a good idea to invest in proper recording equipment.
What equipment do I need to record music at home?
Anyone can record music on a smartphone or tablet at a basic level from home. In order to record music professionally at home, you’ll need a microphone, audio interface, microphone cables (if needed) and DAW as the bare minimum. Additional investments include sound absorption panels and higher quality recording equipment.
Above all, remember that crafting your own studio recordings from home can take plenty of practice. The best way to improve your recording skills is to do it often and make knowledgeable mistakes along the way. Happy recording!


